Einleitung
Werkzeuge
-
-
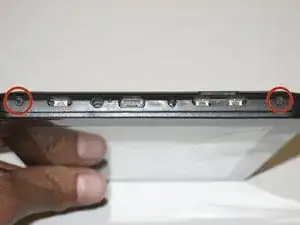
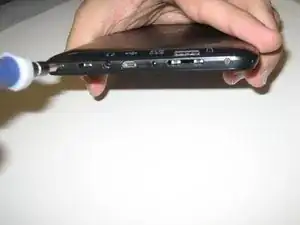
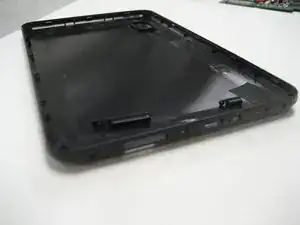
Remove the two 2.5mm Phillips head screws before attempting to remove the screen from the device.
-
-
-
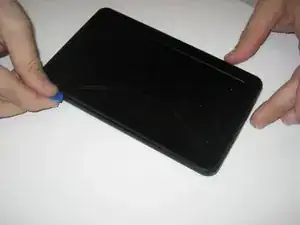
Run an opening pick around the edge of the screen to loosen it and begin to pry upward.
-
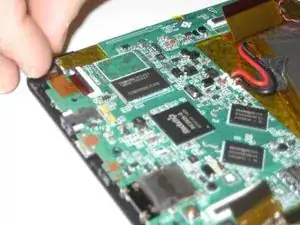
When the screen comes up like it has in the photo, it should be able to simply be removed from its casing.
-
-
-
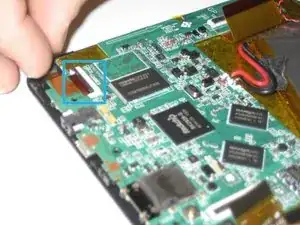
The camera is located in the corner of the motherboard, attached by a ribbon cable. Lift up on the black latch that is holding in the ribbon cable and the cable should pop up and out.
-
-
-
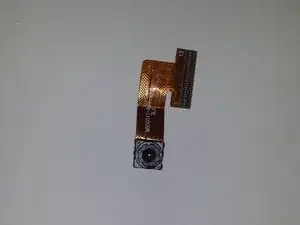
Once the cable is removed from the motherboard, the entire camera can simply be removed from the device.
-
Abschluss
To reassemble your device, follow these instructions in reverse order.
Ein Kommentar
Where can I get the replacement parts (camera and flex cable)
