Einleitung
Werkzeuge
-
-
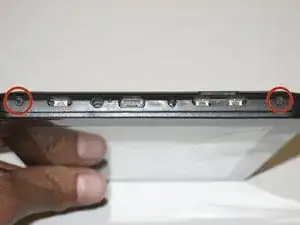
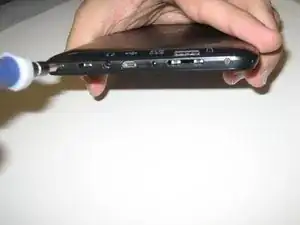
Remove the two 2.5mm Phillips head screws before attempting to remove the screen from the device.
-
-
-
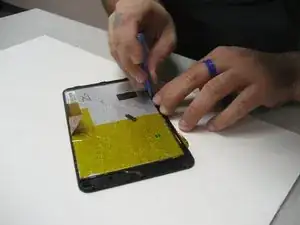
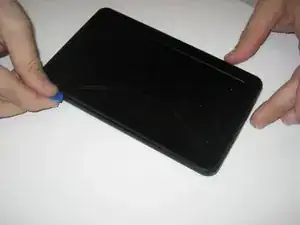
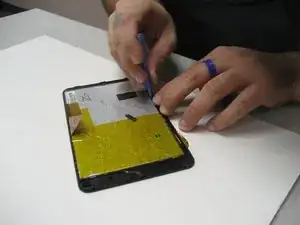
Run an opening pick around the edge of the screen to loosen it and begin to pry upward.
-
When the screen comes up like it has in the photo, it should be able to simply be removed from its casing.
-
-
-
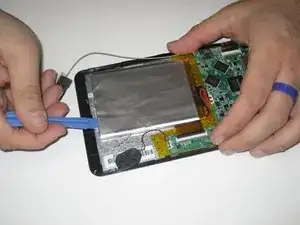
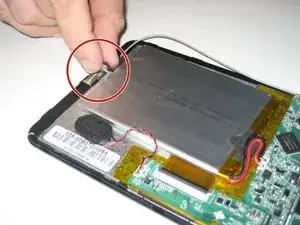
Remove the battery by first removing the electrical tape holding it down. Then begin gently prying underneath it and around the edges with your plastic opening tool, until the battery is loose.
-
-
-
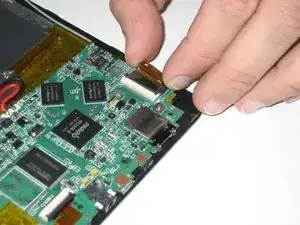
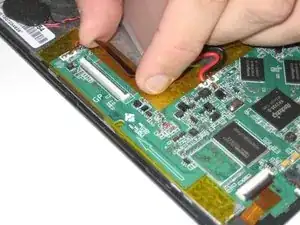
Unclip the ribbon cables from the motherboard by lifting up on their latches (the black portions that the cables feed into) and gently pulling the cables.
-
-
-
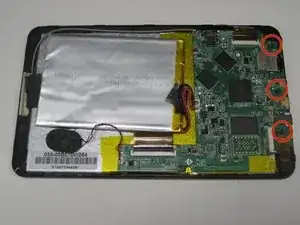
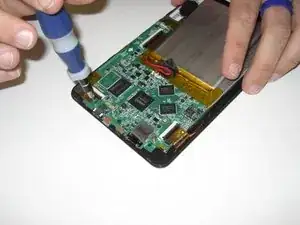
Remove the three 2.5mm Phillips screws from the motherboard.
-
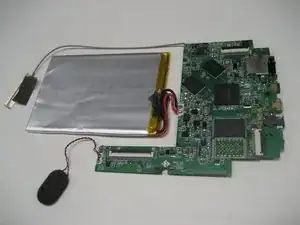
After removing the screws, use a plastic opening tool to gently pull the motherboard off of the double-sided tape holding it down.
-
-
-
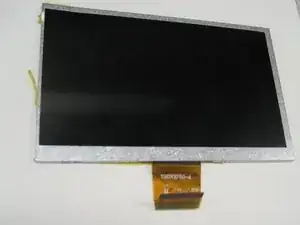
To remove the LCD from the screen casing, gently pry it out of the clips that are holding it in place.
-
To reassemble your device, follow these instructions in reverse order.
Ein Kommentar
This was no help at all. What do you do after the final step? Where do I get a replacement LCD screen for this tablet?
I would really love to get a response soon, please. Thank you!
