Einleitung

If your drill does not turn on with a fully charged battery, the motor of your drill might be damaged. This guide will provide guidance to the process of replacing a defective motor in a RIDGID R860052.

  1. vvvhBnxE6u2tcweh
    vvvhBnxE6u2tcweh
    CaJEKe4IIYgTxT4y
    • Remove the battery from the drill before you begin.

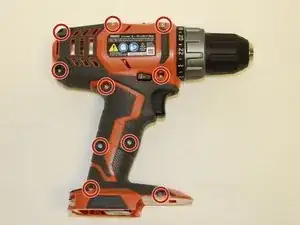
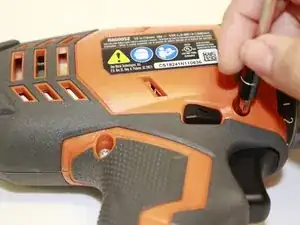
    • Use a T10 Torx screwdriver to remove the ten screws on the information label side of the drill.

    • These ten screws are 19 mm long.

  2. 6ZITnT2MRXfyrxTx
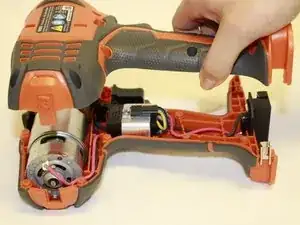
    • Lift off and remove the cover with the informational label.

    grammatical issues make this step difficult to understand

    Nicholos Frey -

  3. WfEg6NROTotBarQa
    WfEg6NROTotBarQa
    p6XdQE2p4BVpsog2
    KjSjZMKpMDTJUN3x
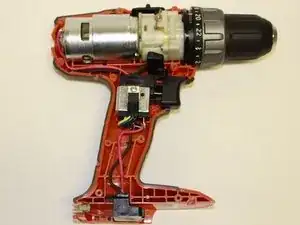
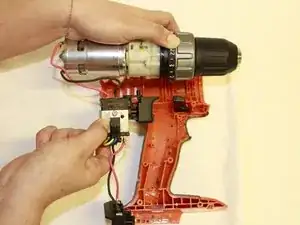
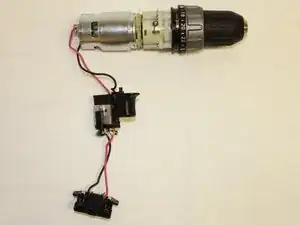
    • Remove the switch assembly, chuck, and motor from all drill covers.

  4. AVGCMjOljpoXkKjr
    AVGCMjOljpoXkKjr
    xLlZNpFhZYUwkSi1
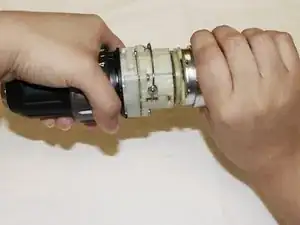
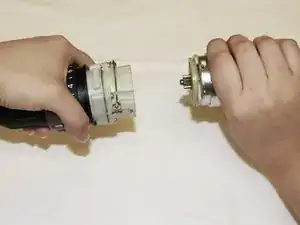
    • Twist the chuck and motor in the opposite direction and gently pull them apart.

  5. xMap6jSZQmLG4KWE
    xMap6jSZQmLG4KWE
    1jpWH1hXLiQXIBvE
    afJQgS2AHpBFSVvH
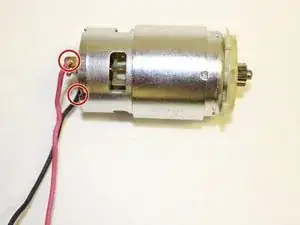
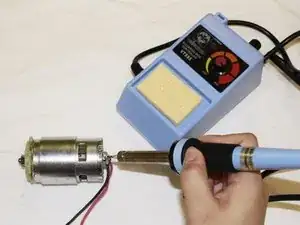
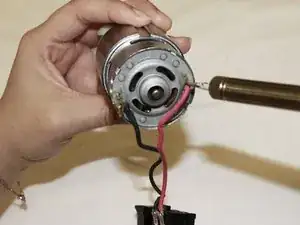
    • Desolder the black and red wires from the motor.

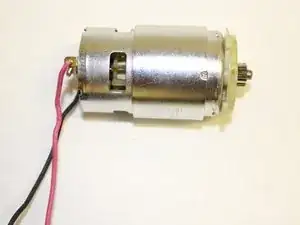
    • Replace motor and resolder the black and red wires back onto the motor.

    • Be aware of the heat level of the metal part on the soldering tool.

Abschluss

To reassemble your device, follow these instructions in reverse order.
Andrea Hernandez

Mitglied seit: 05/02/19

204 Reputation

0 Kommentare