Einleitung

The heat sink is in charge of dissipating heat from within your computer’s housing unit to prevent your CPU from being damaged.

A faulty heat sink will likely overheat your computer’s CPU and destroy many components, resulting in the loss of information, and an inability to access various drives on your computer.

If you notice your laptop getting abnormally hot, or if the fans are constantly running, then your laptop may have a faulty heat sink.

Follow these 8 steps in order to successfully replace the heat sink in a Razer Blade Stealth 2016 laptop.

Be sure that the laptop is powered off before beginning.

  1. hdbyoBWNB6HCkOsL
    hdbyoBWNB6HCkOsL
    ahbJNwaE14yqxhoJ
    LlvEjesZiBwLkZgW
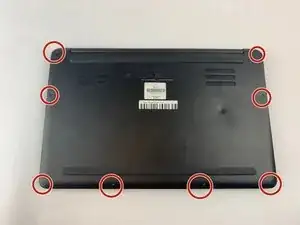
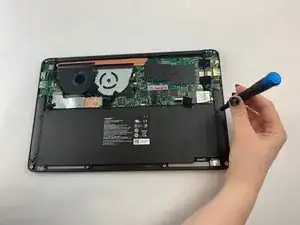
    • Use a Torx screwdriver to remove the eight 3 mm screws on the back case.

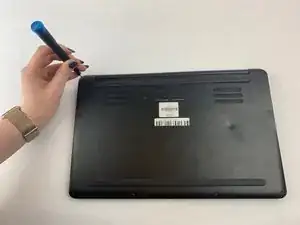
    • Remove the rear cover by prying up lightly starting in one of the corners.

  2. qosKrZwqGwThRWXx
    qosKrZwqGwThRWXx
    pjeAgo1U6BfVFjZe
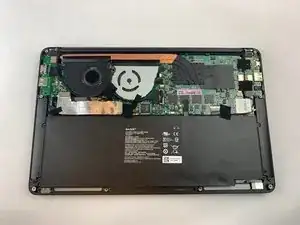
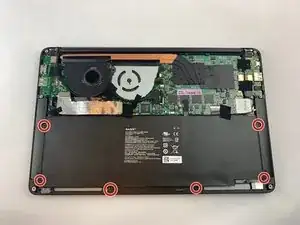
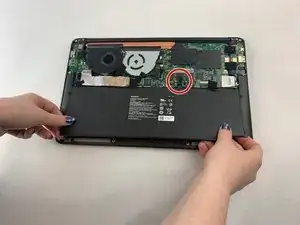
    • Use a Phillips screwdriver to remove the six screws securing the battery.

    Phillips* screw heads not T4 Torx based on the photo.

    Sean Christiansen -

    You’re right! Thanks for the catch—I’ll fix that step.

    Arthur Shi -

  3. Qt4xQYIaS6rerRxH
    • Unplug the battery connector from the motherboard.

    • Remove the battery from the device.

  4. rJtSiNHplbiSY1CJ
    rJtSiNHplbiSY1CJ
    WLOUyHPGodhtFwdt
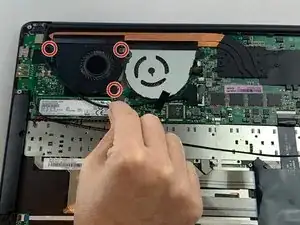
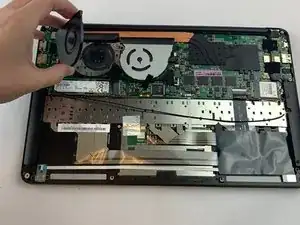
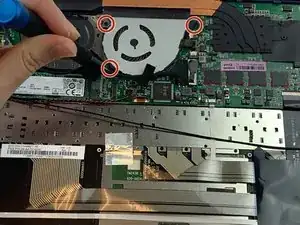
    • Remove the three 3.38 mm screws from the left fan (this fan should be black).

  5. BH6EbEuphReVJkOZ
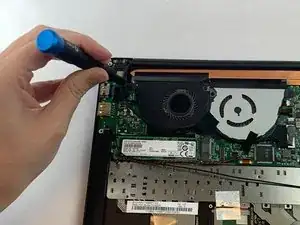
    • Carefully lift and remove the left fan.

    How do you disconnect the cable attaching it to the motherboard ?

    i.R KeRsT -

    I’m also interested in this! There is no mention of how to unplug the fan cable

    Andrew Ang -

    The cable/ribbon is unclamped free by sliding the cream coloured rectangles (on the left and right of the ribbon) 2mm towards the laptop hinge. It re-clamps the ribbon back in the original position.

    Cam McNicol -

  6. peCCNUGLAWNxLfpx
    peCCNUGLAWNxLfpx
    OQQdacAqvcLqCNk6
    fPDEx5IDCNAMwEmA
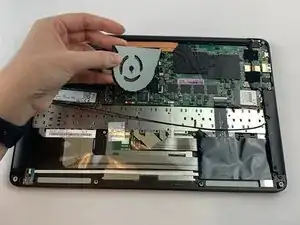
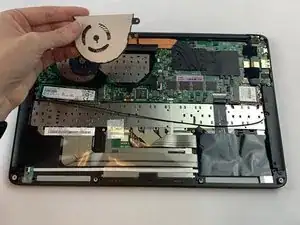
    • Repeat steps five and six to remove the silver, right fan.

  7. EwstOTTbr2KGRxCW
    EwstOTTbr2KGRxCW
    SmjlCMMUnRS1KxNY
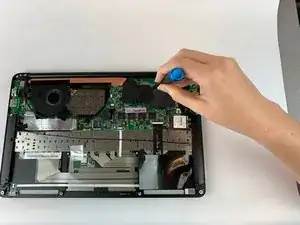
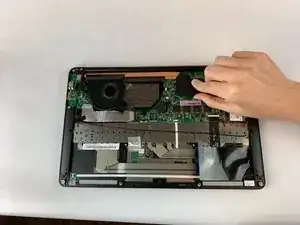
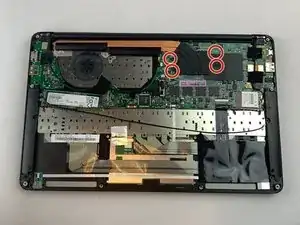
    • Remove the four 3.38 mm screws around the black square using a Phillips #00 screwdriver.

  8. HvWrbYVQfUOeCye3
    HvWrbYVQfUOeCye3
    blTYCQ3yqOZrYADp
    DBJSTpZ6y4QGS1Kh
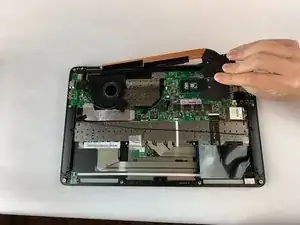
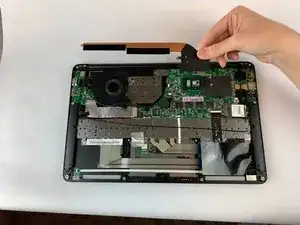
    • Once the screws are removed, the piece can be gently lifted from the back of the device.

Abschluss

To reassemble your device, follow these instructions in reverse order.
Lindsay Grant

Mitglied seit: 10/10/19

403 Reputation

0 Kommentare