Einleitung

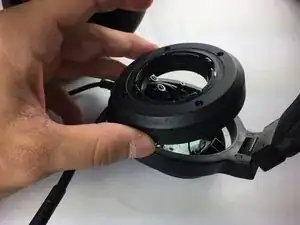
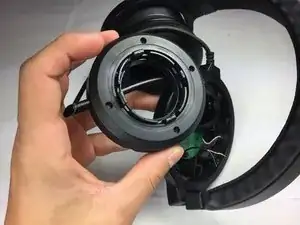
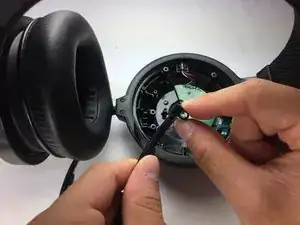
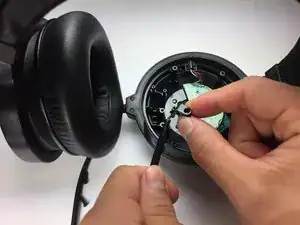
To replace the microphone, you will have to open the speaker portion of the headset. The microphone will then be accessible. The steps detailed in this guide will can then be applied to replace the microphone. The wires will have to be soldered when reassembling the headset.

  1. kgqZS4NgmDoFTRI1
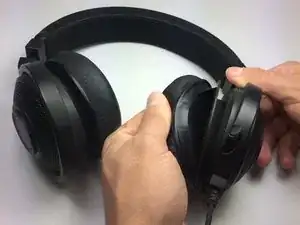
    • Grab the ear cushion between your thumb and forefinger.

  2. KGrRsGVdN1tgDnpT
    • Pull the ear cushion away from the speaker by sliding down to release the cushion from the plastic covering.

  3. DaEERRsCBg1rl1Nh
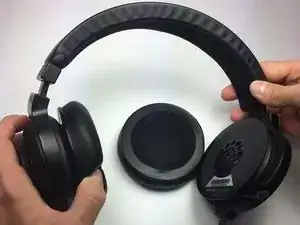
    • Continue sliding downwards around all edges of the ear cushion until the cushion is fully removed.

  4. kycJZmn1uRIbAqXV
    kycJZmn1uRIbAqXV
    QcQ3HcQWmpPEscIS
    VosyH4G6OMrEtEhW
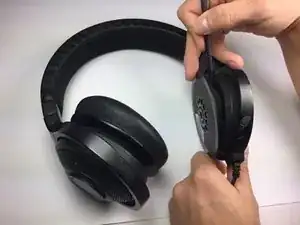
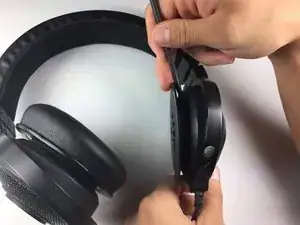
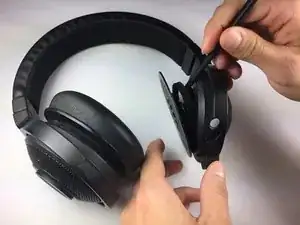
    • Use the broad edge of the plastic spudger and a lot of force to pop off the speaker from the headset.

    • Insert the plastic spudger in between the speaker and the headset directly in line with one of the exposed screws of the headset casing, since that is where the four clamps that hold the speaker to the headset are located. These clamps are not visible until after speaker removal.

    • Make sure to insert the spudger in between the foam buffer-ring and the headset casing instead of in between the speaker and the foam buffer-ring.

    • Reassembly may be tricky, there is one clamp smaller than others, so you have to align it correctly.

  5. ZjiXIHZ1pMg5SXLJ
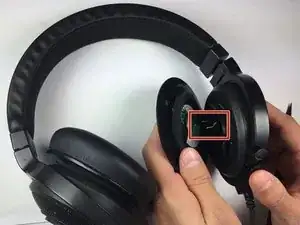
    • Cut both wires connecting the speaker to the headset by using a wire stripper or pair of scissors.

    • Cut as close as possible to the connections on the speaker circuit board.

  6. XJe1oneJPjcc2XXx
    XJe1oneJPjcc2XXx
    hjK6I3tT65quGdJP
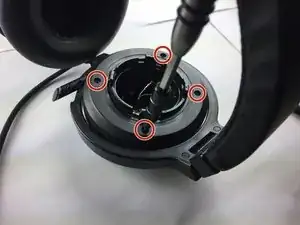
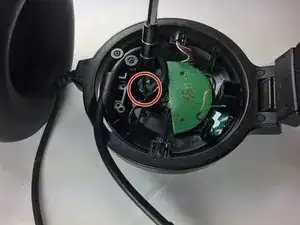
    • Use the Phillips #00 screwdriver to remove all four 9mm screws.

    • Rotate the screwdriver counterclockwise when removing each screw.

  7. JPAddhiw4cfYDpkK
    JPAddhiw4cfYDpkK
    eHSoUeaMDaBrE6uC
    EVWVQNt1i5svQqhB
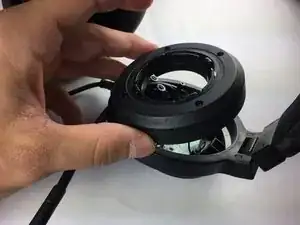
    • Pull the casing upwards to remove it from the headset.

    • If you are removing the casing on the side of the microphone, slide the casing towards you along the length of the microphone until the casing is completely removed.

  8. wwbRqcAFfBL2ZrHW
    wwbRqcAFfBL2ZrHW
    bGuxjVdIx5oZUH6d
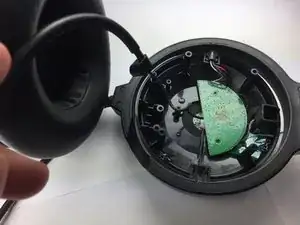
    • Slide the speaker case laterally along the length of the microphone until the casing is completely detached from the headset.

    where can I buy the microphone for the razer kraken 7.1 headphones

    Antonio Silva -

  9. oNosndpBrAIiSXCV
    oNosndpBrAIiSXCV
    dJR5oYXo1PeNBFvr
    fcccMXYuxaNIMfsm
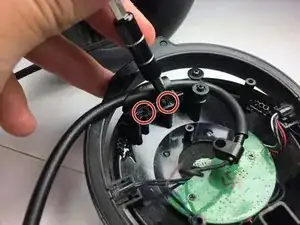
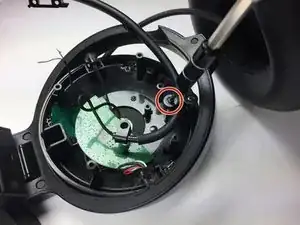
    • Use the Phillips #00 screwdriver to remove the 9 mm screws circled in red.

    • Rotate the screwdriver in a counterclockwise direction to remove each screw.

    • There is a total of four 9mm screws that must be unscrewed.

    • While unscrewing the spinning-wheel apparatus, remove only one wheel to free the microphone cable.

    • When removing the two-screw anchoring piece, slide it off of the broken microphone and make sure to slide the piece back on to the new microphone before soldering.

  10. FrpkGw1RpwebwSkP
    • Pull the microphone out towards you until it is no longer confined within the headset.

  11. LEgHnyxRCk4f1oBM
    LEgHnyxRCk4f1oBM
    M1S5Xu1kCCmuJQAl
    • Pull the plastic attachment with the screw-hole away from the rubber microphone casing to expose the microphone wire.

    • Cut the microphone wire as close to the rubber microphone casing as possible to give enough wire to work with for re-soldering the new microphone to the headset.

    Hello! Question where do I get the part to replace the microphone? Mine was stepped on so everything up until the button and the red light is broken off.

    OpalSucks -

Abschluss

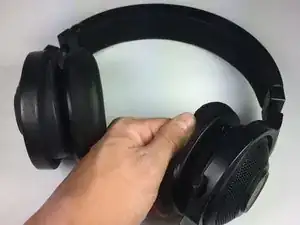
To reassemble your device, follow these instructions in reverse order.

Karissa Sealey

Mitglied seit: 24/03/17

995 Reputation

9 Kommentare

Hey, Please answer I need your help. Where can I buy only the microphone?

BeN KazaV -

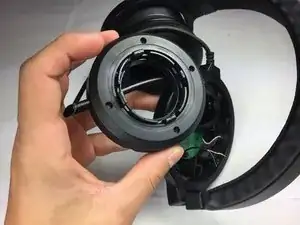
I’ve come so far as the last picture but is it possible to post a picture of the cirquit board? as to where to solder the microphone to ( wich points ) since all my wires came unudone i cant tell i tried looking online for a schematic no luck.

Yoshiharu Sakurai -

is it possible to post a picture of the cirquit board with locations where components need to be soldered on to? all my connections became undone so im trying to figure out where each of them is attached i cannot find any schematic online.
Yoshiharu Sakurai -

Nice guide. But not very useful, since I can’t find any place to buy a new microphone. Has anyone found a place to buy a replacement?

Michael Engesgaard -

I was able to do this repair (on the non-Chroma version) without using a spudger or cutting the speaker wires by just poking through the black paper around the speaker to get access to the screws, skipping steps 4 and 5.

gary600 -

How did you get the replacement part? I can’t find it anywhere

OpalSucks -

Where can I buy only the microphone? ı NEED ONLY MİC

Mertcan Zorlu -

Where can I buy only the microphone?

Mertcan Zorlu -

Why don't you list the part number for the mic and where to purchase it??

Verne Winter -