Einleitung
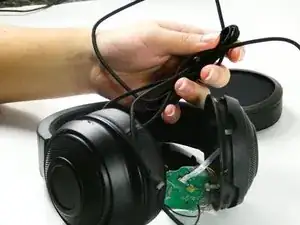
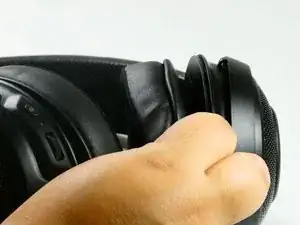
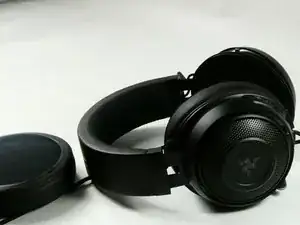
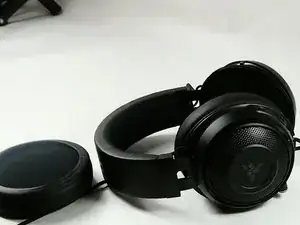
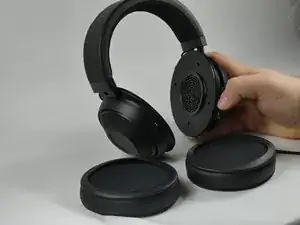
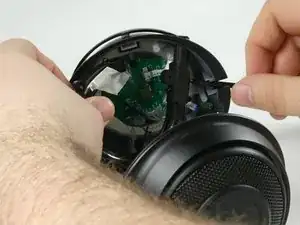
Guide to replace the cable that powers and connects the headset to the user's computer or gaming console. These cables may fray after long periods of use or break after being mishandled and need to be replaced. See our troubleshooting guide.
Make sure to completely unplug your headset before attempting this guide. As well as working on an anti-static surface.
Werkzeuge
-
-
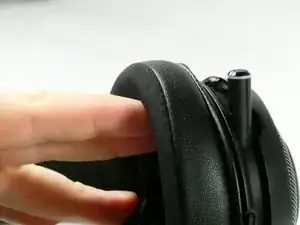
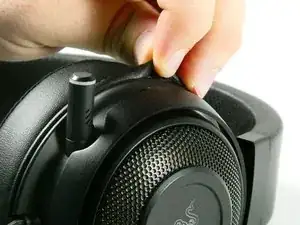
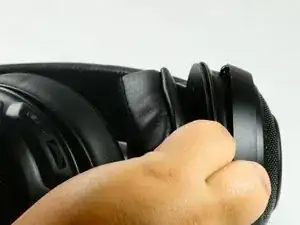
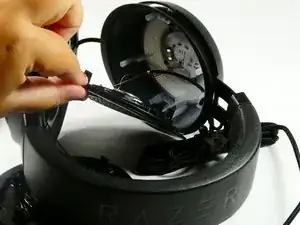
Once you have taken off one side, you can then remove the whole piece by slowly prying the pad away from the headphones.
-
-
-
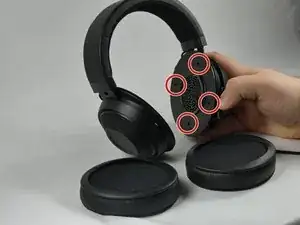
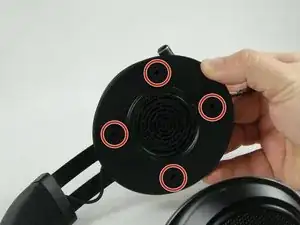
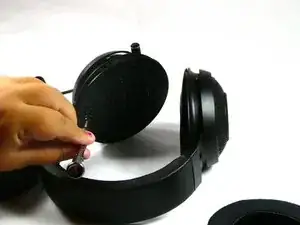
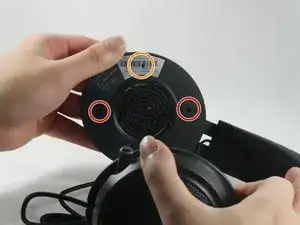
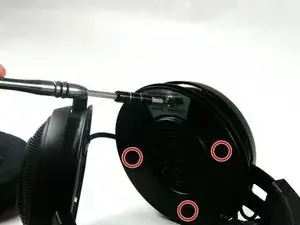
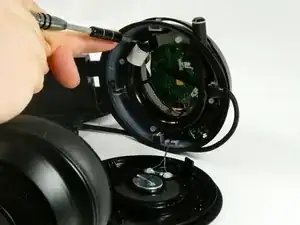
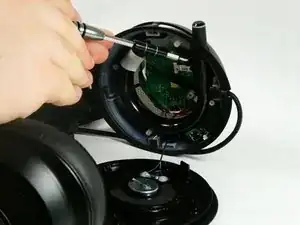
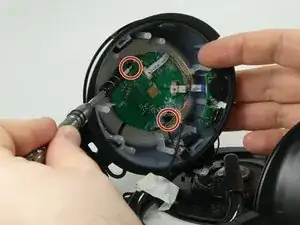
Remove the 10 mm Phillips #00 screws securing the left speaker.
-
Note that one of the screws is hidden behind the product information sticker. Use your screw driver to punch a hole in the sticker.
-
-
-
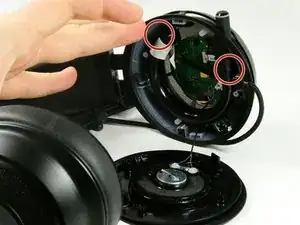
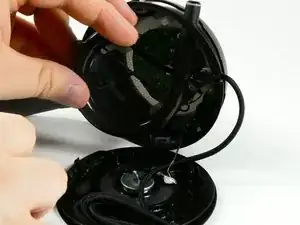
To fully detach the speakers cut the wires as close as possible to the connection point, leaving plenty of room to solder the new speaker on.
-
-
-
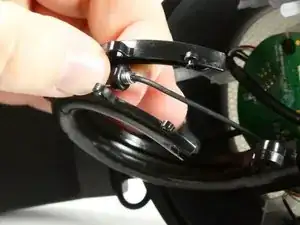
Open up the casing the microphone retracks into.
-
Cut the cable as close to the microphone as possible, leaving behind enough to solder the new microphone to.
-
-
-
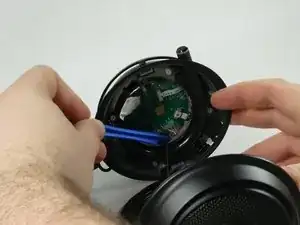
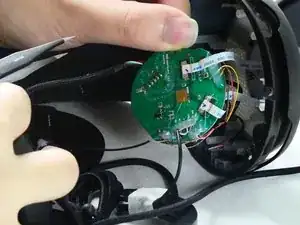
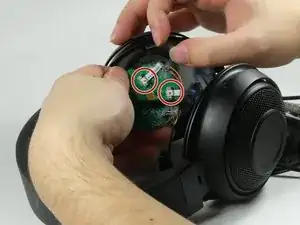
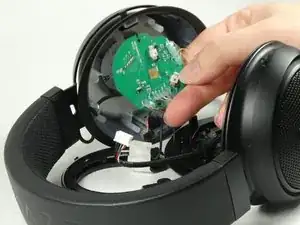
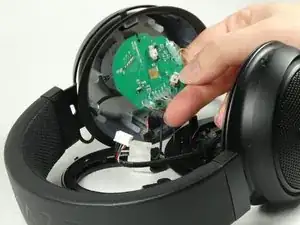
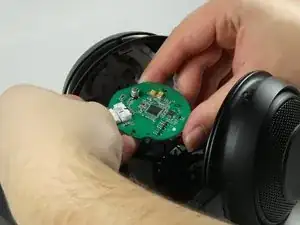
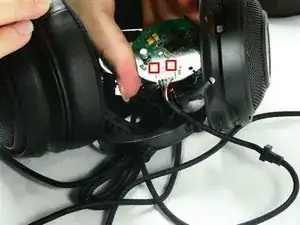
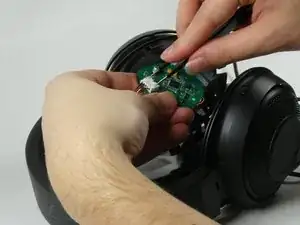
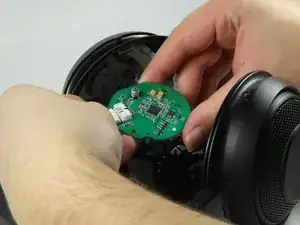
Gently lift the motherboard from the case, with care not to damage any of the connected cables.
-
-
-
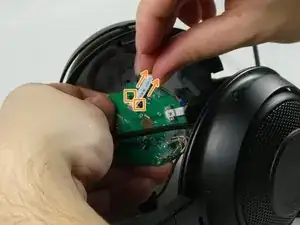
There are two ribbon cables that must be removed.
-
To remove these cables pull the gray connecting piece out about 0.5mm to unlock the cable.
-
Then simply pull the cable out.
-
-
-
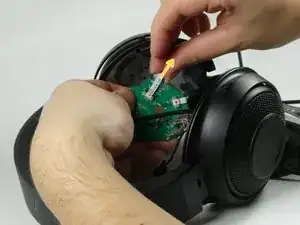
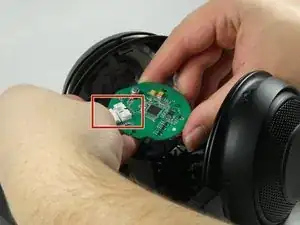
Grab your tweezers and focus your attention on the white connector. Pictured on the right of the motherboard. This is the cable.
-
-
-
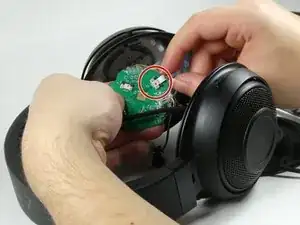
Press in on the two tabs on the sides of the box, while using your tweezers to push the cable out of its port, disconnecting it.
-
The two tabs are indentations on the sides of the top face of the box.
-
To reassemble your device, follow these instructions in reverse order.
