Einleitung
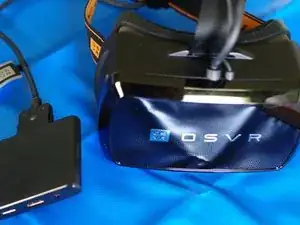
With the promise of release of the LEAP motion face plate and supposedly the ability to 3D print custom face plates (I read this somewhere at some time), I wanted to make a guide to replace the face plate.
Important before you proceed: If you use this guide, you do so at your own risk. In no way is Mad Hatter VR, LLC or its members responsible for any damage or malfunctions caused by using this guide.
Werkzeuge
-
-
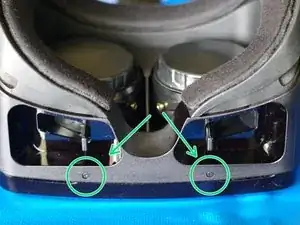
Lay HDK headset face down. Remove the two Phillips #00 screws from the bottom.
-
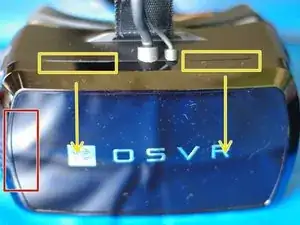
Turn upright and gently pull face plate forward. (Pulling forward and to the left will help avoid strain on the tracking ribbon cables.) There's two grooves to help with this on the top part. It's a magnetic plate, does not take much effort.
-
-
-
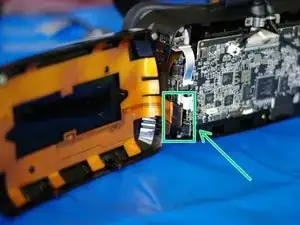
The connector is held together by tape. Gently peel the tape away. The male and female parts are just barely interlocking.
-
To reassemble your device, follow these instructions in reverse order.


