Einleitung
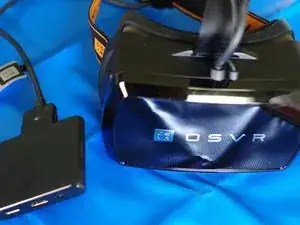
This is just a helpful guide to get to the screen for replacement, repair, or cleaning. I successfully tore down and cleaned my screen with the following guide. If you have any suggestions, please let me know and I will add them. This is a moderate difficulty repair.
Important before you proceed: If you use this guide, you do so at your own risk. In no way is Mad Hatter VR, LLC or its members responsible for any damage or malfunctions caused by using this guide.
Werkzeuge
-
-
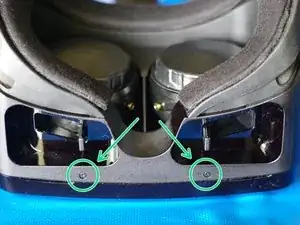
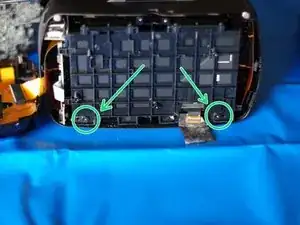
Remove both of these screws with #00 Phillips Screw Driver.
-
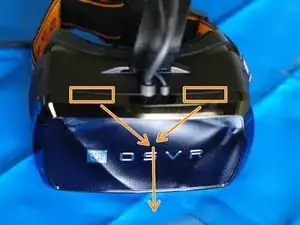
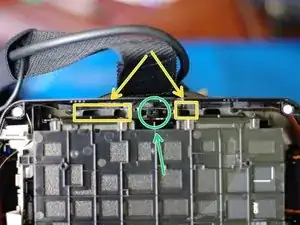
Turn upright and gently pull face plate forward. There's two grooves to help with this on the top part. It's a magnetic plate, does not take much effort.
-
-
-
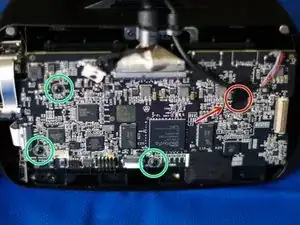
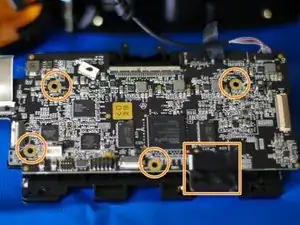
Remove the four screws holding the board in place.
-
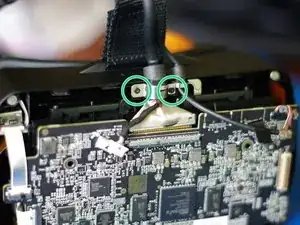
Remove the two screws for the cable plate. (Note: I disconnected the cables on this picture, but the way I have it here is the easier approach.)
-
-
-
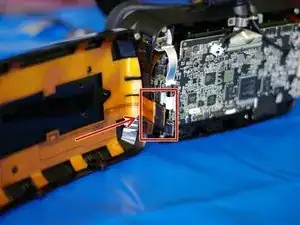
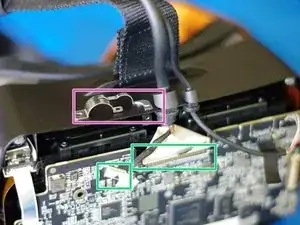
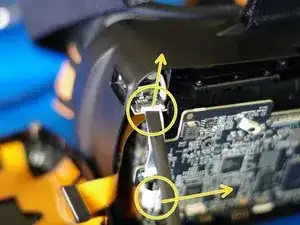
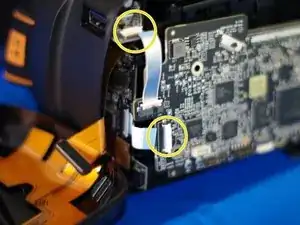
Both of these connectors slide out. I have also removed the cable holder plate from the top.
-
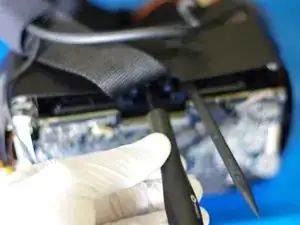
The two ribbon connectors on the left side flip open and the ribbon pops out. I used the spudger tool that came with my iFixIt kit.
-
-
-
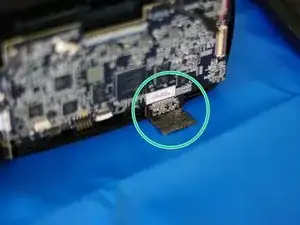
Gently peel back the tape on the bottom right. There is a connector on the other side for the screen.
-
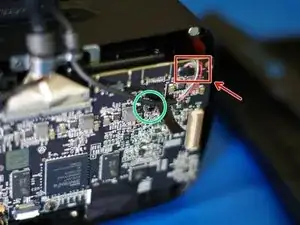
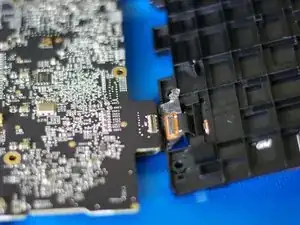
Gently separate the board from the back of the screen, careful with the screen connector and the connector on the top right if you left it attached.
-
-
-
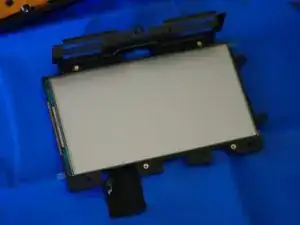
The screen slides right out.
-
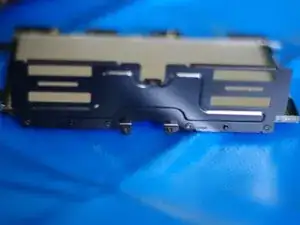
Here is a picture of the screen and assembly. My OSVR had some small plastic/foam bits on it from when I got it originally so I blew it clean with the included blower but a DSLR mirror blower works too. It also has a couple small scratches on the "film" that they added between 1.3 and 1.4 but I did not mess with that.
-
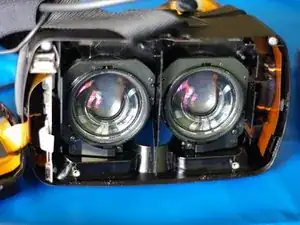
You can access the lenses from here and finish tearing it down pretty easily.
-
-
-
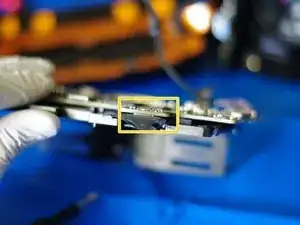
I found it easier to attach the board and connector prior to reassembling it into the mask.
-
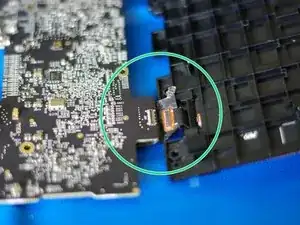
Make sure the connector is correctly attached.
-
Tape it over and screw the four screws back in.
-
To reassemble your device, follow these instructions in reverse order.
2 Kommentare
Great step-by-step guide, but I would like to caution anyone attempting this to be EXTREMELY careful with the screen itself. Unlike a smartphone screen which has other glass layers bonded to it to provide rigidity and protection to the AMOLED panel. This screen does not and has about a 1mm of glass above the AMOLED layer. This panel is very easy to crack with slightest of pressure so I recommend that the panel is in place in the plastic carrier and the two metal plates that hold the panel inside the plastic carrier secured, but not too tight before trying to attach the connector the other side the PCB.
Hi, quick question. Is it possible to replace the screens with wider aftermarket OLEDs? I am wondering if one were to 3D print a bigger face plate and get hands on screens with wider resolution that one could potentially rebuild a much bigger FOV similar to the StarVR. Do you think this is something possible with HDK2 or out of reach? Also, what type of connectors do the screens use?
