Einleitung

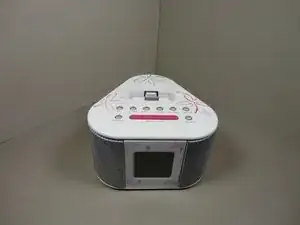
This guide will lead you through the steps necessary to access the screen's components as well as how to assure it is properly connected.

  1. IuLiTpLeXrZUZ3Wg
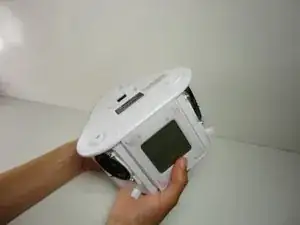
    • Flip the device over

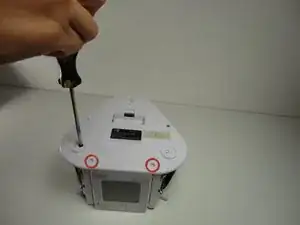
  2. AmikJtycwGOkHExK
    • Unscrew the 2 screws closest to the screen

  3. JPEHy2LXnwDHTgr1
    • Flip the device back over

    • It is now standing right side up

  4. j3TpjIlHGnUibJBH
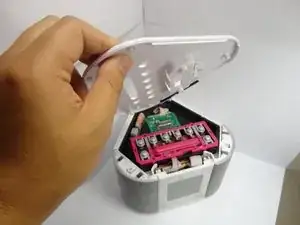
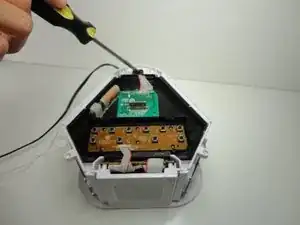
    • Unscrew the top.

  5. YmboVCIqgkauYDnI
    • Take the top of the device off.

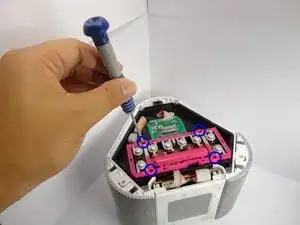
  6. xchFiIiUFBy1UXhA
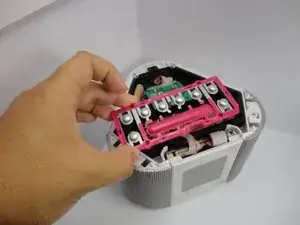
    • Unscrew the button board.

  7. ONgK5JgPkcklmwZA
    • Take off the button board.

  8. 4j2x3P3sdYmGencn
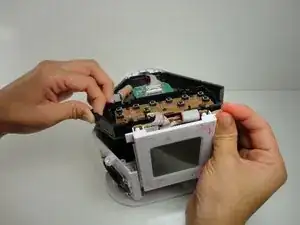
    • Unscrew all visible screws on the black logic board cover.

  9. C2fNiCEJylS42jCh
    • Lift the screen straight up out of the device.

  10. KP5aeADSHUNjQbdp
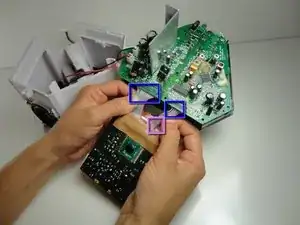
    • Check that the single input plug from the logic board to the screen (reverse side) is completely pushed in by pressing it firmly into the socket.

    • Also check that the 2 output plugs from the screen to the logic board are completely pushed in by pressing them firmly into the highlighted sockets.

    • You have successfully reconnected your display screen.

Abschluss

To reassemble your device, follow these instructions in reverse order.
Nick Sherman

Mitglied seit: 26/09/12

31 Reputation

0 Kommentare