Einleitung
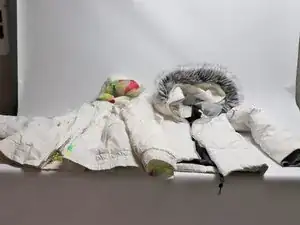
Ein defekter Reißverschluss ruiniert dein Lieblingskleidungsstück? Wirf es noch nicht weg! Das häufigste Problem bei Reißverschlüssenist ein kaputter oder verlorener Einführungsstift. Das ist der kleine Stift, der am Anfang des Reißverschluss in das andere Teil gesteckt wird. Es gibt bereits Reißverschluss-Reparatur-Kits bei Walmart, diese halten jedoch nicht lange, da der Einführungsstift im täglichen Gebrauch stark beansprucht wird. Der einfachste Weg den Stift zu ersetzen, ist einen neuen (inkl. der Kunststoffrückseite und dem anliegenden Stoff) einzunähen. Es wird hierfür kein Kit benötigt - Nur Schere, Nadel und Faden.
Werkzeuge
Ersatzteile
-
-
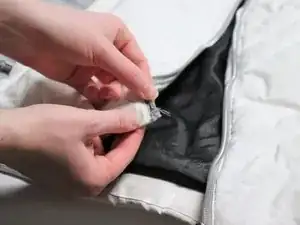
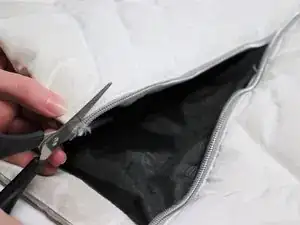
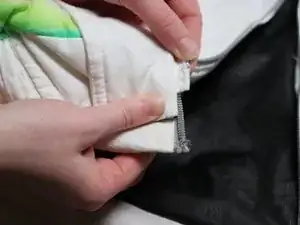
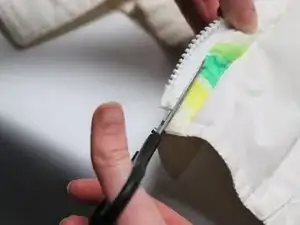
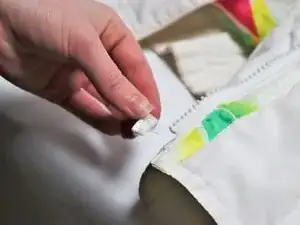
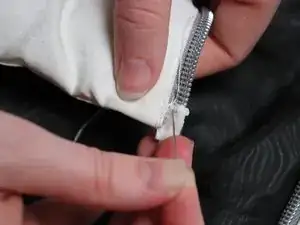
Schneide den defekten Einführungsstift aus dem Reißverschluss.
-
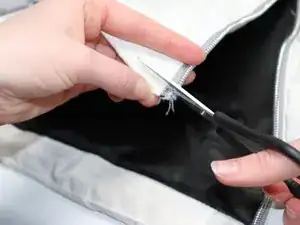
Sofern der Stift fehlt (wie im Foto), entferne das ausgefranste Gewebe.
-
Schneide keine Reißverschluss-Zähne heraus!
-
-
-
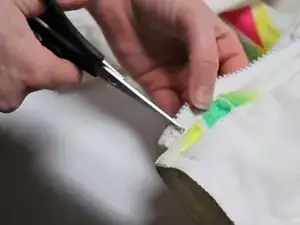
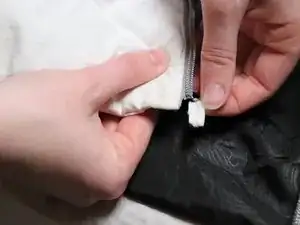
Suche ein Kleidungsstück mit einem Reißverschluss, das du nicht mehr benötigst. Der Einführungsstift muss die gleiche Länge wie der kaputte/verlorene haben. Es ist egal, ob der Stift aus Kunststoff oder Metall ist.
-
-
-
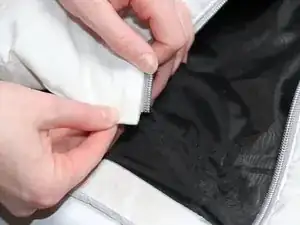
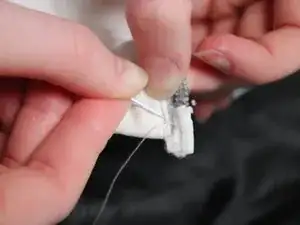
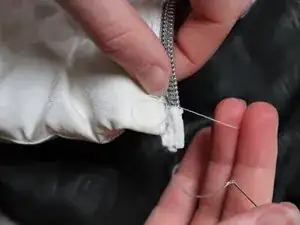
Schneide den intakten Stift aus dem alten Kleidungsstück. Schneide dabei nicht in das Kunststoff-Quadrat auf der Rückseite und nicht zu viel Material ab. Du benötigst ausreichend Stoff zum Nähen.
-
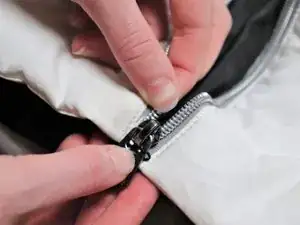
Falls der Stift nicht korrekt ausgerichtet ist, entferne den Faden und nähe ihn nochmals an.
11 Kommentare
Hi, I have a north face jacket and the zipper is fine but the plastic square backing is what’s missing so I can’t zip it up. Do you know what that’s really called so I can find a replacement? Or do you know what I can replace it with? Thanks, Amy
Instead of cutting a notch out, I removed the stitching at the edge of the coat to expose the entire zipper body end, and completely cut the end off. Then I stitched a complete new end on. The advantage was that it provided the maximum mechanical strength to keep the insertion pin aligned.
Careful when at the cut lines, do not pull on any threads, some are loose, but I have a way to fix that later. Then stitch using long stiches to avoid the areas too close to the cut lines where the threads are loose.
Finally, I zip the 2 halves together in order to align all the parts together into their final relative positions, and use a Bondic glue pen on all stitches and areas around the cuts where the loose threads are. When I cure with the UV light, the result is much stronger than just the threads. I was careful to not apply any of the epoxy close to the zipper, so that I don’t block the passage of the zipper slider.
Then I lightly sand to remove any sharp edges, and sew the zipper tape back to the jacket.
I will need to see a YouTube video on that lol
That’s a great solution. I considered that, but it seemed like way more work, so I opted for a simpler fix. You could also replace the entire zipper if you wanted!
Hello:
I have a question. I own an LL BEAN winter jacket. The zipper doesn't work. It seems I need a Bottom Stop, an Insertion Pin, and a Retainer Stop. On the back of the slider, it says:
YKK
5VSt
VISLON
Can you help me? I have a photo, if needed.
Thank you,
David
Hi, David!
I’m certainly no expert, but can you include the photo? Maybe I’ll be able to help.
All you have to do is go to amazon, or wherever and put in the type of zipper that you mentioned above. If replacing the whole thing, you need to know how many inches it is. If you’re just replacing the bottom pieces mentioned, it doesn’t matter how long it is.
