Einleitung

  1. NORpcRgH4ZUyoJIT
    NORpcRgH4ZUyoJIT
    WvRY6M5gZMWLPn1K
    1UD5OMGeT6SC3CEl
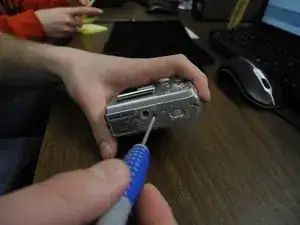
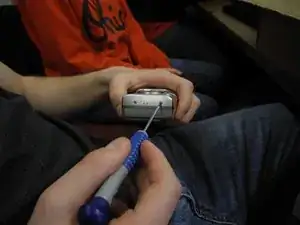
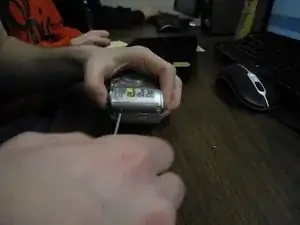
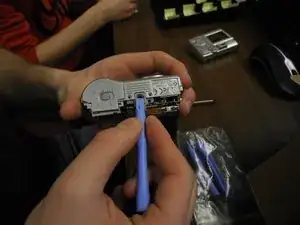
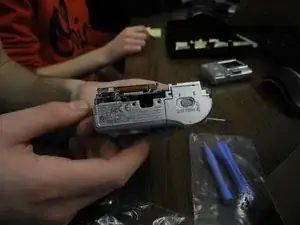
    • Remove the screws from the bottom, right, and left side of camera.

  2. MpGnVvluElFcQxno
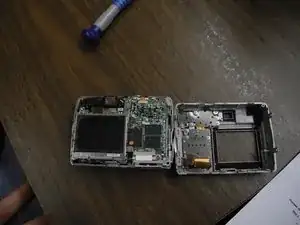
    • Remove the back of the camera, this may require force.

  3. oGmcli2uFyNJOXXX
    • Unscrew the right metal bracket of the viewing lens

  4. lumMRlcUAR6LBaNP
    • Unscrew the top right corner screw

  5. lGsv5K6Hm6wll6CA
    • Unscrew the bottom right corner screw.

  6. EgluiUmOwghuXF5U
    EgluiUmOwghuXF5U
    maKBCWAXouVKKFSK
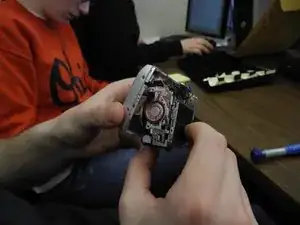
    • Pull the grey circular facet that sits on the bottom outside of the camera off - may have to use force.

  7. E2uDeBT1frORrRLX
    E2uDeBT1frORrRLX
    V2flRN2ZK2h15LoI
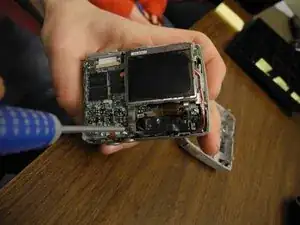
    • Pull the front of the camera off of the mother board.

  8. WIX2NHfkGiEoJ6KK
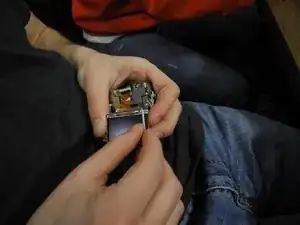
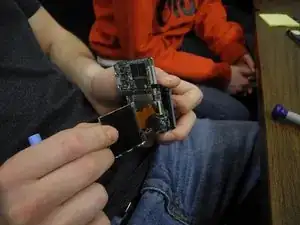
    • Unhinge the outer case of the screen from the back of the camera. The screen should still be hanging by wires.

  9. Ki4tMZXVl3BUcVaD
    • Remove outer case/rim of screen from the back of the camera. The screen should still be hanging by the red wire and white wire.

  10. jWJGKfETBxxC1kQY
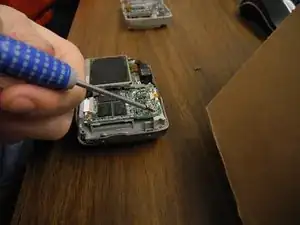
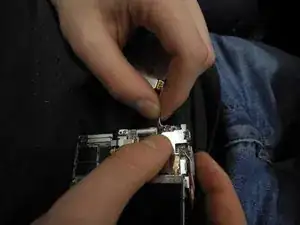
    • Pull out the red wire and white wire attaching the screen to the motherboard.

  11. BV61rcQfdMyfJBah
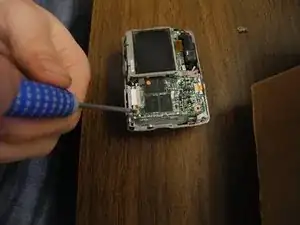
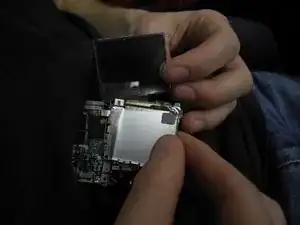
    • Flip up black lever holding data cable to motherboard, and remove data cable from motherboard.

Abschluss

To reassemble your device, follow these instructions in reverse order.
Melissa

Mitglied seit: 12/02/13

240 Reputation

0 Kommentare