Einleitung
This installation guide will help you remove the rear and front casing of your Nikon Coolpix 4600.
Werkzeuge
-
-
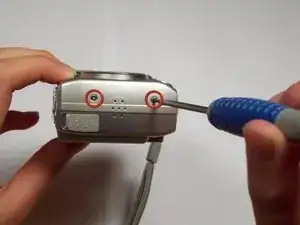
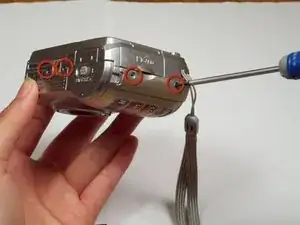
Locate the six screws on the outside of the camera (2 3.3 mm on the bottom, 2 5.25 mm on the left, and 2 5.25 mm on the right).
-
Using a Phillips 00 screwdriver, remove all of the six screws.
-
-
-
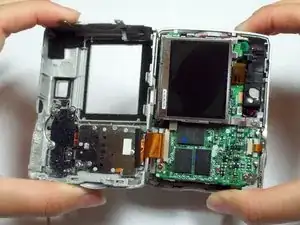
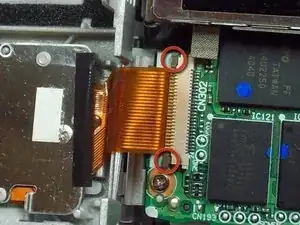
Look closely at the connection between the ribbon cable and the motherboard. Locate the two grey tabs on either side of the connecting bracket.
-
Slide the grey tabs toward the bottom of camera. Gently disconnect the ribbon cable from the motherboard.
-
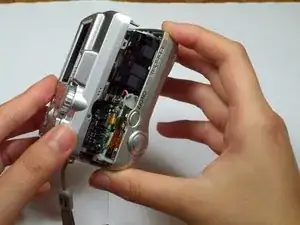
After disconnecting the data ribbon, you can now separate the back case from the front case.
-
Abschluss
To reassemble your device, follow these instructions in reverse order.
