Einleitung

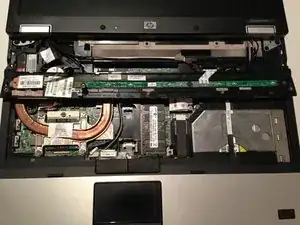
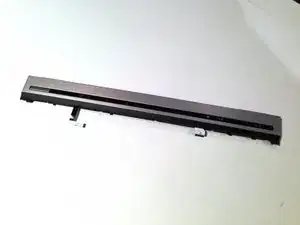
This guide will show you how to remove the switch cover assembly from the laptop.

  1. AAOUjOHZkOTWs2JT
    AAOUjOHZkOTWs2JT
    qJjsTHg55QxaoiKd
    L66CHAAZKtUVa4iU
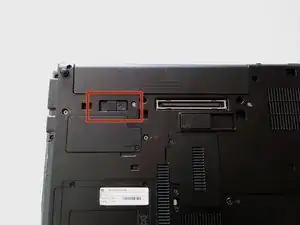
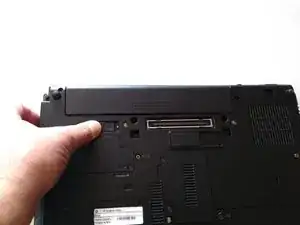
    • Flip laptop over and locate the battery release button

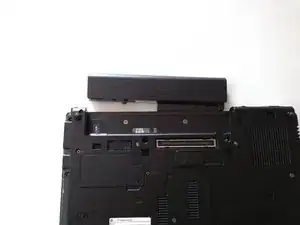
    • Push release button to the left to release battery and gently pull battery from the laptop

  2. knwSh53f2YplWXoQ
    knwSh53f2YplWXoQ
    nHHREcNLDgSvvBXN
    QN52i1Yvp6yoXFaw
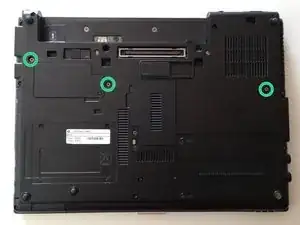
    • Loosen the three Phillips 2.5×9.0 captive screws that secure the keyboard to the laptop

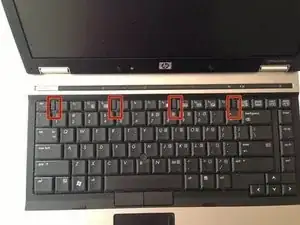
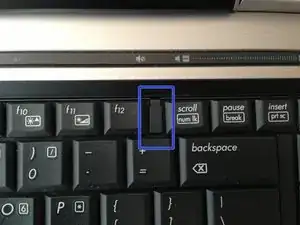
    • Turn the laptop so the keyboard is facing up and locate the 4 retention tabs along the back edge of the keyboard

    • Slide the retention clips toward the keyboard to release the keyboard

  3. PjcCbK5OWko2cHTD
    PjcCbK5OWko2cHTD
    nXHTSu33oITLYqIt
    qJkemRyVB1rnAgGE
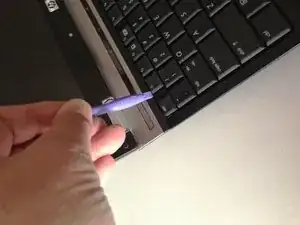
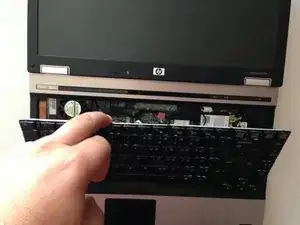
    • Use a plastic pry tool to lift the rear edge of the keyboard.

    • Pull the keyboard slightly towards the display to disengage the tabs along the front of the keyboard from the laptop palm rest.

    • Lift the keyboard up to reveal the ribbon connectors

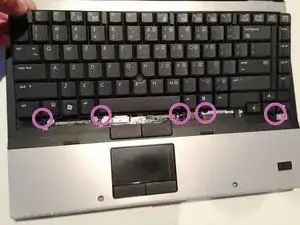
    After loosening the four moveable tabs at the screen end you simply pull slightly to the right to loosen the left side and then up to loose the five tabs in the lower end, then flip keyboard over so keys face the screen.

    e5frog -

  4. L5P2IsDAJmVlJLeR
    L5P2IsDAJmVlJLeR
    LqVigjK4TYFQOlGj
    InCISpASyQNf3Oxk
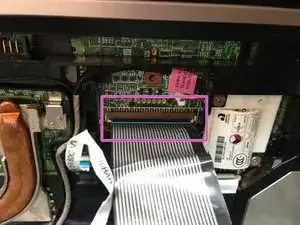
    • Release the larger ribbon cable by flipping the brown retainer up so it is parallel with the ribbon cable

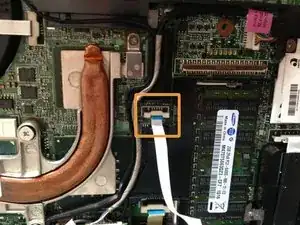
    • Release the smaller ribbon cable by lifting up the white retainer

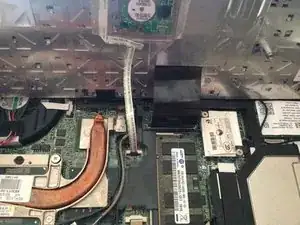
    • I found it easier to reinstall both cables with the new keyboard resting on the back edge

    There is no need at all to loosen any ribbon cables, after flipping keyboard so it faces keys against screen you can simply remove the RAM. Don't fiddle with the ribbon cables.

    e5frog -

    Unless, of course, that your actually replacing the keyboard! In which case, remember to keep that rubber pointing device for replacing the one that you’ll probably eventually lose.

    Dennis -

  5. VNjfHSp1JtpZTmJj
    VNjfHSp1JtpZTmJj
    MHFRS1xyegqCl54l
    SEgrcHeoUvZEpD33
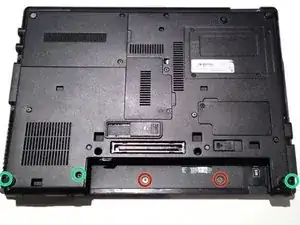
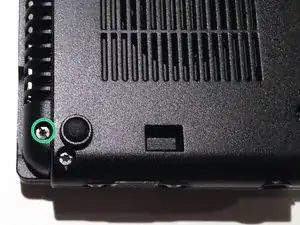
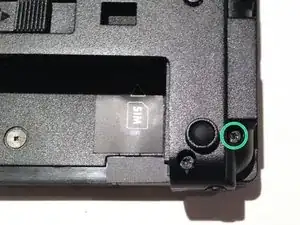
    • Remove the two M2.0×4.0 broad-head screws.

    • Remove the three Torx T8 M2.5×7.0 screws.

  6. yNerKi1fRmAFDqvY
    yNerKi1fRmAFDqvY
    iimYIGM1sqSufA3C
    AEpPtggi6AtJsUU2
    • Turn the computer over with the front toward you and the open the computer as far as possible.

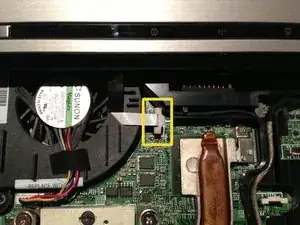
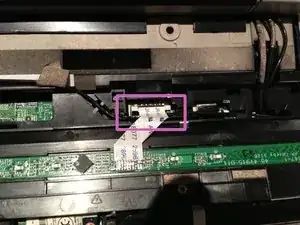
    • Release the ZIF connector for the power button board cable.

    • Remove the switch cover by lifting it straight up and flip it forward.

    • Release the ZIF connector for the LED board cable.

Abschluss

To reassemble your device, follow these instructions in reverse order.
Richdave

Mitglied seit: 10/04/10

31842 Reputation

0 Kommentare