Einleitung
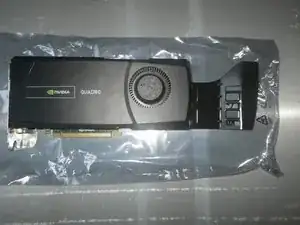
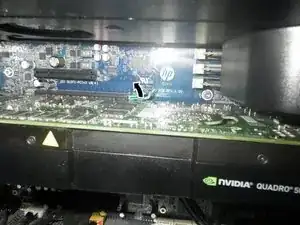
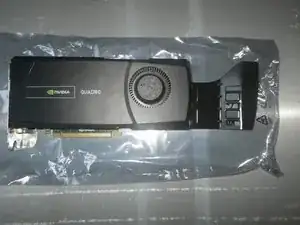
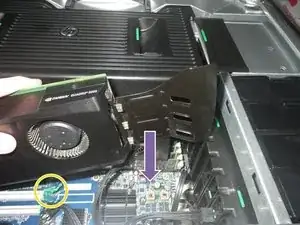
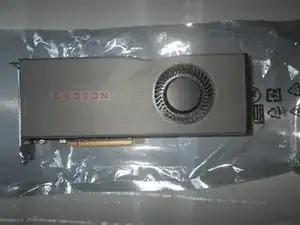
This central unit hasn't got the same GPU as the tutorial. In fact, the GPU is a reduced version. However, for the full-size GPUs, they normally come with a guide for avoiding physical damages on the GPU or on the GPU port.
This guide is screwed to the GPU, and it makes the replacement process more difficult and delicate. That's why this replacement tutorial will have the reinstallation stages.
There will also be a stage that shows the compatible GPUs in terms of size.
-
-
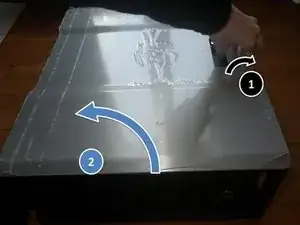
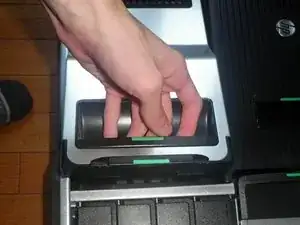
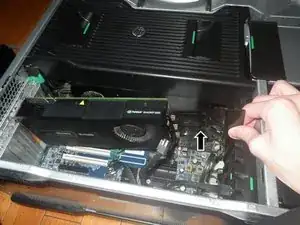
First, pull the handle and raise the upper part of the case.
-
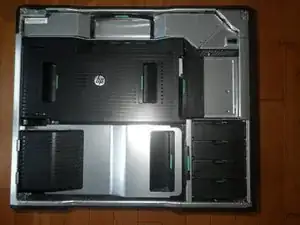
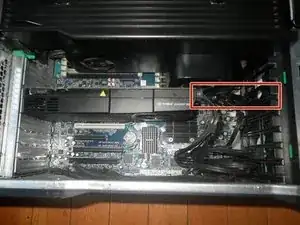
After taking the upper part off, you'll see the covers of the different pieces of the PC.
-
-
-
The GPU has a guide. It's necessary to pay attention and don't forget about it while taking the GPU off.
-
-
-
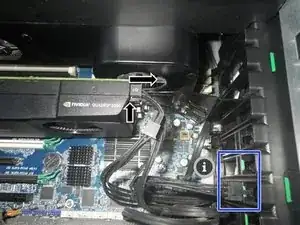
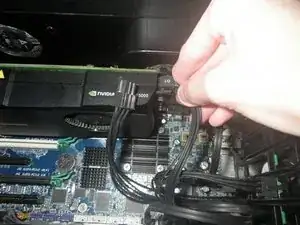
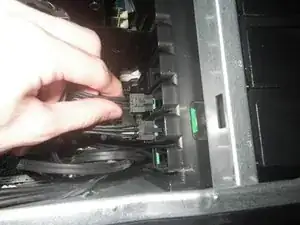
Disconnect the power connector from the GPU.
-
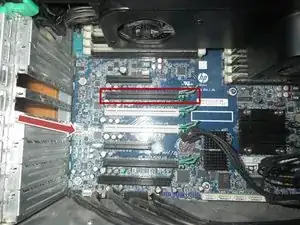
You can clip the connectors in a specifically designed place.
-
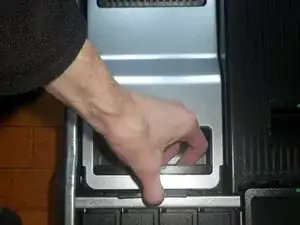
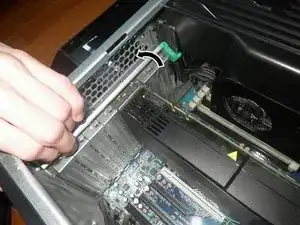
Raise the rod that maintains the PCI GPU in place.
-
-
-
Raise the tab that maintains the GPU in its port.
-
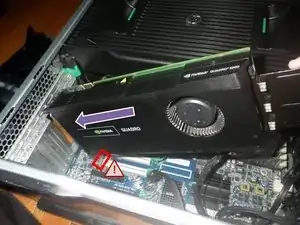
Raise the GPU slowly from the side of the guide until the GPU partially comes out of its port.
-
Then raise the GPU from its other side.
-
-
-
Introduce the new GPU at 45º from the motherboard.
-
Place the guide in front of the correct spot and push the GPU ensuring that it's completely introduced in tis PCI port.
-
To know if your GPU is well installed, check if the tab is well triggered.
-
-
-
Insert the GPU along the PCI bracket until its connectors are completely introduced in the PCI port.
-
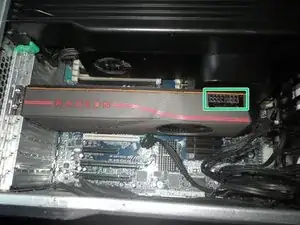
Don't forget to connect the power supply connectors to the GPU if it's necessary.
-
-
-
The Sapphire RX 5700XT GPU has the maximum height that fits in the case without problems.
-
As it's already explained, the case has special spots for clipping the unused power supply ports.
-
The reinstallation stages are included in the tutorial.
