Einleitung
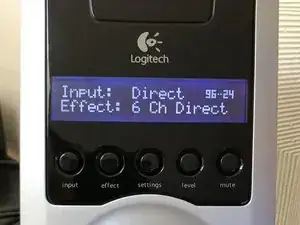
This rather exceptional speaker kit has very few problems, but sometimes the control screen no longer has a backlight or does not work very well.
The goal here is to replace it. Apart from the soldering part, it is a relatively simple operation.
I added references to compatible screens in the part description; I was able to buy mine on aliexpress.com.
Werkzeuge
Ersatzteile
-
-
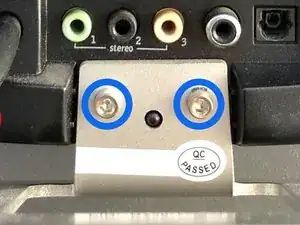
Remove the stand by unscrewing the two screws with a #3 Hexagon driver.
-
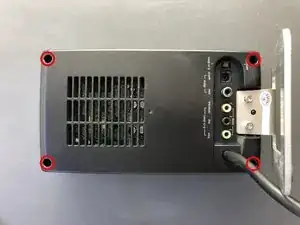
Remove the 4 screws, one from each corner of the case, with a Phillips #2 screwdriver.
-
-
-
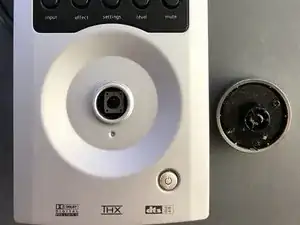
Remove the volume button on the front of the pod. It may be a little difficult to pull off because it is lightly glued.
-
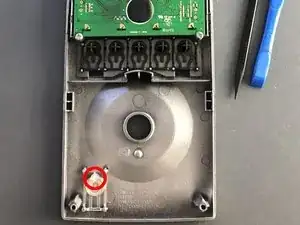
Separate the two sides by removing the two pieces (black and gray). They are clipped in 3 different places.
-
-
-
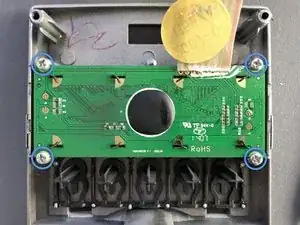
Remove the 4 screws with a Phillips #2 screwdriver.
-
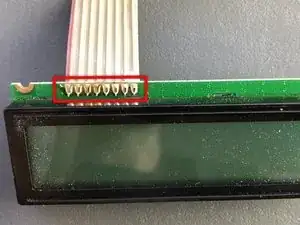
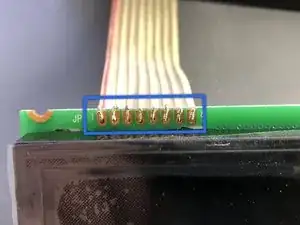
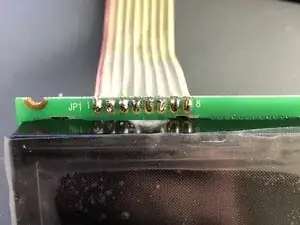
It will be necessary to desolder all the wires in the ribbon cable more or less at the same time. You can also simply cut the end of the ribbon cable and strip the individual wires.
-
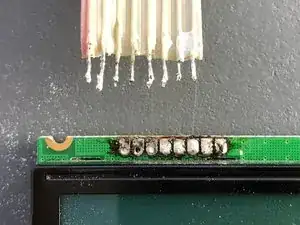
Clean the wires so that they are not too thick. (we can do much better than in the photo!)
-
-
-
Reassemble the case, plug it in, and enjoy a brand new display! Here we go again for 10 years!
-
To reassemble your device, follow the instructions in reverse order.
Ein Kommentar
Tuto très bien fait !
Très facile à réaliser en sachant qu’il n’y a pas de mauvaise surprise de fixations ou câbles collés. Merci !!!
Ceci étant, on ne trouve l’écran plus qu’ici :
