Einleitung
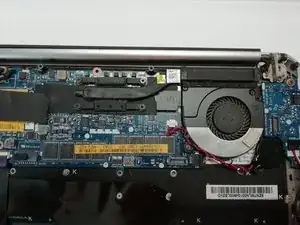
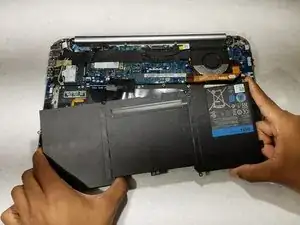
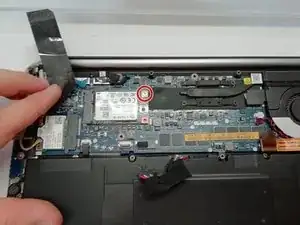
Your motherboard is no longer working? This is a real shame, but you have the chance to be on this tutorial that will guide you through the process of replacing it.
Werkzeuge
-
-
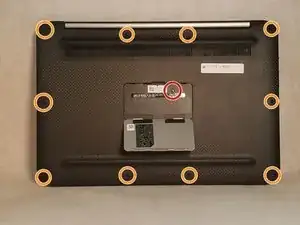
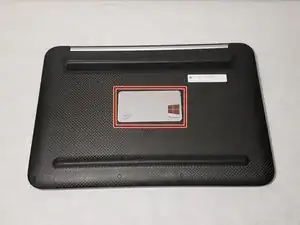
Pop the center cover open on the bottom cover.
-
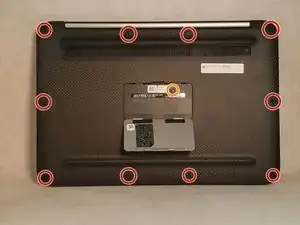
Remove the center screw with a #00 Phillips screwdriver.
-
Use a T5 Torx screwdriver for the remaining screws around the edge of the bottom cover.
-
-
-
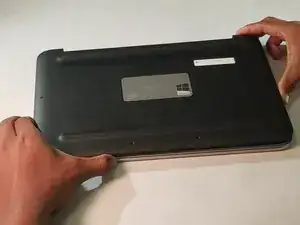
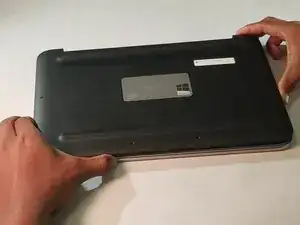
Close the laptop, flip the laptop over, and pop off the back small panel with a flathead screwdriver. The panel will be hanging by the hinges once open.
-
-
-
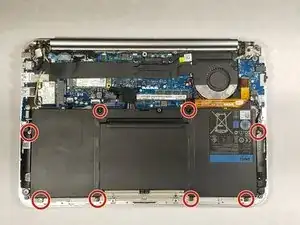
Use a T5 Torx screwdriver to remove the screws along the edge of the bottom cover.
-
Open the center cover and use a Phillips #00 screwdriver to remove single screw.
-
-
-
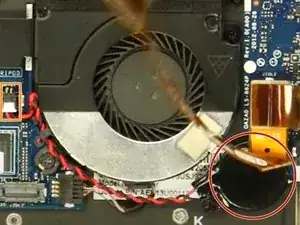
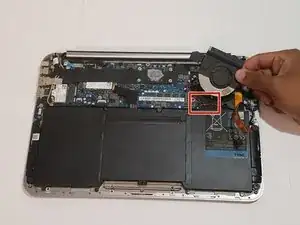
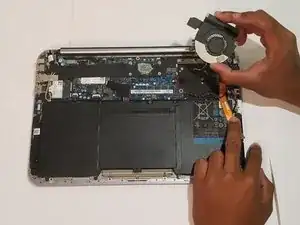
Disconnect yellow-colored ribbon cable from its port which sits at the bottom left of the fan housing.
-
-
-
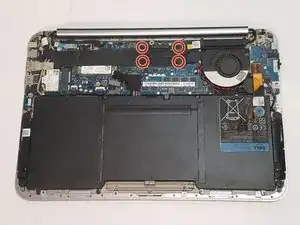
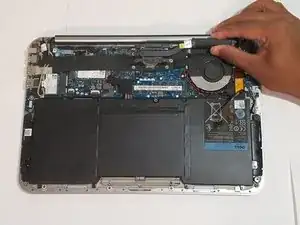
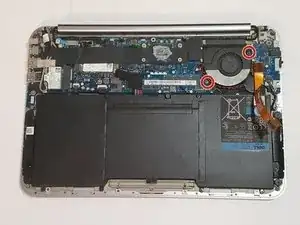
Use a Phillips #00 screwdriver to loosen the screws that secure the heat sink's heat spreader.
-
-
-
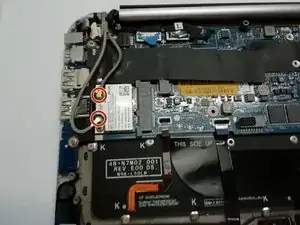
Disconnect the two wires from the WiFi card. You can do this with a pair of pliers or your fingernail.
-
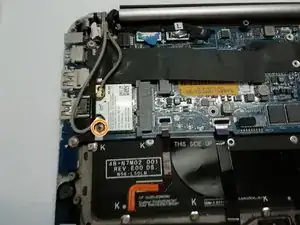
Remove the screw with a #00 Phillips screwdriver.
-
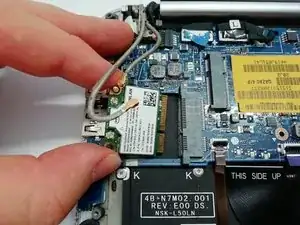
Now remove your WiFi card to replace it.
-
-
-
Remove the screw with a #00 Phillips screwdriver.
-
Remove the hard disk from its location.
-
-
-
Remove the connector with a pair of pliers or your fingernail.
-
Remove the screws with a #00 Phillips screwdriver.
-
Remove the card afterwards.
-
-
-
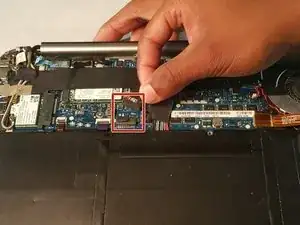
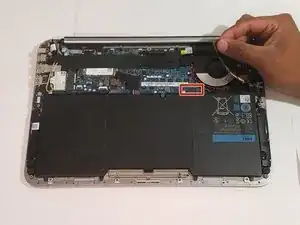
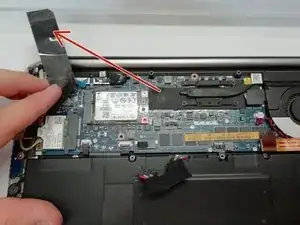
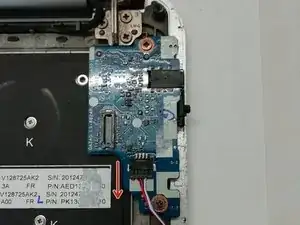
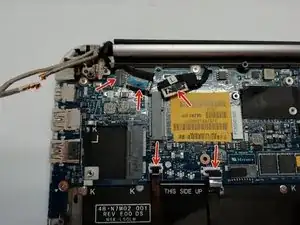
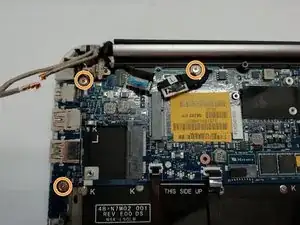
Disconnect the various connections from the motherboard.
-
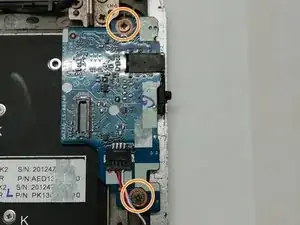
Remove the screws with a #00 Phillips screwdriver.
-
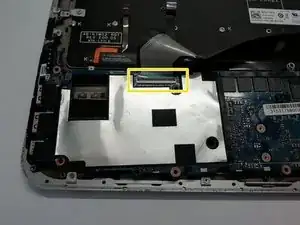
Carefully turn the motherboard over to disconnect the tablecloth from the keyboard.
-
You can now replace the motherboard.
-
To reassemble your device, follow the instructions in reverse order.
