Einleitung
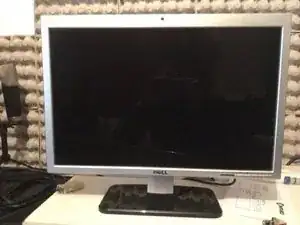
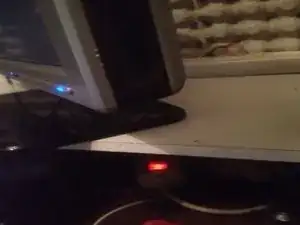
Symptom(s): the screen turns on and off immediately (a recurring failure on many flat screens of all brands)
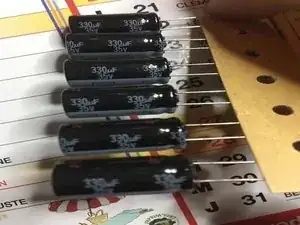
The 330uf35v105° capacitors located too close to the heat sinks burst.
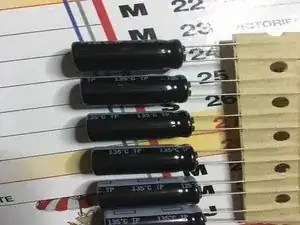
I suggest you replace them with more resistant little brothers, the 330uf35v135°
-
-
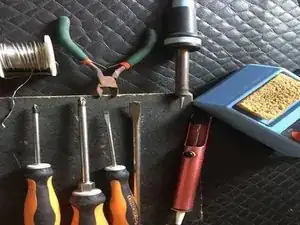
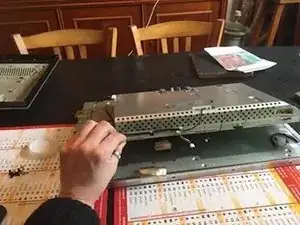
You will need all the tools on the pictures, flathead screwdriver, large and small Phillips screwdrivers, large and small soldering iron for precision desoldering, some tin, desoldering pump (also known as solder sucker), small cutting pliers, and patience
-
-
-
The screen consists of 4 parts GRAY frame, clipped to a BLACK section that is itself attached to the BACK COVER on the inside, and the foot (or support) depending on your installation.
-
-
-
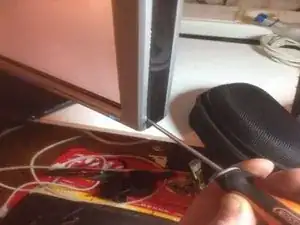
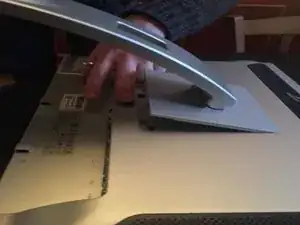
De-attach the front of the black outline, be careful it is plastic ... the easier to start from corners using the small flat screwdriver
-
-
-
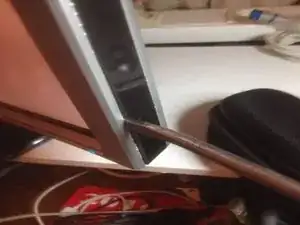
Once unclipped ; You can use the biggest flathead screwdriver to separate the rest of the black edge, being careful not to scrape the outside, and being extra sure not to break the fasteners.
-
-
-
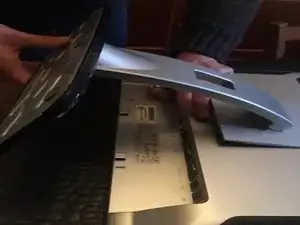
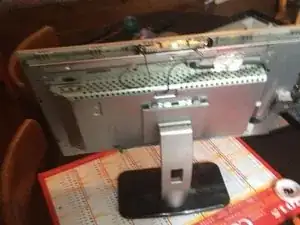
The front panel is now totally un-clipped, put the screen (screen side down) against the table, being careful not to re-clip the front, then remove the stand
-
-
-
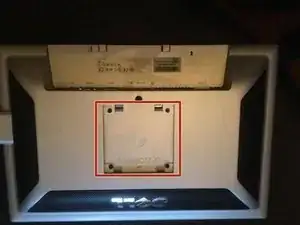
Under the mount bracket you find 4 large black screws. Take your large Phillips screwdriver and unscrew them. You can now remove the rear cover.
-
-
-
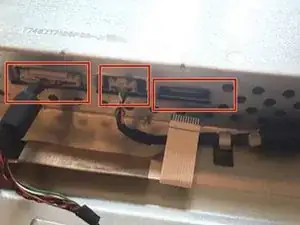
Disconnect the various connectors with a small Phillips screwdriver, remove the webcam and disconnect it
-
-
-
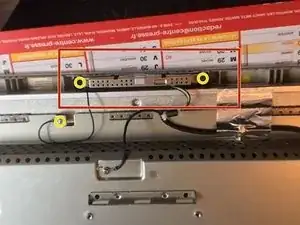
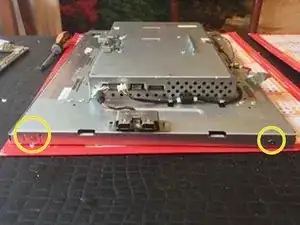
Disconnect the usb hub, ribbon and other connector from the webcam cable. You also have four other connectors to be disconnected located on the top and bottom right as shown in the picture.
-
-
-
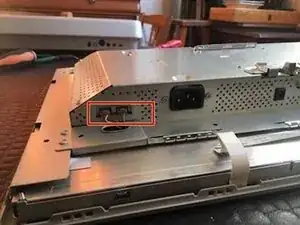
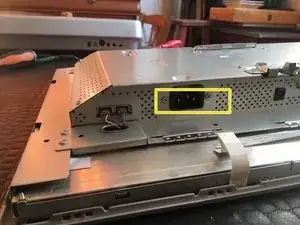
The most delicate part of the repair is unpluging video cable
-
Caution if the slot of the video cable breaks the screen will be unrecoverable.
-
-
-
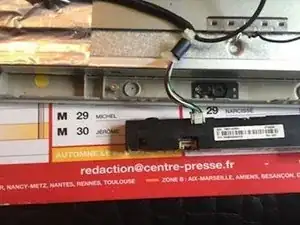
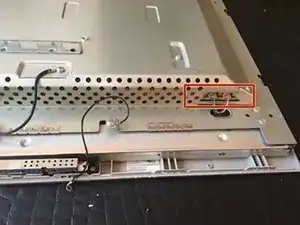
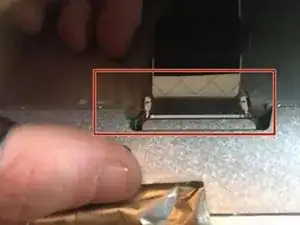
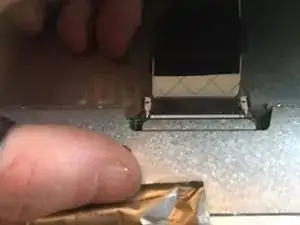
Between the metal cover and the screen, disconnect the video cable. Press each side toward the center, and push toward the bottom of the screen to remove. Please take your time. and be careful!!
-
-
-
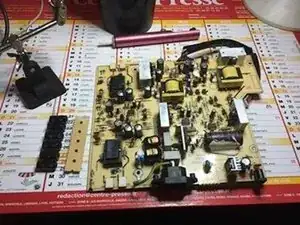
Once the ribbon is disconnected, you can remove the metal cover from the display. Good job, the hardest part is over.
-
-
-
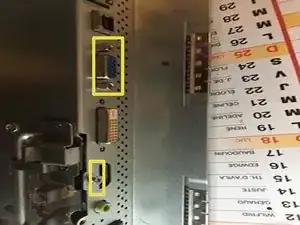
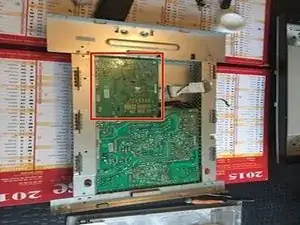
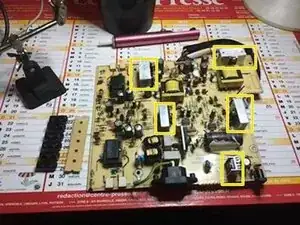
Take the metal cover, remove the 4 screws of the smallest of the 2 electronic boards (Video card) and unplug the only slot
-
-
-
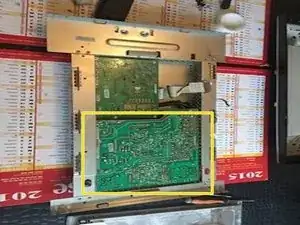
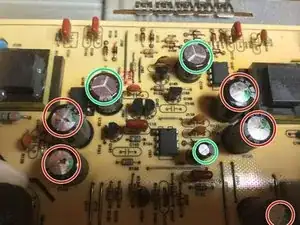
You need to REPLACE defective capacitors ... How? In this case, its simple, since the capacitor was subjected to a temperature exceeding 105 ° inside the screen, it burst.
-
-
-
When the screen is on for several hours, the cards are not well ventilated with the capacitors placed next to the heat sink.
-
But be careful this is not a general rule for testing a capacitor.
-
-
-
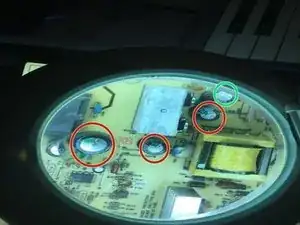
If the top of the capacitor is not flat; it means its died example showed in red , in green the living. In yellow heat sink.
-
-
-
Take the time to observe your card, mark the capacitors with rounded top, with a marker, and their polarity, even if the polarity is written on the card at dell not all manufacturers do that ...
-
the identification before disassembling is a good habit to prevent undesired surprises at the reassembly.
-
-
-
Once the 6 capacitors have been changed you can screw the power card back and follow the instruction back wards
-
Be careful, do not forget to reconnect everything. And long life to you and your Dell SP2208wft. Do not throw any more, repair! You can do it !!!
-


To reassemble your device, follow the instructions in reverse order