Einleitung
This is truly a quick and dirty guide to the repair of the wiring. This Bose headset is pretty straight forward. Of course, I will clean it up and make it a bit more presentable.
Werkzeuge
-
-
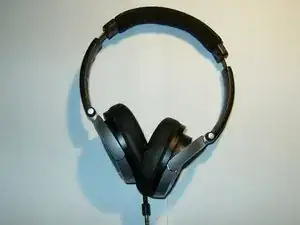
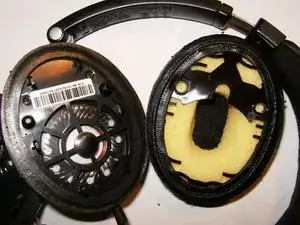
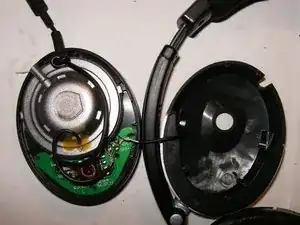
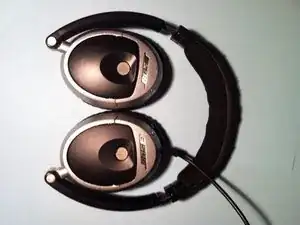
Here is the Bose Tricore OE headset. Slightly worn, it does not produce any sound to the right side driver
-
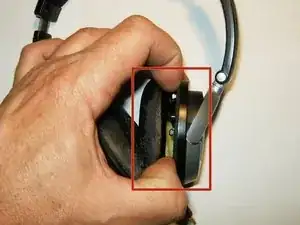
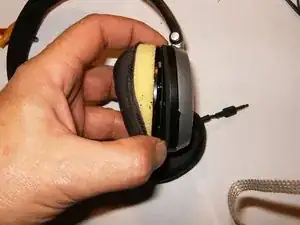
Remove the ear pads by simply applying a bit of force between the ear pads and the housing. The ear pad will simply snap off
-
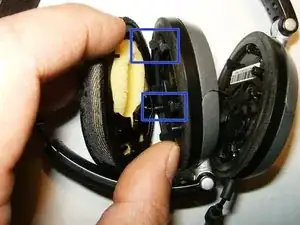
This shows the snaps that attach the ear pad to the case.
-
-
-
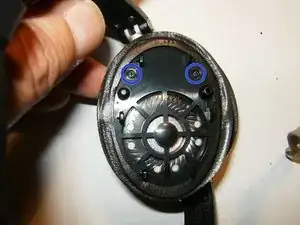
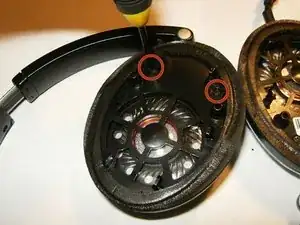
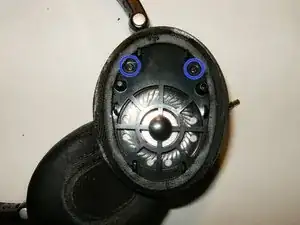
With the ear pad removed, the Phillips screws that hold the drive to the case, are now visible.
-
Remove the two screws on top
-
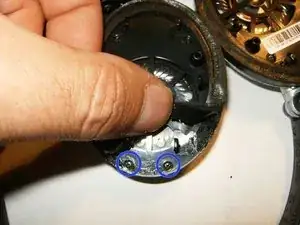
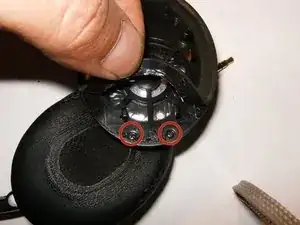
There are two more under the padding on the bottom. Remove those as well.
-
-
-
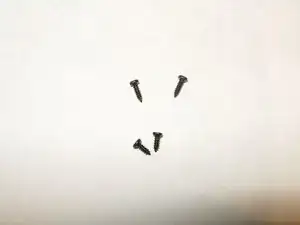
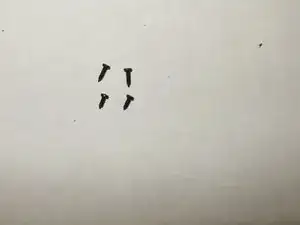
The first two screws are longer than the two from under the padding, so keep them separate.
-
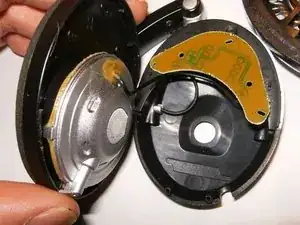
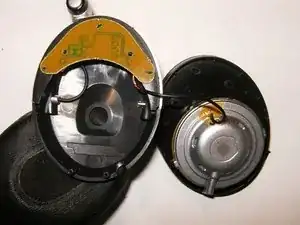
With the screws removed, the driver (speaker) can now simply removed by just folding it over.
-
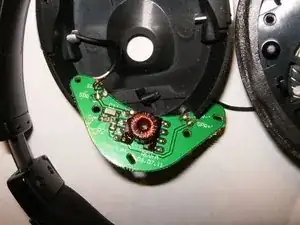
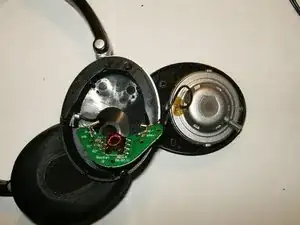
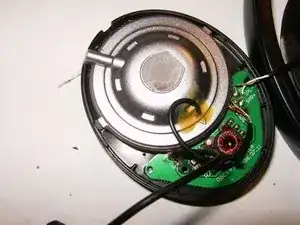
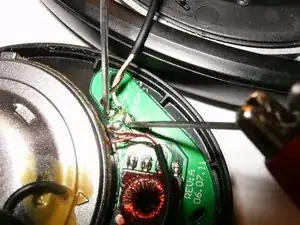
There is a small PCB to which the driver (speaker) mounts. Check the solder connections of the driver (speaker) to the board, as well as the components on this board. It consist of a few caps, resistors, and a coil.
-
-
-
Since both driver (speaker) wiring will be checked, remove the left ear pad as well.
-
Same screw configuration. Two screws on top,
-
two screws under the bottom pad,
-
-
-
The Phillips screws are identical and do not need to be separated
-
Remove the driver from the case by simply flipping it to the side.
-
Same PCB on both sides. Check the solder connections from the driver (speaker) to the PCB.
-
-
-
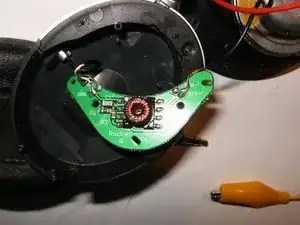
Here is the PCB of the right side driver (speaker)
-
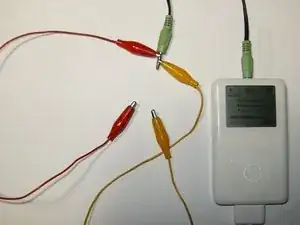
Simple setup to test the driver (speaker) Two leads with alligator clips, connect those to an 3.5mm audio jack extension.
-
Use those leads and touch the connector of the driver (speaker) on the PCB. There will be sound if the driver (speaker) is working.
-
-
-
Time to disassemble the left side. Remove the ear pad
-
Remove the two screws on top
-
then the two on the bottom.
-
-
-
Remove the driver (speaker) from the case
-
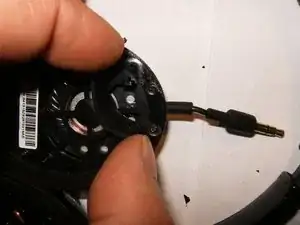
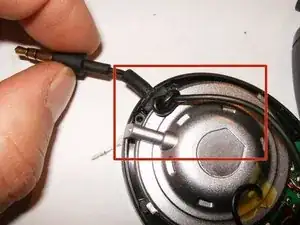
Make note off how the audio jack cable is fastened.
-
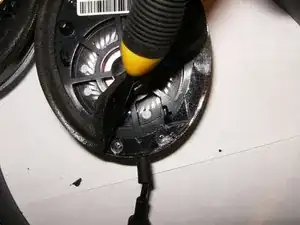
Remove the audio jack cable from the case. It is simply a rubber plug that is pressed into the case.
-
-
-
Check the driver (speaker) the same way as on the left side.
-
On this headset, both drivers worked while being tested, but not when the audio was connected to the audio jack. The jack needed to be replaced.
-
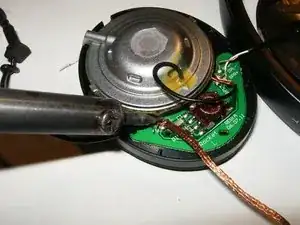
Desolder the audio jack cable by using a soldering wick. Apply flux to the wick prior to unsoldering.
-
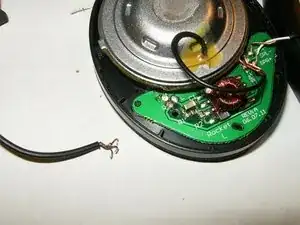
Remove the old audio jack cable.
-
-
-
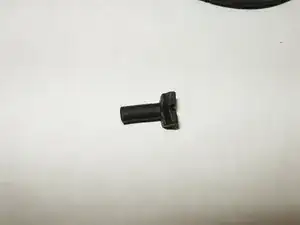
Here is the rubber boot that holds the audio jack cable in place.
-
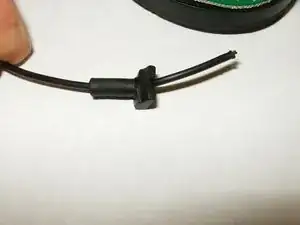
Insert the replacement cable as shown through the boot. Solder the new cable to the PCB.
-
Reassemble the headphones after double checking the solder job. This one also received new ear pads (readily available at online auction sites) and works perfectly.
-
To reassemble your device, follow these instructions in reverse order.
3 Kommentare
Hi - Thanks for the guide. I have a left earphone not working, what can I deduce from that? everything looks ok on the right side. Guess it can be the audi jack cable?
Hi, what should the resistance of the speaker be?
Do you know where I can buy a new speaker?
What is the function of the PCB,
