Einleitung
Werkzeuge
-
-
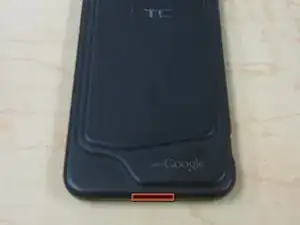
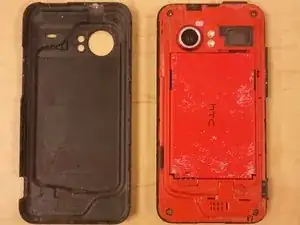
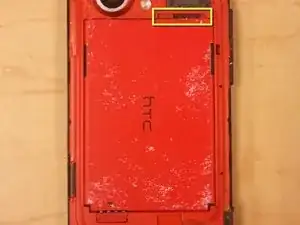
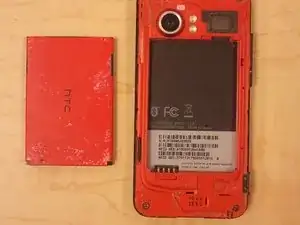
Pry off back plastic, starting at the gap provided at the bottom of the phone. A spudger can be used to make this easier.
-
-
-
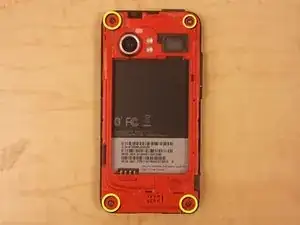
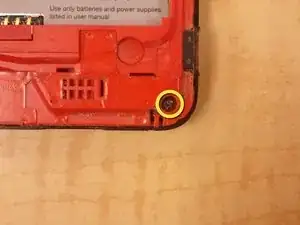
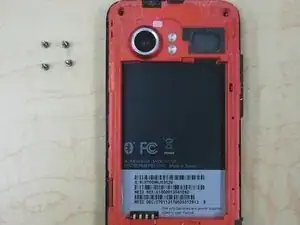
Remove 4 corner screws, you may have to remove a "VOID" sticker from one of the screw heads.
-
-
-
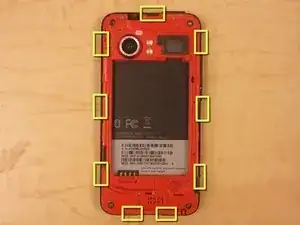
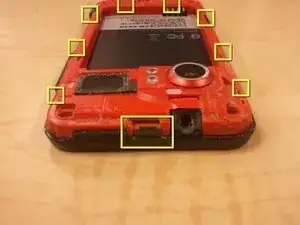
Using a spudger, unclip the nine clips holding the back panel to the front panel, highlighted in included pictures.
-
Start at the top, and work clockwise, being careful not to break the clips.
-
There are, 1, 3, 2, and 3 clips on each side, respectively.
-
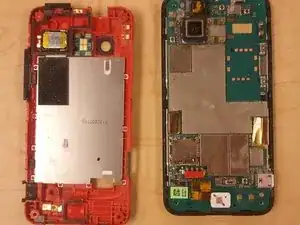
After the clips are disengaged, there are no cables holding the back panel in place.
-
-
-
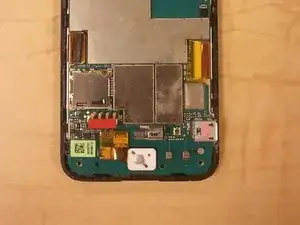
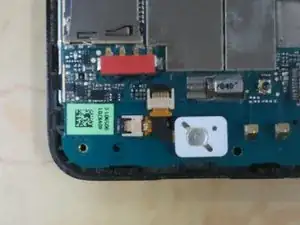
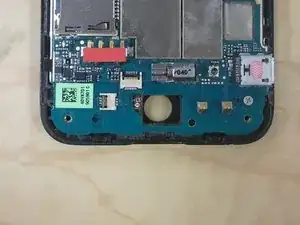
Use your spudger to release the jaw clip holding the Optical Track Pad cable to the logic board.
-
Remove Optical Track Pad from logic board.
-
-
-
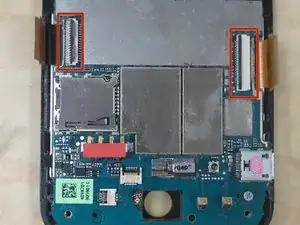
Use your spudger to release the remaining clips, disconnecting the ribbon cables from the logic board.
-
-
-
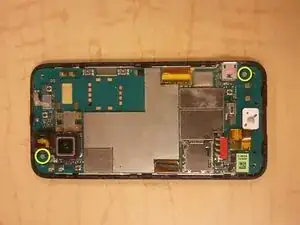
Remove 2 Phillips Screws holding the logic board to the front panel.
-
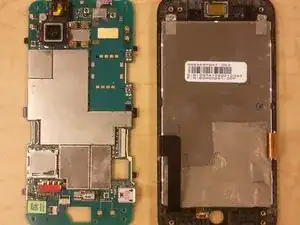
Gently lift the logic board off the front panel.
-
-
-
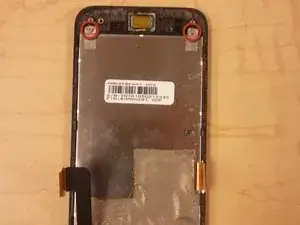
Remove the two phillips screws from the top of the LCD frame.
-
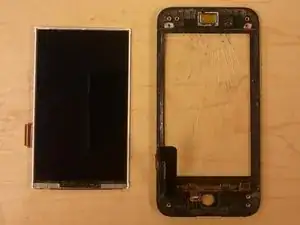
Use your spudger to pry the LCD out of the frame.
-
-
-
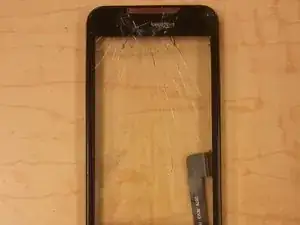
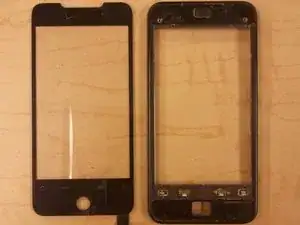
Once the LCD has been removed from the frame, the Digitizer can be gently pushed out from the back.
-
Be sure to catch the speaker cover as it is released from the digitizer, you will need to replace it when reinstalling the digitizer.
-
There is adhesive tape holding the Digitizer to the front panel, heating around the edges of the digitizer will help to loosen it, if it sticks.
-
After the digitizer is removed, you may wish to remove the adhesive tape and reapply before replacing the digitizer.
-
To reassemble your device, follow these instructions in reverse order.
