Einleitung
Werkzeuge
-
-
Before you begin, be sure to remove the battery.
-
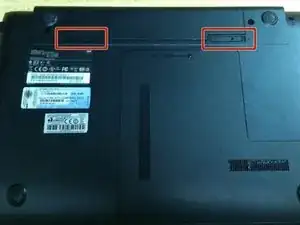
Slide both battery locking mechanisms in the direction of the arrows.
-
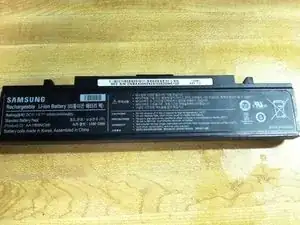
Gently pull the battery out of the laptop.
-
-
-
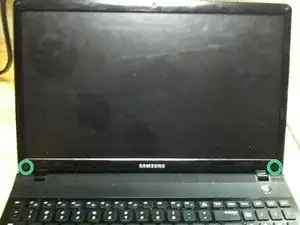
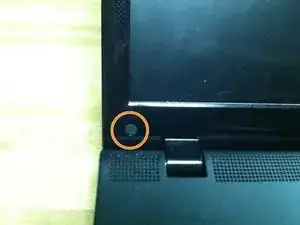
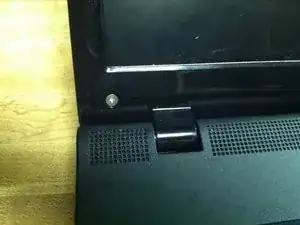
The black plastic bezel is secured to the housing by 2 screws on the bottom left and right of the screen.
-
With a pair of tweezers or a razor blade, carefully peel off the tape covering the two screws.
-
Remove the screws.
-
-
-
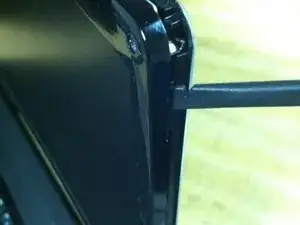
Insert a black plastic spudger or safe-open pry tool between the bezel and the rear housing of the screen.
-
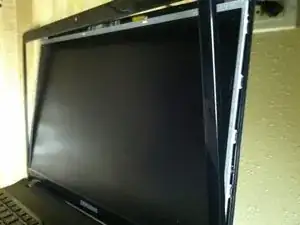
Work your way around the sides and top of the screen, carefully separating the bezel from the housing.
-
Finally, pry the bottom portion of the bezel free of the back housing.
-
-
-
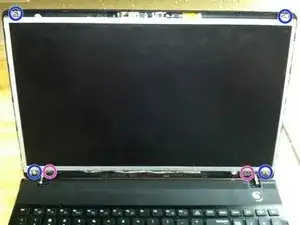
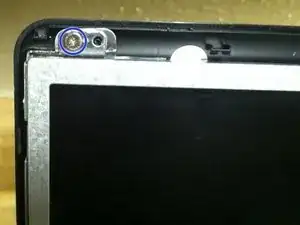
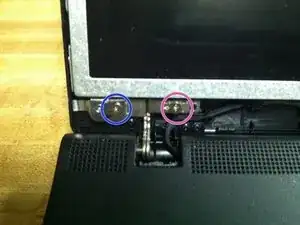
Remove all 4 screws that secure the LCD to the back housing.
-
The innermost screw (shown in magenta) in each of the bottom left and right corners does not need to be removed.
-
-
-
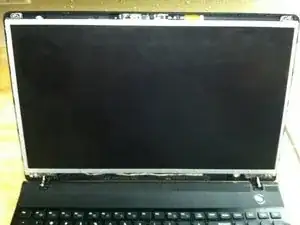
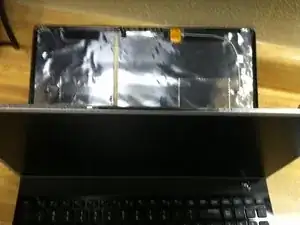
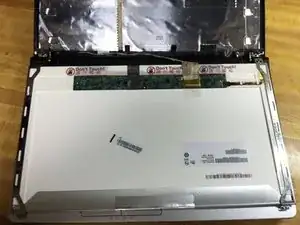
Grab the top corners of the LCD and gently fold the LCD down until it is resting on the keyboard.
-
-
-
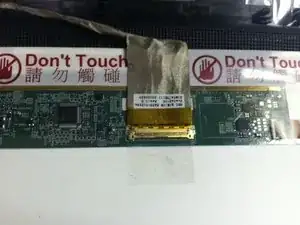
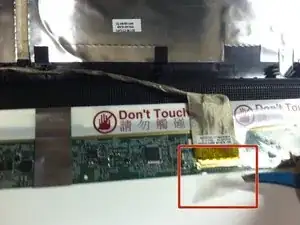
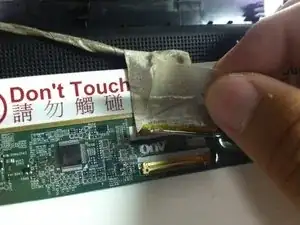
The LCD connector is taped into its socket.
-
Use tweezers to carefully lift the clear tape holding the connector down.
-
Once you peel the tape past the gold portion of the connector, the connector should pull out easily.
-
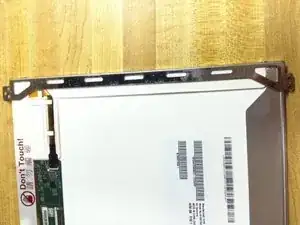
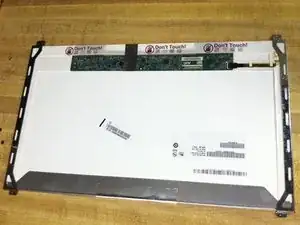
If you purchased a replacement LCD with the metal brackets pre-attached, then you are finished. If not, continue reading!
-
-
-
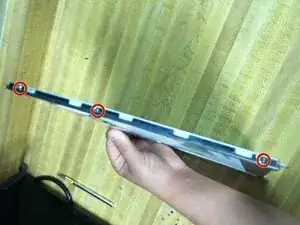
There are 3 screws holding each bracket to the LCD. Remove these screws and swap the original mounting brackets to your new part.
-
-
-
Finally, be sure that you order a new LCD that has the same backlight, resolution, and model number as the original.
-
To reassemble your device, follow these instructions in reverse order.
5 Kommentare
My Samsung laptop fell down so when I checked for damages everything was ok except my LCD back light is not working I hardly see what's on the screen. Please help how can I fix this problem
If your backlight is not working then the issue may probably lie in the inverter, which steps up battery voltage to power the backlight, rather than the screen itself. I am not familiar with this model, but the inverter is probably attached to the wire that goes into the LCD cable, perhaps below the hinge or just below the speaker assembly.
To pop the speaker assembly out you may have to undo some screws that are covered by components such as the hard drive or battery.
Hello, thanks for this write up, my Samsung NP300E5A fell and the display change colors & had white Lines that changes position anytime, I hardly see original color and can't design graphics as a result of this. Please what's likely to be the problem??
lepykay -
It's likely the LCD that needs to be replaced. If you purchase a screen on ebay or one of the laptop screen sales websites and follow this guide it should work again. Would you be able to send me a picture of what the screen is doing so I can better advise?
Brad -
what is the bezel and LCD screw size. m2 or m3
kong ben -
