Einleitung

  1. NneLySE6gnA2YSaY
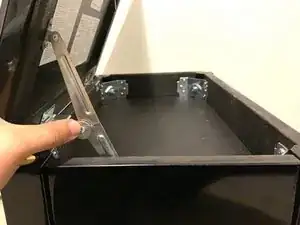
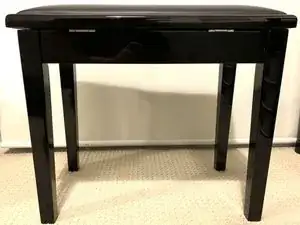
    • Place the bench on an even surface.

  2. MtIHs6gETb53JWND
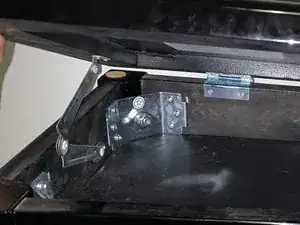
    • Open and lock its lid. Make sure it stays open during the whole procedure.

  3. Hn2P33mXQVS2LTB4
    Hn2P33mXQVS2LTB4
    NoqvrOAYuneaClmf
    NMHB4boSRMNJaJtl
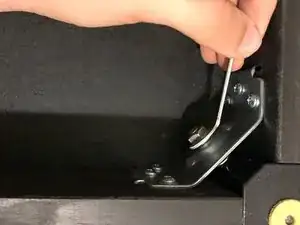
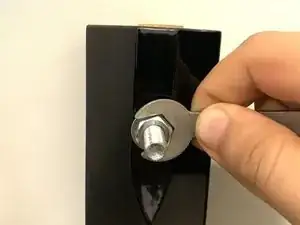
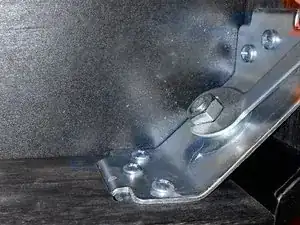
    • Unscrew the outer hex nut from one leg using the wrench and take the lock washer out.

  4. xayV4MKRXxhrjquN
    xayV4MKRXxhrjquN
    vr4Ajq1kbynAmOsb
    xXuPYinkXGKiVp5M
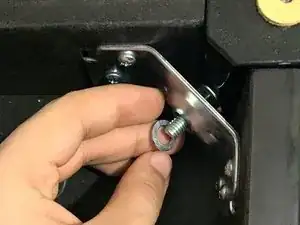
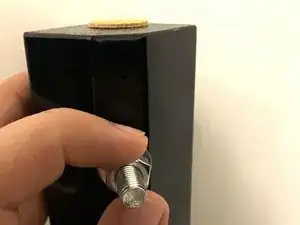
    • Take the leg out and unscrew the inner hex nut.

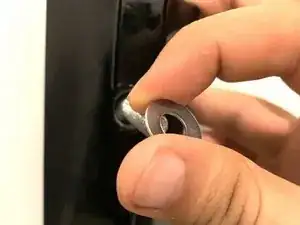
    • Replace the washers with the new ones and re-screw the hex nut tightly.

  5. usJOQLQgtlqlik6c
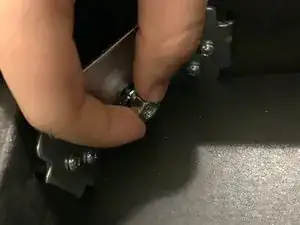
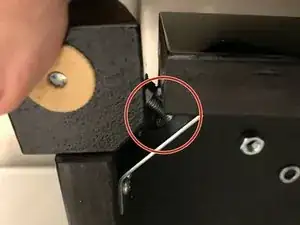
    • Connect the leg to the bench again using the new lock washer.

    • Screw the hex nut a few rounds, but do not tighten it yet.

    • Repeat Steps 3 through 5 for all four legs.

  6. XeXqBlEWRRwA6kHL
    XeXqBlEWRRwA6kHL
    wTHXdJaUGJrgxkgi
    • Add a little weight to the chair or push it down with two hands.

    • Turn all four outer hex nuts one round.

    • Make sure the bench is balanced and repeat until all hex nuts are tight.

  7. QpSDGtYtKXYnJ6Ft
    QpSDGtYtKXYnJ6Ft
    afjqoeqnGAPRFRGt
    • Close the lid seat on the chair.

    • If the chair is not balanced or if it makes noises, unscrew the outer nut two rounds and repeat Step 6.

Abschluss

You can redo this process every 6 months to make sure your bench is always stable.
Davood Dehghani Firoozabadi

Mitglied seit: 20/09/20

404 Reputation

0 Kommentare