Einleitung
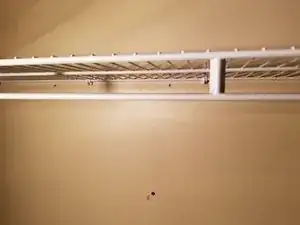
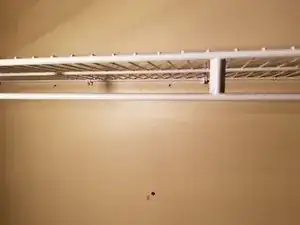
If your closet rack has torn out of the wall due to being overburdened by weight placed upon it or is damaging the wall and is close to collapse, then this guide will show you step-by-step how to repair and reinforce your closet rack.
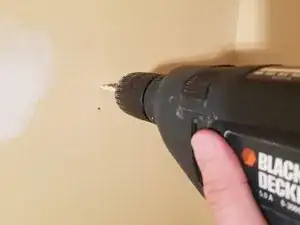
Before beginning, if you are unfamiliar with operating a hand drill or just need a quick brush up on your skills, then I recommend reading through this guide.
Werkzeuge
Ersatzteile
-
-
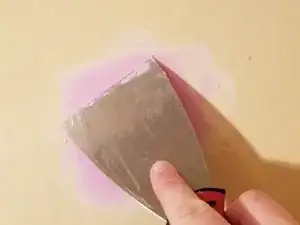
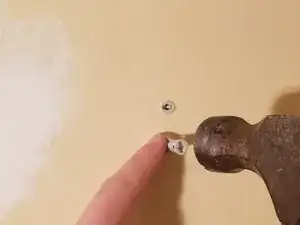
Use the putty knife and spread the dry wall compound filling any holes and damage made to the wall.
-
-
-
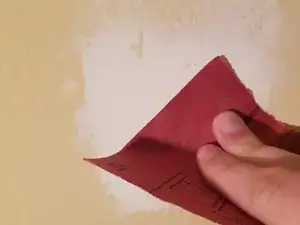
Use the 100 grit sandpaper and gently sand down the areas that were puttied, thus making them flush with the wall.
-
-
-
Measure and mark where the new holes will go for the brackets, c-clamps, and braces.
-
Mark holes for the c-clamps half the distance between the brackets.
-
-
-
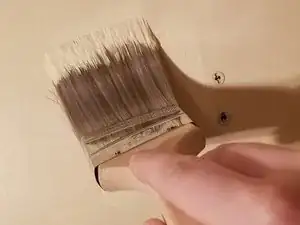
Use a brush and matching wall paint to coat the areas that were puttied and allow it to dry.
-
-
-
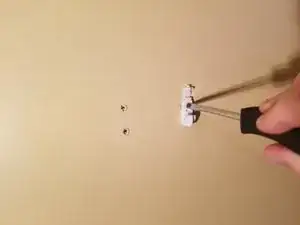
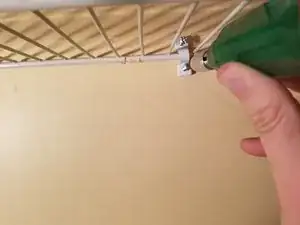
Use a Phillips screw driver to screw the c-clamps into the plastic anchors and reinforce the rack.
-
-
-
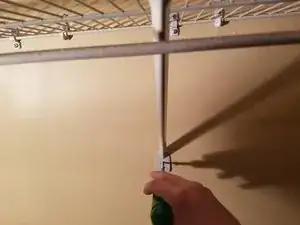
Place the support braces on the rack.
-
Use a Phillips screw driver to screw them into the plastic anchors.
-
