Einleitung
-
-
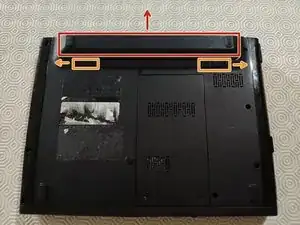
To remove the battery, unlock the two latches outwards (Orange) and hold them to remove the battery (Red)
-
-
-
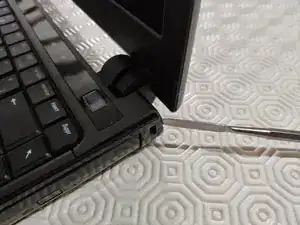
We're going to have to remove the top bar. To do this, simply unclip the edges carefully (no screws here).
-
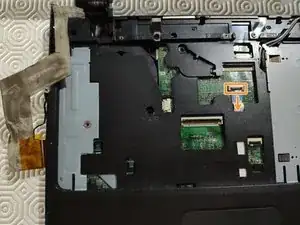
The tablecloth is in the middle of the bar. We will remove it after the keyboard so be careful when handling not to tear it off
-
-
-
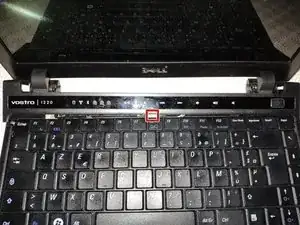
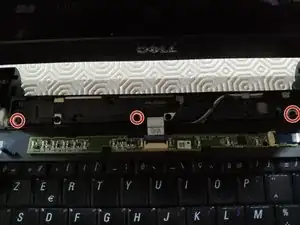
We have three screws to remove (red) below the bar that we unclipped in step 2 (be careful, the cable is still connected).
-
The keyboard unclips at the top and then removes by sliding upwards (the lower part inserts into the shell directly).
-
-
-
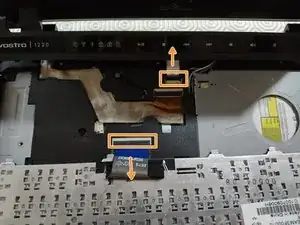
Disconnect the cable from the keyboard and the top bar so that you can remove the assembly and have access below.
-
-
-
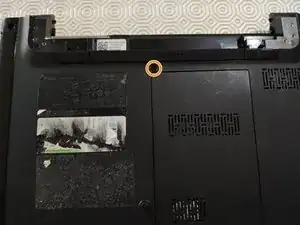
To disconnect the CD player, turn the laptop over and remove the only screw that holds it.
-
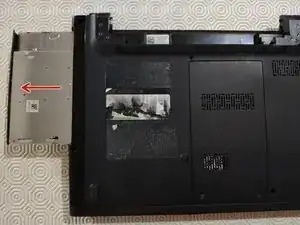
Once the screw is removed, simply take out the CD player.
-
-
-
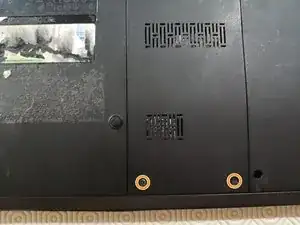
In order to disconnect the WiFi card, we will open the door by unscrewing two screws and unclipping the cover.
-
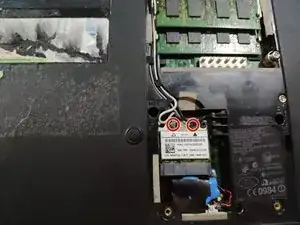
We then remove the two connectors from the Wi-Fi card.
-
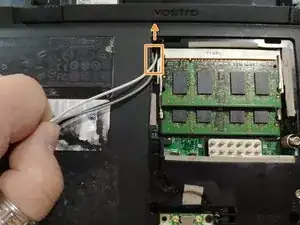
Finally, we remove the cables from the front of the laptop (the Wi-Fi card is located behind the laptop but the antenna is located in the screen).
-
-
-
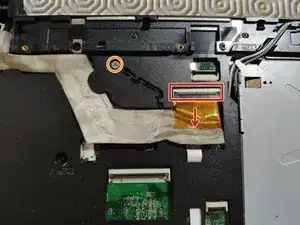
To disconnect the screen, we will detach the cable and the ground screw.
-
We will also disconnect the tablecloth from the motherboard.
-
-
-
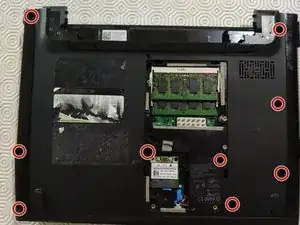
In order to detach the part of the shell below the keyboard, we will remove the last screws behind the laptop.
-
-
-
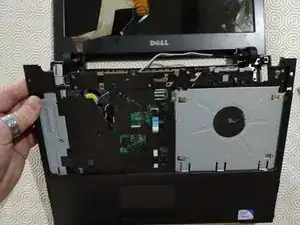
The upper part of the shell is removed by sliding down.
-
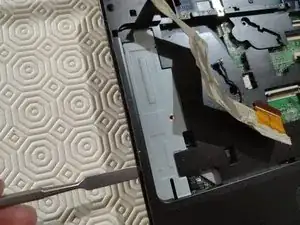
We will first unclip both sides and the top, then we will slide the shell down
-
-
-
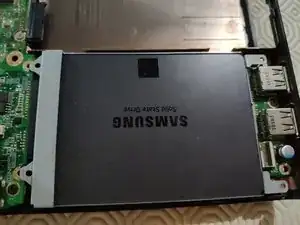
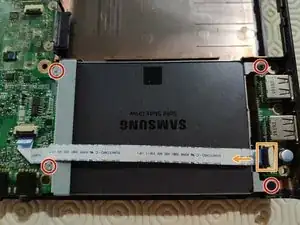
We will unscrew the hard drive cage as well as the tablecloth.
-
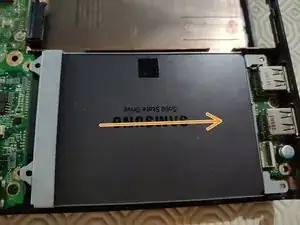
Then we slide the cage to the right.
-
To reassemble your device, follow the instructions in reverse order.
Pay attention to the alignment of the Wi-Fi button on the motherboard (at the bottom of the laptop) with that of the laptop shell when reassembly.
