Einleitung

Follow the steps in this guide to replace your broken central fan in your projector.

  1. ASaQeEl26L4KyjYP
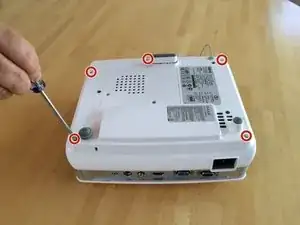
    • Be certain that the projector is powered off before beginning disassembly.

    • Remove the five Phillips screws on the bottom of the projector.

  2. IBVRTVfoU2SCAUXV
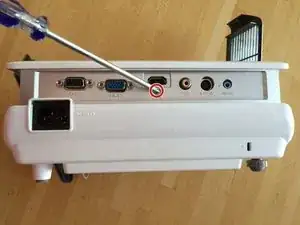
    • Remove the Phillips screw on the back of the projector.

  3. XtYFQMjLWqZ1oNWU
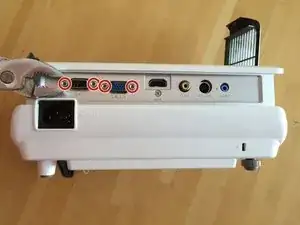
    • Remove the four lock screws.

    • You may need to use pliers at first if the lock screws are too hard to twist with your fingers.

  4. 4V3leLFlRtqty5ns
    4V3leLFlRtqty5ns
    FyfAN2hKCKsDLTFh
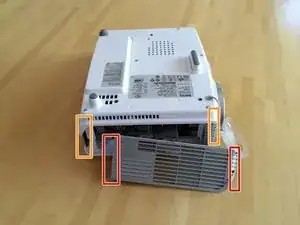
    • Pry the sides of the case off using your fingers.

    • Do not pull too hard on the sides because you may break the speaker wires attached to them.

    • Pop the tabs connecting the rest of the case together by running your fingers underneath the edges.

  5. SXAsbg6452QRAusD
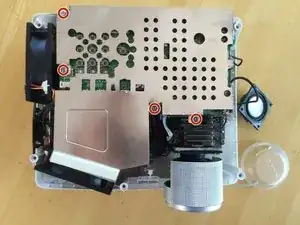
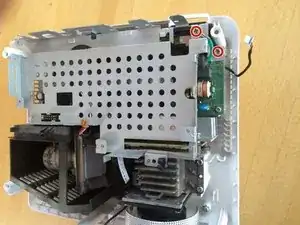
    • Remove the metal plate covering the circuit board by removing the four Phillips screws.

  6. Jx6NIKqLcBU1H3AF
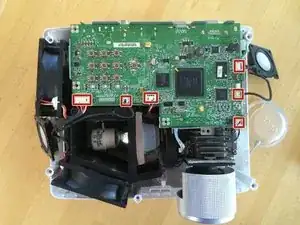
    • Unplug the six cables by gently pulling up on the cable's connector.

    • Avoid pulling on the connector attached to the board as you may accidentally tear it off.

  7. tZRO4XfZwA6ISROh
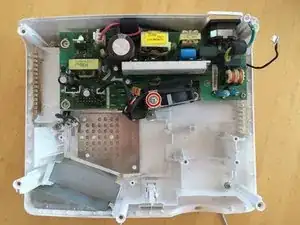
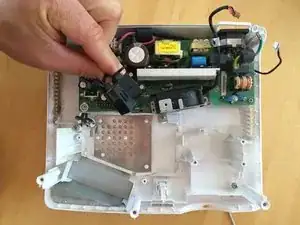
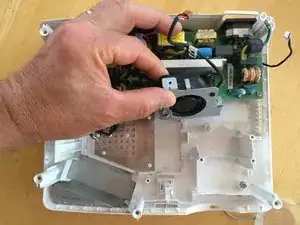
    • Remove the two fans.

  8. VxNkbTOyNY1MtVwK
    VxNkbTOyNY1MtVwK
    tKGiFVXs1uackx3i
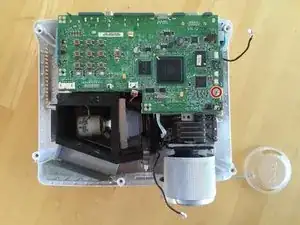
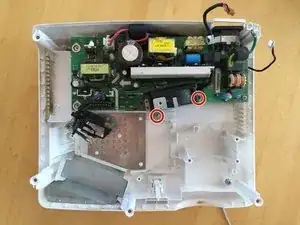
    • Remove the single Phillips screw on the circuit board.

    • Gently pull up on the circuit board to remove it.

    • The circuit board still has a few connections to the other circuit board placed underneath it. Don't worry about these as they will disconnect as you lift up on the circuit board.

  9. XhlhaIPoUdJriAun
    XhlhaIPoUdJriAun
    2rUylsCIG16tfqep
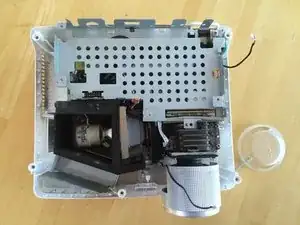
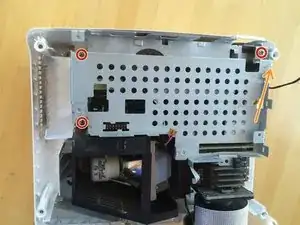
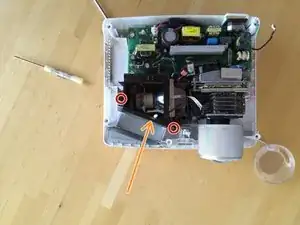
    • Remove the four Phillips screws.

    • The orange arrow points to the location of the fourth screw which can be seen in the second picture.

  10. jnXjw3NpFCatQaAq
    jnXjw3NpFCatQaAq
    LA1sSjqlHybGZGBP
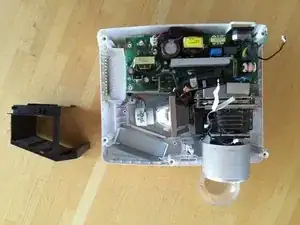
    • Remove the two Phillips screws.

    • The screw on the left is between two tall pieces of plastic which can make it difficult to see.

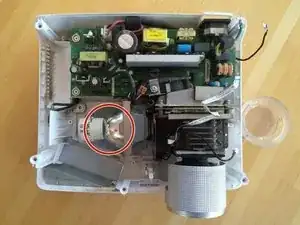
    • Lift up on the black plastic casing around the light bulb and remove it from the projector.

  11. 1yksDIULDoES3tTX
    1yksDIULDoES3tTX
    ntAHiSFcQBvSuFwD
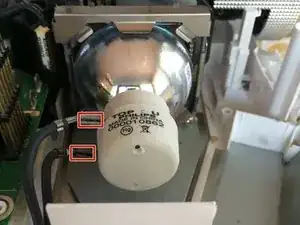
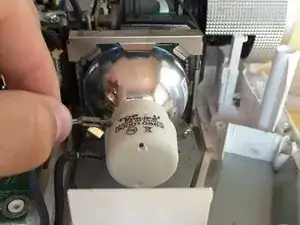
    • Disconnect the power supply from the light bulb by gently pulling on the two metal tabs attached to it.

  12. xJlxFtBX1N1XjJYL
    xJlxFtBX1N1XjJYL
    tLZsWbjg5UZ4lRwq
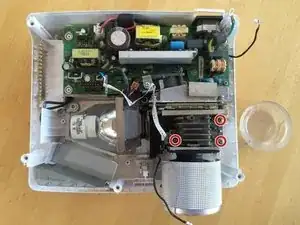
    • Remove the three screws circled in red that are holding the heat sink to the bottom part of the case.

  13. scnOAdE6lWuPkrOS
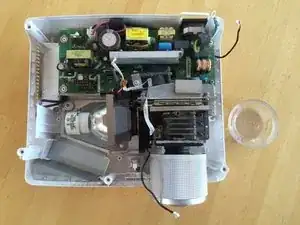
    • Lift the lens/light bulb combo out of the case.

    • It is necessary to remove the lens/light bulb combo in order to have easy access to the central fan.

  14. NfAKWJIQEEpxpiiK
    NfAKWJIQEEpxpiiK
    YbOYY3HCRdMOxJkH
    • Remove the Phillips screw.

    • Slide the plastic piece on the left side of the fan out of its position.

  15. 1sZXne53wtknHCOi
    1sZXne53wtknHCOi
    neIXRK6bDdDAqSXK
    • Remove the two screws.

    • Lift the fan out of the case.

  16. 4VHVkjqKWObeqGkL
    4VHVkjqKWObeqGkL
    HMdnQBXAxjn4oRlw
    Swp6C1kWEFTQ55dY
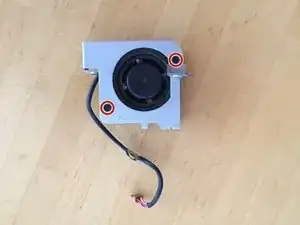
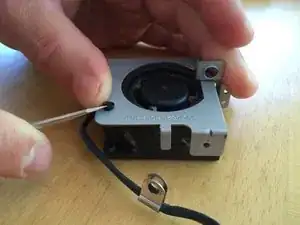
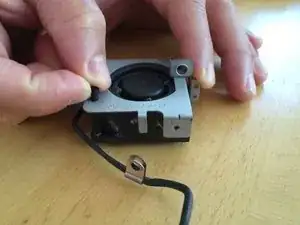
    • Remove the two connectors holding the fan to the metal frame.

    • Insert a flat head screw driver or other prying tool under the head of the connector and gently pry up.

    • Insert the new fan in place of the old one.

Abschluss

To reassemble your device, follow these instructions in reverse order.

Dante Mazzanti

Mitglied seit: 23/02/15

590 Reputation

Ein Kommentar

Excellent work. I followed all the steps.
desarrollohumano -