Einleitung
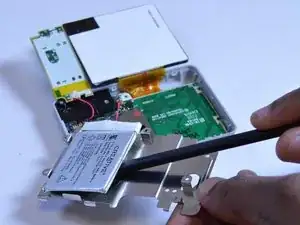
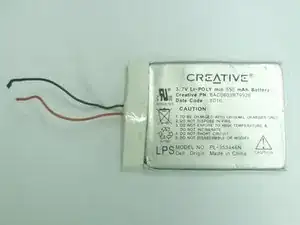
The battery stores the power that enables the device to run.
Werkzeuge
-
-
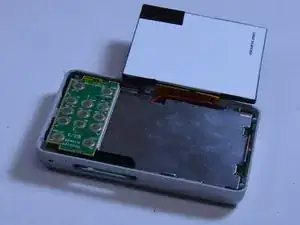
Flip the LCD screen off the midsection plate to gain access to the space around the input button chip.
-
-
-
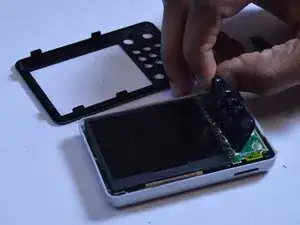
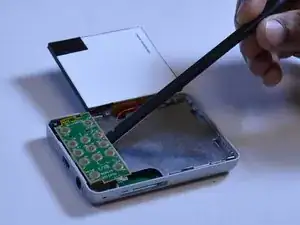
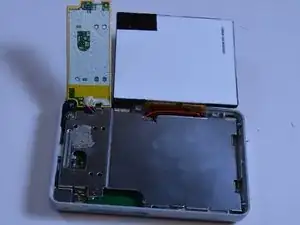
Using a spudger, pry off the button input chip from the mid-section of the device. To gain best leverage, start at the bottom right corner and level your way up the side of the chip.
-
-
-
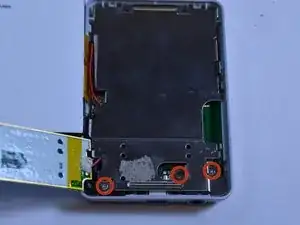
Use a Phillips Head screwdriver to unscrew the three 3/16 inch screws that were underneath the button input chip.
-
-
-
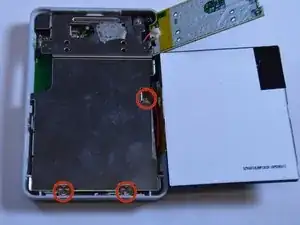
Use a Phillips Head screwdriver to unscrew the three 3/16 inch screws that were underneath the LCD screen.
-
-
-
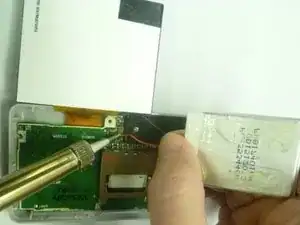
Locate the soldering joint connecting the battery wires to the power supply, marked by the letters "PS" on the motherboard.
-
Hold the battery wires in place so that access to the soldering joints is not blocked.
-
Using a soldering iron, melt the solder connecting the red wire to the motherboard. Do the same action to the black wire.
-
To reassemble your device, follow these instructions in reverse order.
Ein Kommentar
very clear pictures!
John -
