Einleitung
The ResMed S9 VPAP Auto is a medical ventilator, commonly referred to as a VPAP (variable positive airway pressure machine). This guide will direct you to access and replace both the inner and outer filters on the device. The filters help to remove dust and debris from the air as it is cycled through the device. Over time the filters will need to be replaced due to the build-up of debris. Replacing the filters will improve the function of the device. Replacing them will keep the device working longer and more efficiently. For more information on the device, go to the manufacturers home page.
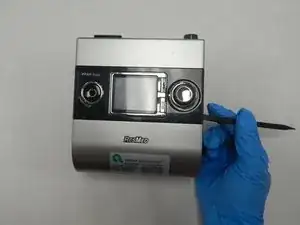
While removing the top panel to access the motherboard, be careful not the apply pressure to the side of the control knob. It has been known so snap off due to an impact or to pressure.
Werkzeuge
-
-
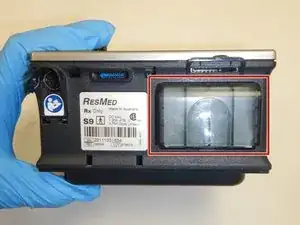
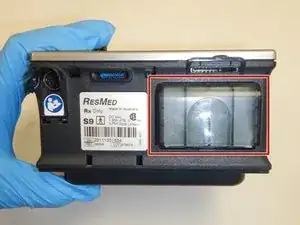
Lift up on the lip of the translucent plastic filter cover on the bottom of the device.
-
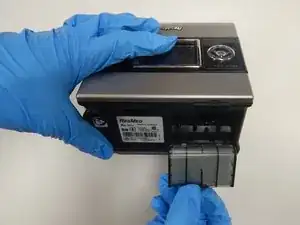
Peel back the old filter and replace it with the new one.
-
-
-
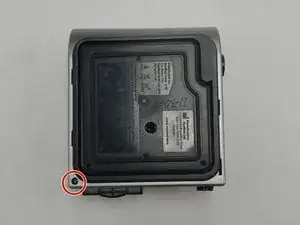
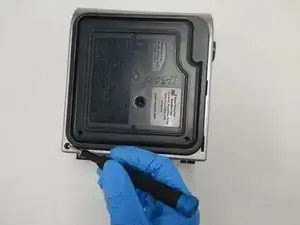
To access the internal filter of the ResMed S9 VPAP Auto, flip the device upside down.
-
Use a T3 Torx screwdriver to remove the screw in the corner.
-
-
-
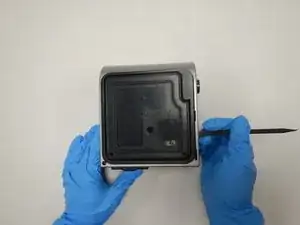
Use the spudger to pry off the front panel.
-
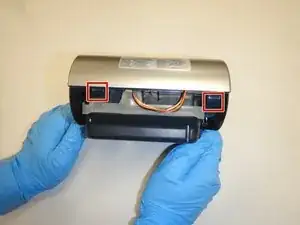
If you are having difficulty, press the two hooks to open that side of the device.
-
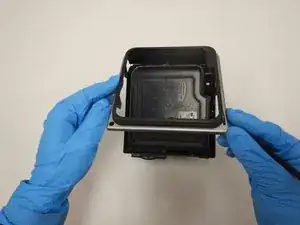
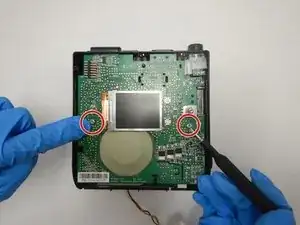
Remove to expose the control panel.
-
-
-
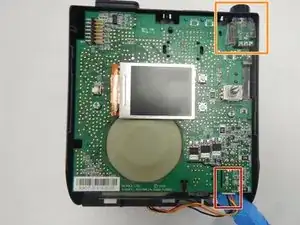
Remove the plug connecting the red, orange, and black wires to the circuit board.
-
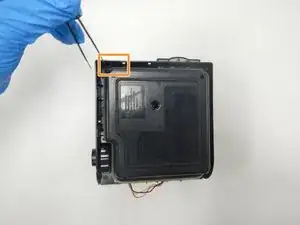
Flip the circuit board upside down and use the tweezers to squeeze the plastic release underneath the remaining plug.
-
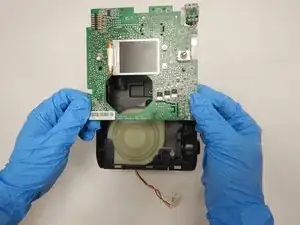
The circuit board will then lift right off, exposing the interior of the machine.
-
-
-
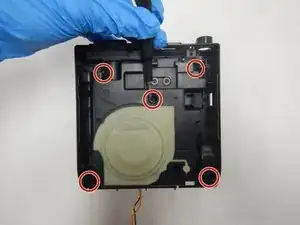
Remove the five screws from the frame with a T3 Torx screwdriver.
-
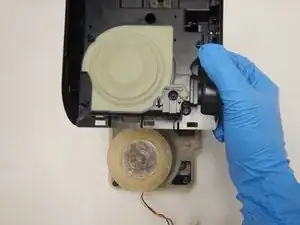
Lift off the plastic frame to expose the filter housing.
-
-
-
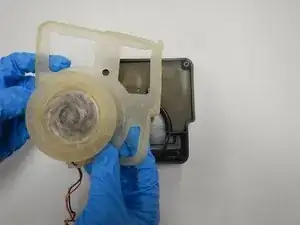
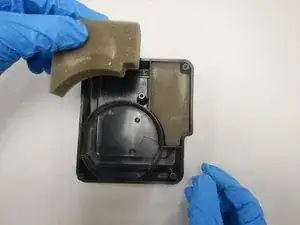
Remove the silicone and the blower to expose the filters.
-
Remove and replace the foam filters.
-
To reassemble your device, follow these instructions in reverse order.
Ein Kommentar
where can I purchase the foam filters?
Francis -
