Einleitung

  1. TCWcxTVYn3aFHVZT
    TCWcxTVYn3aFHVZT
    s2x1SwTPMWYfhliq
    1YsU5btrXYky3BBl
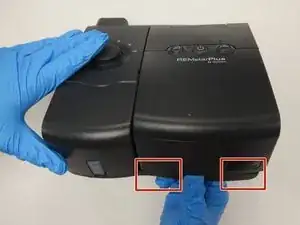
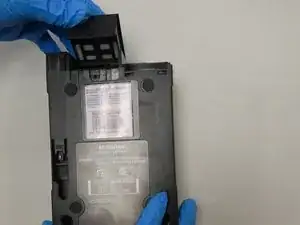
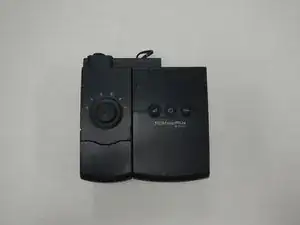
    • Push upwards at the bottom of the control module to separate it from the two locking pegs on the base plate.

    • Pull the control module down to disconnect and remove it from the base plate.

  2. NPpZvfxhwLXAASuL
    NPpZvfxhwLXAASuL
    GeNU2cvuuDpNb1tr
    1awEM4ijXNijx4xw
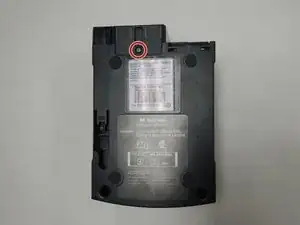
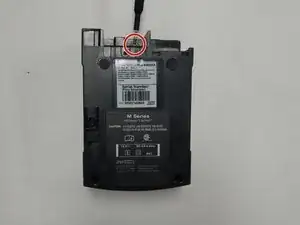
    • Place the control module so the labels are facing upright.

    • Use a TR9 Torx screwdriver to remove the top screw.

    • Remove the filter housing from the control module.

  3. qEATXkjGmAhMuGdZ
    qEATXkjGmAhMuGdZ
    QZoRVGBVytItAnYb
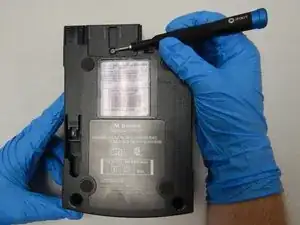
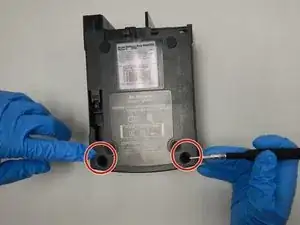
    • Use a TR15 Torx screwdriver to remove the three screws from the bottom of the control module.

    • An extension may be required to reach the two screws at the bottom. The iFixit toolkit flexible extension does not fit in the hole. The 4.0 mm socket bit can be used in place of the extension to provide the extra length necessary to remove the screws.

  4. rlyaXSbNQRbGuGFJ
    rlyaXSbNQRbGuGFJ
    ePH5vKCXxdLVIOQd
    srgRKMVLXMljhYjT
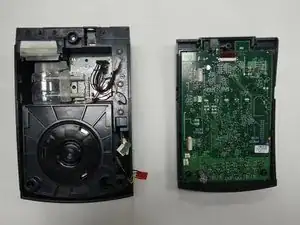
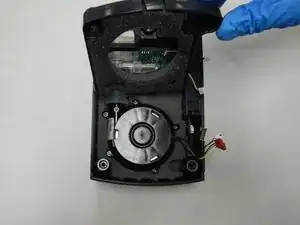
    • Place the control module face up.

    • Open the face plate to the right.

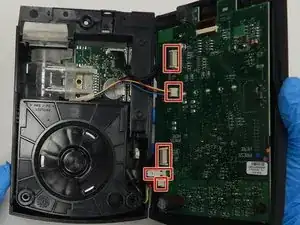
    • Disconnect the 5 connectors along the left side of the control circuit board.

    Some closeup assistance on how to safely disconnect the board wire connectors without damaging the wiring would be helpful. I got all but one of them disconnected but could not see how the last one unplugged (top one, in your board pic above). Given how small the black wire loom was, I erred on the side of caution and opted to just lay it aside propped up against something while I carefully finished removing the blower motor.

    Charles Marshall -

  5. IVNBhINnFORPhL56
    IVNBhINnFORPhL56
    LRwJRMOGFUkSpkeW
    laFkm4XgmRTUhJGu
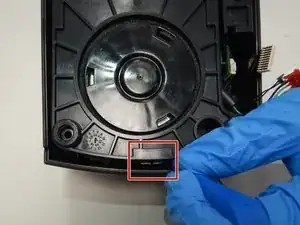
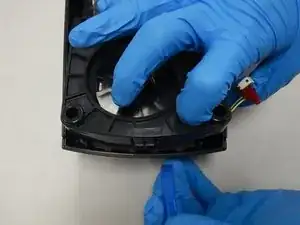
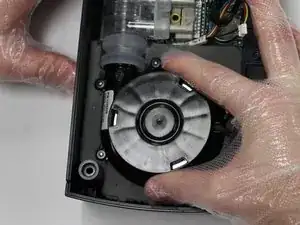
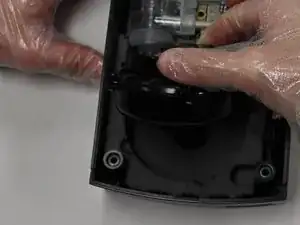
    • Use the plastic opening tool as a lever to release the plastic motor frame from the retaining tab at the bottom of the module.

    • With the tab released, pivot the plastic frame up and away from the control module.

    • There are three total retaining tabs. The two on either side of the motor frame will release when pivoting the frame upward.

    • The small hole in the frame provides an excellent point of contact to aid in removal.

  6. OdpvPDuQY3nuZcpe
    OdpvPDuQY3nuZcpe
    NZfoZoJKiB3RNfJa
    HEeyNfThQplLIGFB
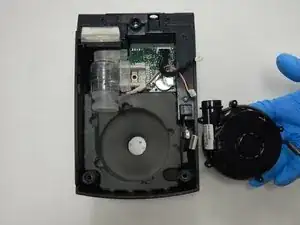
    • Pivot the blower motor upwards to disconnect it from the pipe connector.

    Other than dealing with the wiring connector issues, this is a well-documented, step-by-step procedure that was very helpful. This saved me a lot of time having to figure it all out along the way. Now, if only I can find a replacement blower motor. Great job. Thanks very much.

    Charles Marshall -

Abschluss

To reassemble your device, follow these instructions in reverse order.
Sienna Gonzalez

Mitglied seit: 17/09/20

160 Reputation

0 Kommentare