Einleitung
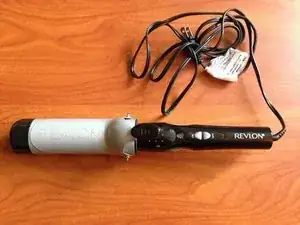
Have you ever wondered what the inside of your curling iron looks like? Is your temperature wheel, swivel cord, or barrel clip broken? With this disassembly guide, you will be able to see the inner workings of a basic curling iron. This guide can also help you replace or fix parts of the curling iron that often wear out with daily use.
Werkzeuge
-
-
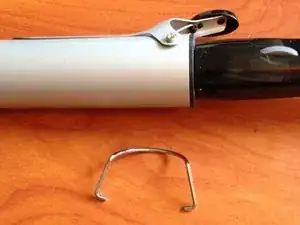
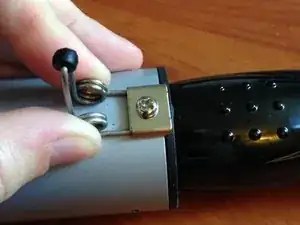
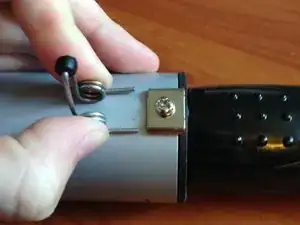
Use your fingers to pull the ends of the stand away from the barrel. The metal stand should be easy to pry from the sides of the barrel.
-
-
-
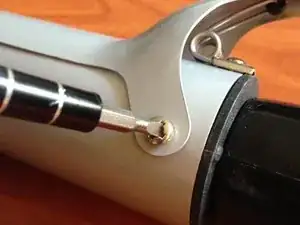
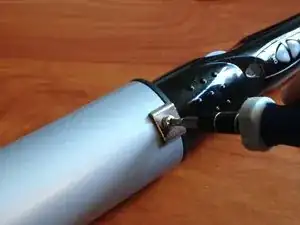
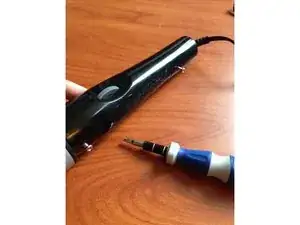
Using a 3mm Flathead screwdriver, slowly remove both screws from the sides of the barrel clip.
-
-
-
Using two fingers, squeeze either side of the spring and slide the ends away from the barrel.
-
-
-
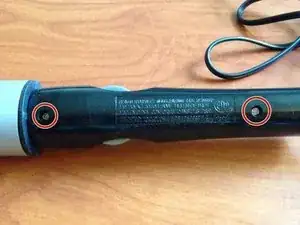
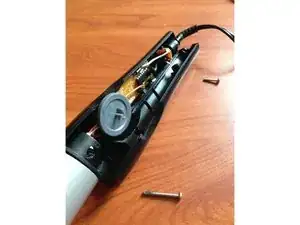
Using a 3mm Flathead Screwdriver, remove the 27mm screw on the left and the 15mm screw on the right.
-
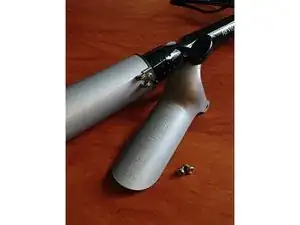
Once the screws are removed, the bottom plate easily comes off, exposing the inner components of the iron.
-
-
-
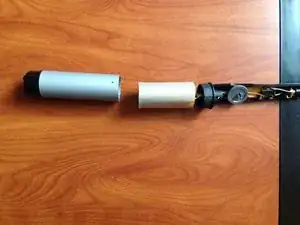
To remove the barrel, simply side the silver outer shell away from the inner heat transfer element.
-
-
-
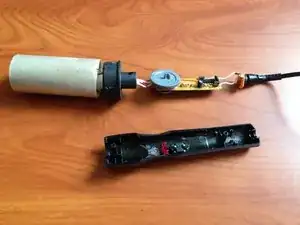
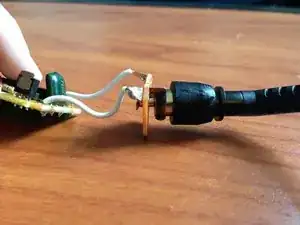
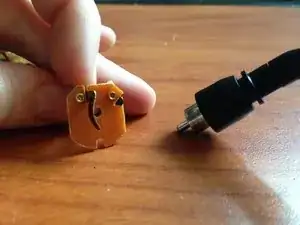
Using your hands, slowly pull the cord away from the socket. The cord should easily slide out of the socket.
-
-
-
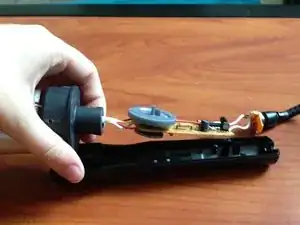
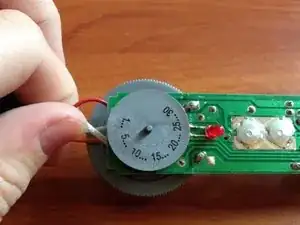
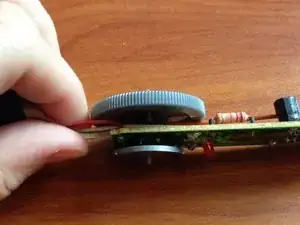
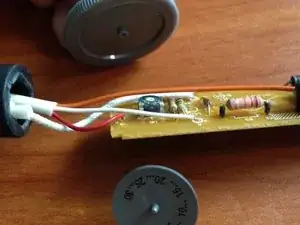
Using two hands, grab each wheel and pull the temperature dials away from the circuit board.
-
-
-
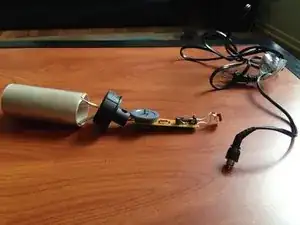
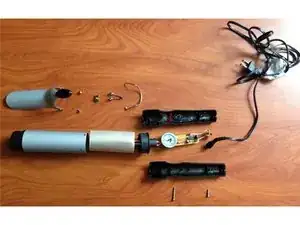
You have successfully completed the disassembly! Follow these steps in reverse to reassemble your curling iron.
-
