Einleitung

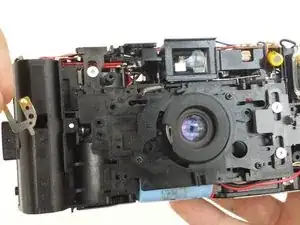
This process involves removing the back cover, front cover, and various other camera components. Once done, the button mechanism can be removed.

  1. kmvAbqml51ipOqJw
    kmvAbqml51ipOqJw
    iQ5OQCj24nXQpFJL
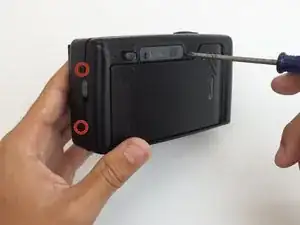
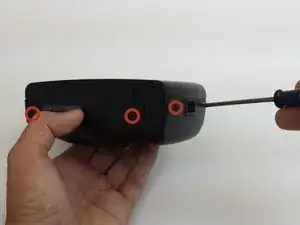
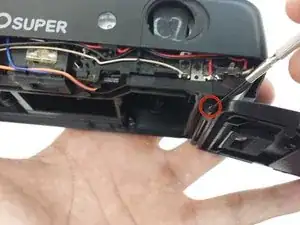
    • Unscrew the seven indicated screws from the left, right, bottom, and back sides of the camera.

  2. BuDbOMhVomPAlDOp
    BuDbOMhVomPAlDOp
    Ujj5GfViVdUxUYKV
    nTQw2mWcOxtrP46C
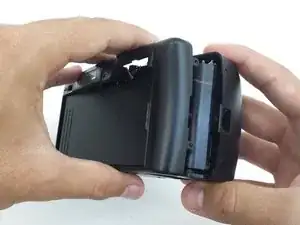
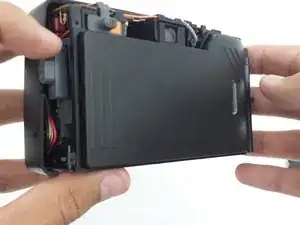
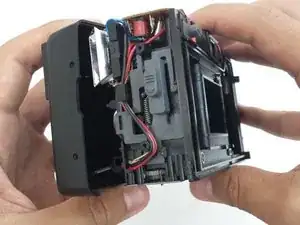
    • Loosen the back cover from both the left and the right sides of the camera.

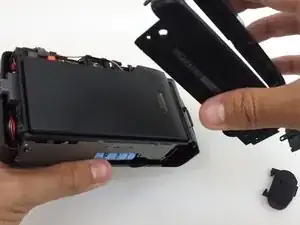
    • Remove back cover. The lid of the battery compartment may fall off because it is not attached to anything.

  3. YcgvBsQ3nTOMuNvT
    YcgvBsQ3nTOMuNvT
    UMQSY2QaXIAvVvD4
    mwmSH1IUFjofQiEg
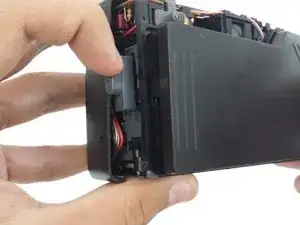
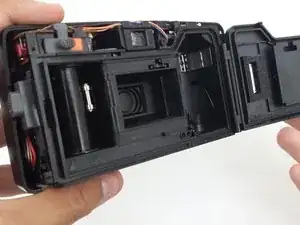
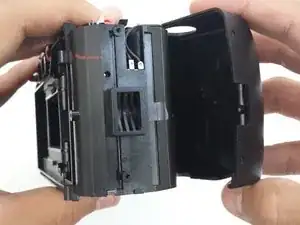
    • Open the film compartment.

    • Press your finger on top of the grey latch on the left side of the camera.

  4. C1MKCeTWTF3LFEMw
    C1MKCeTWTF3LFEMw
    ZROWOShk5sxIR6LQ
    lVJ32D5O2b3nIUS6
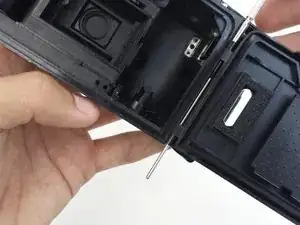
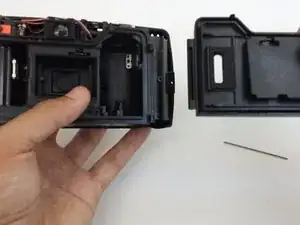
    • Removing the film compartment door is optional. However, it may aid maneuverability in future steps.

    • Use a thin object like a toothpick or a small screwdriver to push down on the metal pin holding the film compartment door in place.

    • Use your fingers to completely remove the metal pin.

    • Remove the film compartment door.

  5. TtpKKCKnRbTuKGY5
    TtpKKCKnRbTuKGY5
    K21bVLUBrmTI2xMY
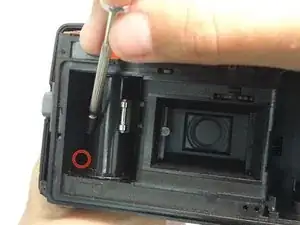
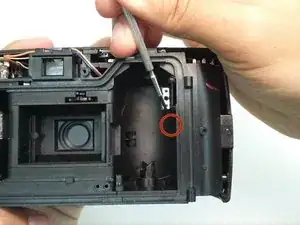
    • Using a thin shaft screwdriver, unscrew the two indicated screws within the film compartment.

  6. wCUCPFSBylIg5UZa
    wCUCPFSBylIg5UZa
    rIOWgBCphWgsRtq5
    vMkmX3PVYkxESiDI
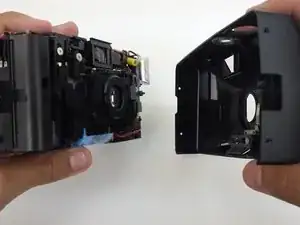
    • Loosen the front cover from the left and right sides of the camera.

    • Remove the front cover.

  7. ZeI624xGYMsoQeqa
    ZeI624xGYMsoQeqa
    ULeDdFWHW5om2AKC
    gswpprWuwh2XrGjD
    • Remove and set the front and back covers aside

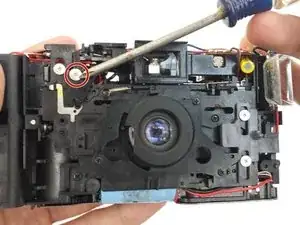
    • Remove the screw that holds the front plate brace in place.

    • Remove brace.

  8. qvKdSHPIogSKtKHr
    qvKdSHPIogSKtKHr
    waVWHqshnZTTvHGB
    FJiMHUwcdeFEwItK
    • Unscrew the four screws keeping the front face plate in place.

    • The top left screw also holds a metal clip in place.

    • Remove metal clip.

  9. pgWCTOvRUtONHYGH
    pgWCTOvRUtONHYGH
    RQs1lbPyIBLoUGe2
    CcPKXwmZGgVbuuXQ
    • After removing the metal clip in the previous step, the front face plate can be removed.

    • The front face plate is attached to the camera body by two small wires. Carefully remove the plate and completely separate it from the camera body.

  10. REvuQpX6pCwDb6U5
    REvuQpX6pCwDb6U5
    tOIvU4TOEGITvP3T
    O1cDFbqSbdP6p5U1
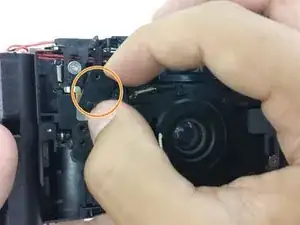
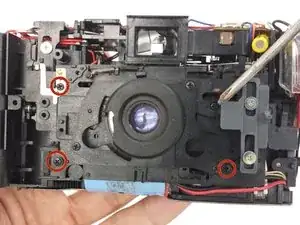
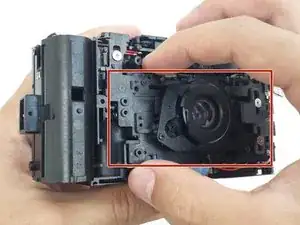
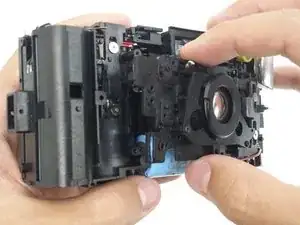
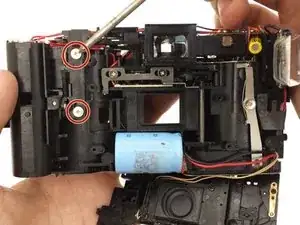
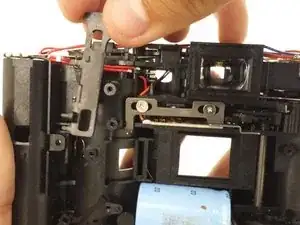
    • Unscrew the two screws that hold the button mechanism in place.

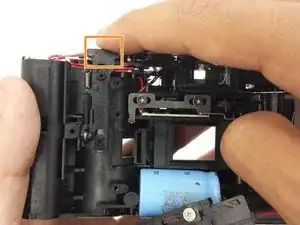
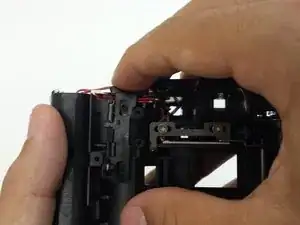
    • Press down on button mechanism to unlatch it from the camera body. When pressed down, the bottom of the mechanism should push outward.

  11. QCHDf3XWYVUO2kiW
    QCHDf3XWYVUO2kiW
    41fUYnOAphSgMCRD
    LgqYnQtdVHs4tPFM
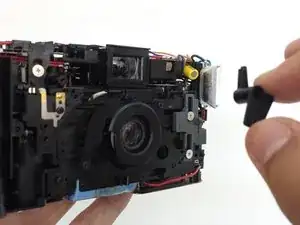
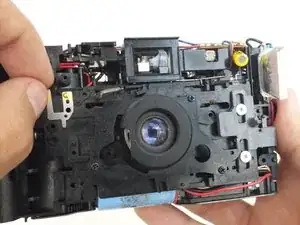
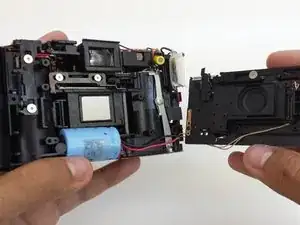
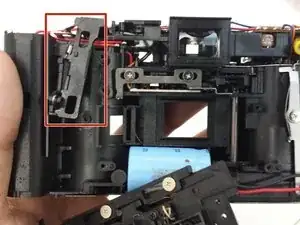
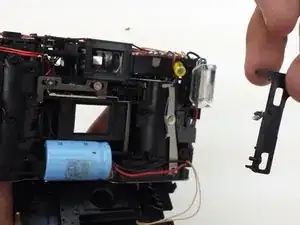
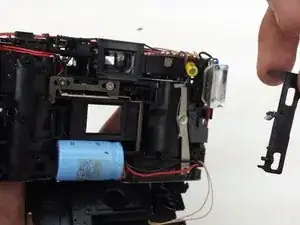
    • Lift the button mechanism up carefully, removing the spring at the top of the mechanism from where it is attached to the camera body.

    • Remove the button mechanism.

Abschluss

To reassemble your device, follow these instructions in reverse order.
Eric Dazet

Mitglied seit: 10/04/12

352 Reputation

0 Kommentare