Einleitung

Disassembling the handle assembly will be necessary for any rewiring or switch replacement needs. Jammed switches or a damaged power cord will require these preliminary steps for repair.

  1. h2X5El6HBPLNgjCZ
    h2X5El6HBPLNgjCZ
    qEGLgOBjsgCIBMJV
    LAZWKHiOshivV41Y
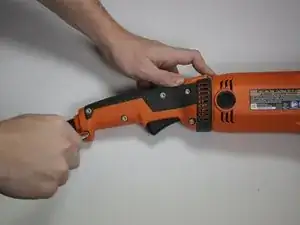
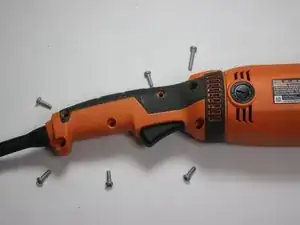
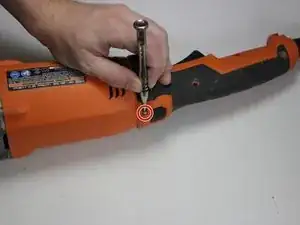
    • Using a Torx T20 screwdriver, unscrew the five M5 x 16 mm screws.

    • Using the T20 screwdriver, remove the M5 x 28 mm screw.

  2. XjH1viX2UewAlmbF
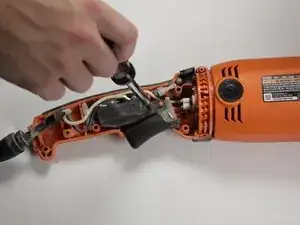
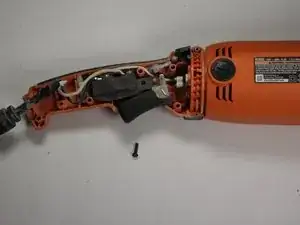
    • Using a Torx T10 screwdriver, remove the M3 x 10mm screw.

  3. JFJKYWGEGbKOJqOF
    JFJKYWGEGbKOJqOF
    hqKdefwJudApagY3
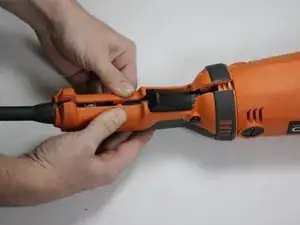
    • Gently pull off the right side handle.

  4. UI3L2JTvTOeUl1Lv
    UI3L2JTvTOeUl1Lv
    RRh4RJy1q5sQDcZH
    WIpVIIaKVhdVORs2
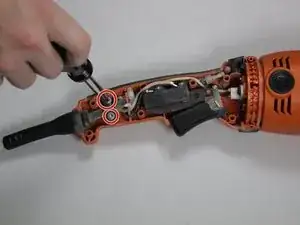
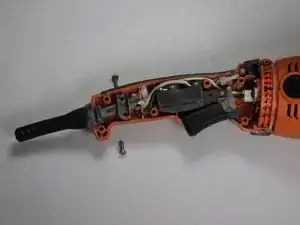
    • Using a hex head screwdriver, remove the two 8-16 x 1/2in screws.

  5. MNf3GTZNH5s5LgRR
    • Gently pull away the bend relief.

  6. vYPPRRBnkw32vCgn
    vYPPRRBnkw32vCgn
    PGtIHq2xZgATkG6B
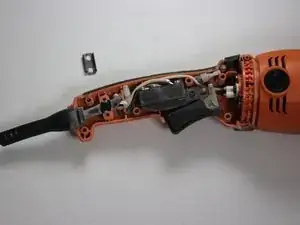
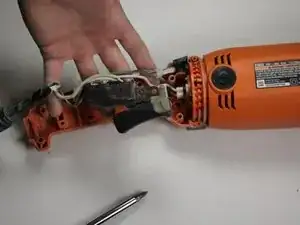
    • Remove the one M4 x 14 mm screw using a Phillips screwdriver.

  7. 6JBFWFEkr6BY5Tc4
    • Gently lift away the switch and wires.

  8. SNTELJ5sDCKJvxQl
    SNTELJ5sDCKJvxQl
    PBKCaYyOdVgTLYRF
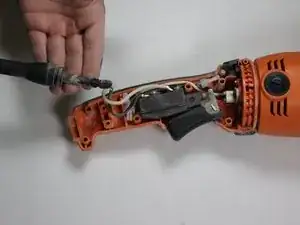
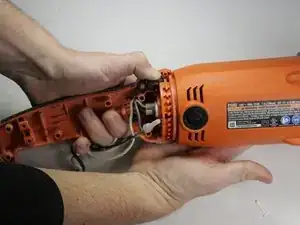
    • Press down the handle lock button.

    • Force-ably twist and pull away the left side handle assembly.

Abschluss

To reassemble your device, follow these instructions in reverse order.

Parker Massie

Mitglied seit: 10/01/19

607 Reputation

0 Kommentare