Einleitung
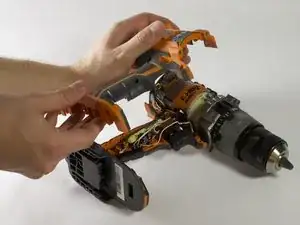
If you need access to the inner workings of your Rigid 5X, this guide will help you remove the outer casing. You will need to use Torx t15 to remove each of the outer screws on the drill. Once all of the outer casing screws have been removed, you will be able to safely remove the outer case.
Werkzeuge
-
-
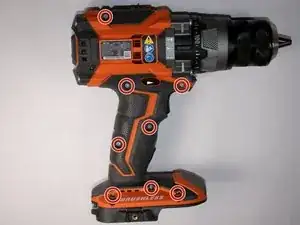
Orient the drill to have the side with the screws facing up.
-
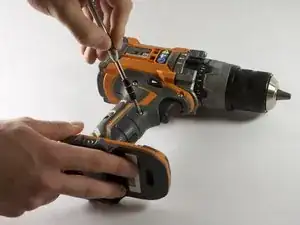
Using the Torx T10 screwdriver, remove the eight 4.0mm screws from the face of the drill.
-
-
-
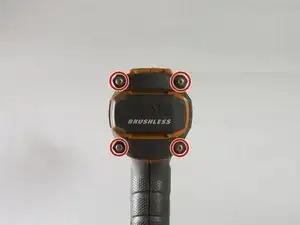
Orient the drill to where the back is facing up.
-
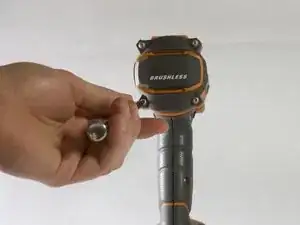
Using a Torx T10 screwdriver, remove the four 6.0mm screws that attach the back piece to the drill.
-
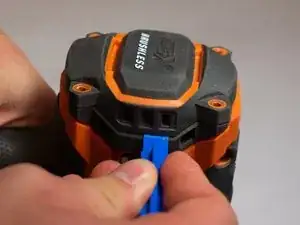
Remove the back piece of the drill using the iFixit opening tool.
-
-
-
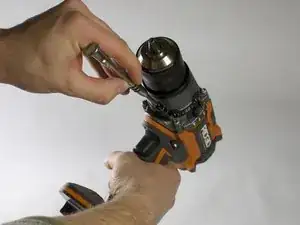
Orient the drill to where the chuck is facing up.
-
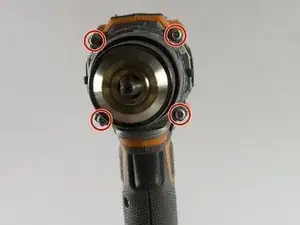
Using the Torx T15 screwdriver, remove the four 8.0mm screws from the front of the drill.
-
-
-
Orient the drill so the side with the screw holes is facing up.
-
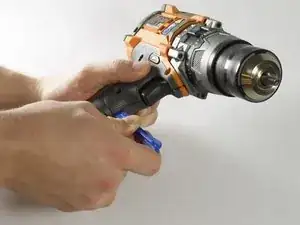
Use a plastic opening tool to gently pry the face off of the drill.
-
Remove the face completely from the drill.
-
To reassemble your device, follow these instructions in reverse order.
