Einleitung
This guide shows the proper steps used to replace the Inner Flange Bushing, which may be worn, warped, or damaged on this Ridgid GEN5X R8653 circular saw. The Inner Flange Bushing provides clearance between the saw and inner part of the guard. The Inner Flange Bushing wears over time. If the blade slips or vibrates excessively, you are in the correct guide. For further information check out our troubleshooting page. Please be sure to take all of the precautionary steps to ensure your safety while working on this device.
Werkzeuge
Ersatzteile
-
-
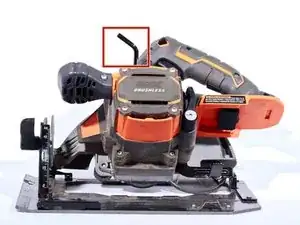
Remove the supplied Allen wrench from it's nesting space in the front of the handle.
-
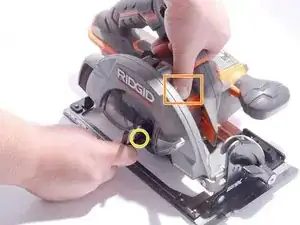
Depress and hold the spindle lock button located between the handle and blade shroud.
-
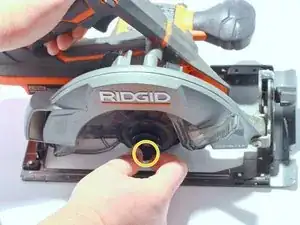
Using the Allen Wrench, unscrew the bolt holding the outer flange, blade (if installed), and inner flange.
-
-
-
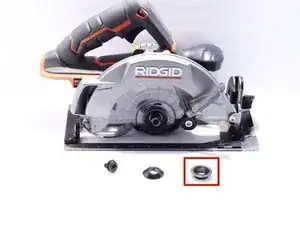
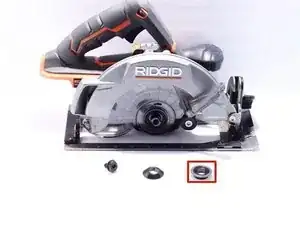
Identify the inner flange bushing. This part sits between the saw and the blade. It has a perfectly round hole in the center with a stepped shoulder as opposed to an angled shoulder found on the outer flange bushing.
-
Use a flat edge ruler or square to check if the inner flange bushing for warpage. We used a combination square for demonstration purposes, but any straight edge will work. Replace if part is visibly damaged or warped, or if the black finish on the blade side of the bushing is worn away showing bare metal.
-
To reassemble your device, follow these instructions in reverse order.


Note that the possessive its doesn’t take an apostrophe, and be sure to remove locate steps. “Remove the supplied Allen wrench.” The last part of the red bullet seems like it could be a note, and then in the yellow bullet, just indicate the Allen wrench instead of repeating the different tools. Make sure to use appropriate punctuation for the tool.
Alex Watkins -