Einleitung

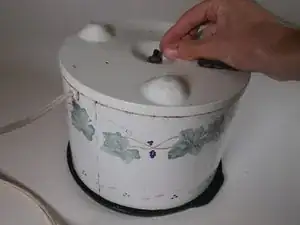
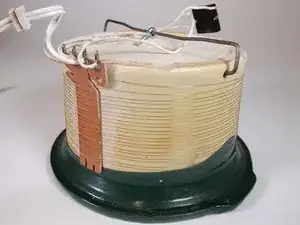
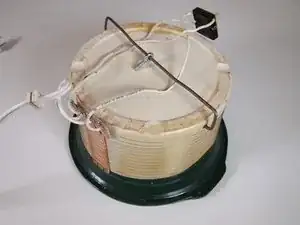
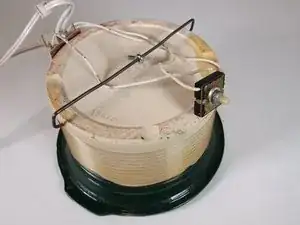
This guide will show you how to disassemble a Rival Crock Pot model 3120. None of the components in the device are extremely fragile, but you should still be careful while performing the steps in this guide. Make sure before starting that your device is not plugged in, and that if it was turned on ensure it has had time to cool down fully. The only tools required are a 10mm and 16mm wrench, but an adjustable wrench or pliers could be used instead. This guide may be helpful for accessing the rotary switch of it is faulty or for replacing the heating element(s) if it burns out. The crock pot has a very simple design and very few components, so repairs should be straightforward.

  1. JVfwiisDPoEi3XQq
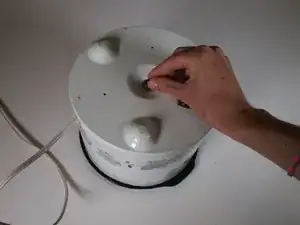
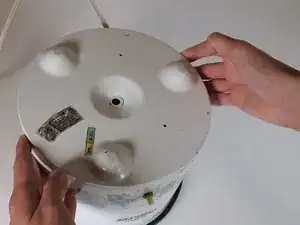
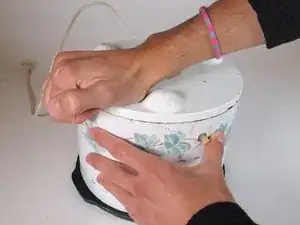
    • Remove the lid from the crockpot and turn the device over, so that the bottom faces up.

  2. EULrRcE4OFeBKnvw
    EULrRcE4OFeBKnvw
    bTrEMOybX6vFDdhn
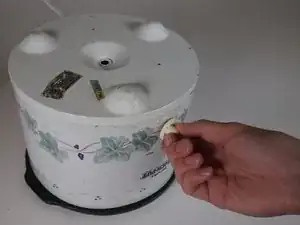
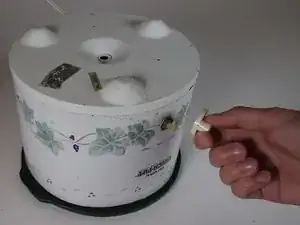
    • Use your fingers to remove the rubber end cap from the bolt on the bottom of the device.

  3. nqX62og3jJUcJVCX
    nqX62og3jJUcJVCX
    CR1KBKPUxM3NEhFw
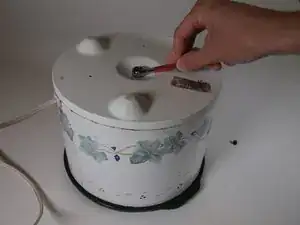
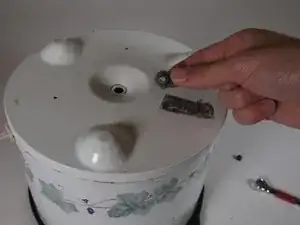
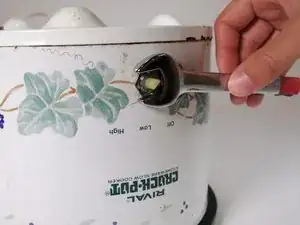
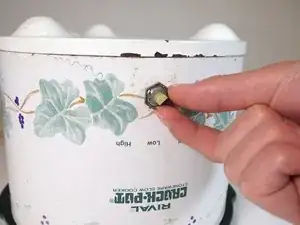
    • Using a 10mm wrench, remove the metal nut on the bottom of the device.

    • If the bolt connected to the nut appeared to fall into the device this is not an issue. It is connected to a metal bar within the device, so it cannot be lost.

  4. CCuvLQQFwyTGjsnQ
    CCuvLQQFwyTGjsnQ
    eRLBAcQJTbRpNDIL
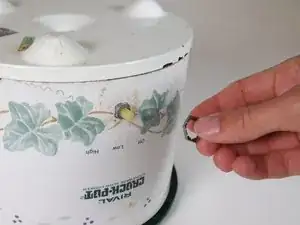
    • Using your hands, pull the plastic dial off the side of the device.

  5. EmoTLOqWLYvLDRZ5
    EmoTLOqWLYvLDRZ5
    PNBDsF5QYwUNYdVV
    2LjyaVPQjANJddpj
    • Remove the nut behind the dial using a 16mm wrench.

    • Once the nut has been loosened you can finish unscrewing it with your hand.

  6. NrP6dUHLw2HdJ2kI
    NrP6dUHLw2HdJ2kI
    5VimUhahZJkNARWT
    IlwOhBWZcFnVwpJ4
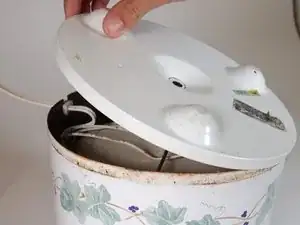
    • Remove the bottom panel using your hands.

  7. VCmABtsCrdnYVV2e
    VCmABtsCrdnYVV2e
    jjrhibBmXEWGNCvZ
    Fd2SqIWoNGF43pGp
    • Slide the power cord out of its slot in the metal casing.

  8. ePFRRCJWH6DAXhJG
    ePFRRCJWH6DAXhJG
    OmkEbwxZeqDQFKT1
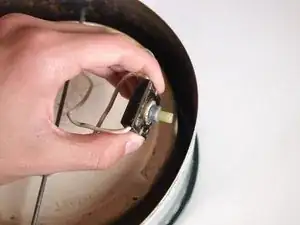
    • Pull the rotary switch out from inside the metal casing.

  9. PFIEhuNFm1onBWbq
    PFIEhuNFm1onBWbq
    IgjoTRjBNwvCa5qY
    22iEAxFEKMWkfLCT
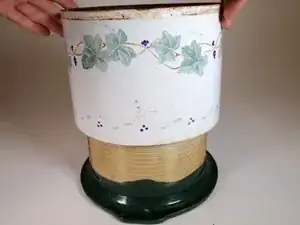
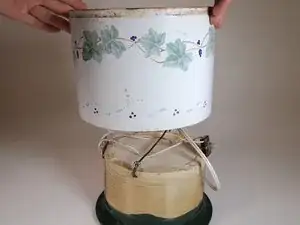
    • Slide the metal casing up and away from the internal components of the device.

  10. PNWJ2vuVrrcnp1tS
    PNWJ2vuVrrcnp1tS
    HxPCujcKDihEwGOx
    ZmiDeTLtPrWbBDKH
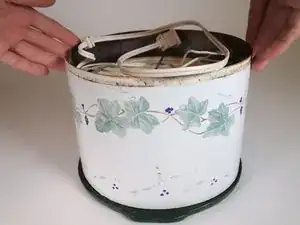
    • You have now successfully disassembled your device. From here you can troubleshoot or replace any specific parts.

Abschluss

To reassemble your device, follow these instructions in reverse order.

Cole J. Morrel

Mitglied seit: 14/09/22

181 Reputation

0 Kommentare