Einleitung
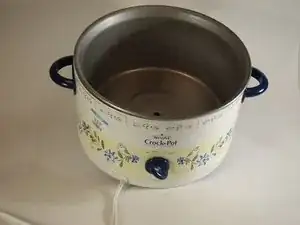
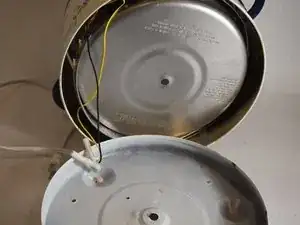
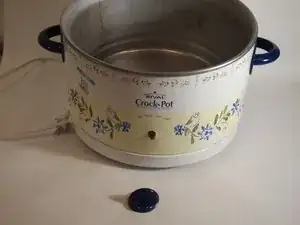
This disassembly requires very few tools and it should take no more than thirty minutes when working with a friend. Good Luck! Warning: Before attempting step 10, I advise that you put on some safety gloves to protect your hands from getting cut by the abrasive and thinly cut metal.
Werkzeuge
-
-
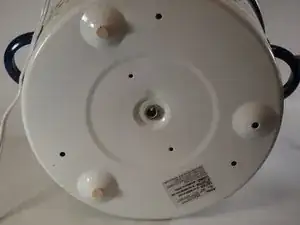
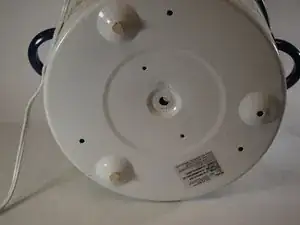
Flip the crockpot upside down and locate the metal tubing that protrudes from the center of the base.
-
-
-
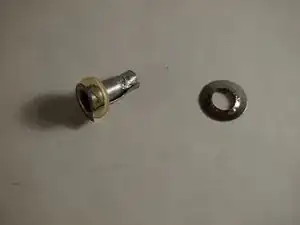
Gently use a set of pliers to reshape the metal tubing at the center enough so that the tube loosens from the grasp of the grommet.
-
Once you see a gap, hammer the tubing in towards the inside of the crockpot until it is removable by hand.
-
-
-
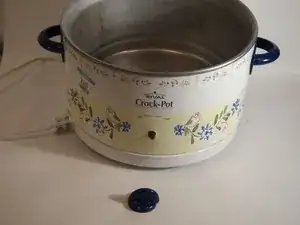
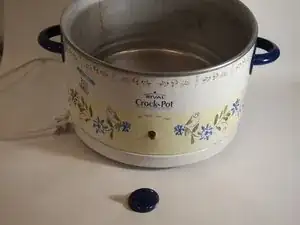
Turn the crockpot right side up again, and pull the plastic knob of the heating adjuster off by hand.
-
-
-
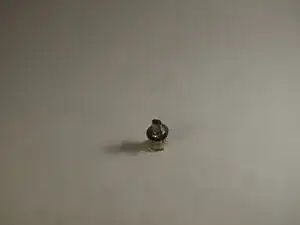
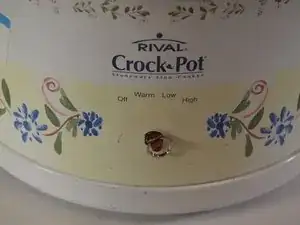
Use the pliers to clamp and unscrew the flat nut screw holding the potentiometer/heat adjusting knob in place.
-
-
-
Turn the crock pot on its side and use your fingers to pry the bottom panel off of the body of the crock pot.
-
For the best grip to pry, angle the opening of the crockpot away from you and pull towards you. Once completed, leave the bottom loose beneath the crock pot.
-
-
-
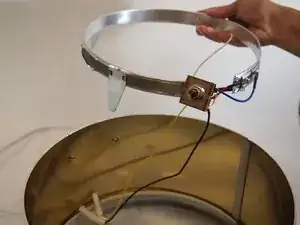
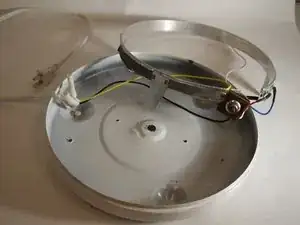
Remove the metal heating ring that is flush against the grey bowl by stretching the tight black spring near the potentiometer.
-
With the help of a friend, you will be able to maneuver and force the ring up and away from the bowl by also gently bending the metal to pry it off.
-
-
-
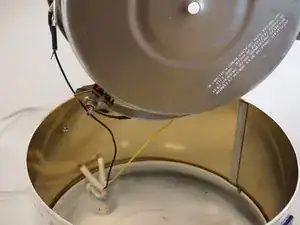
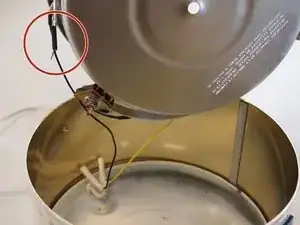
From here, you can send the ring back through the floral casing and work on the electronics attached to the heating ring and the bottom casing as you please! Disassembly complete!
-
To reassemble your device, follow these instructions in reverse order.
