Einleitung
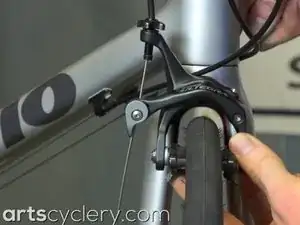
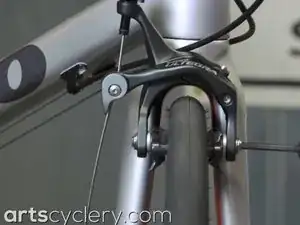
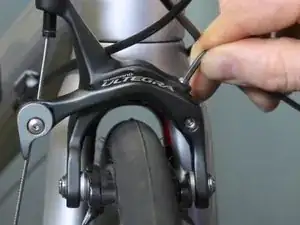
Follow this guide to install caliper brakes on your bicycle. This guide is for the Shimano Ultegra 6800 brakes specifically, but these steps apply to most other brands of caliper brakes as well.
Werkzeuge
-
-
If you are replacing a pair of stock brakes, the safe route is to reuse the nut that came with the bike, since it will be made to work specifically with this fork.
-
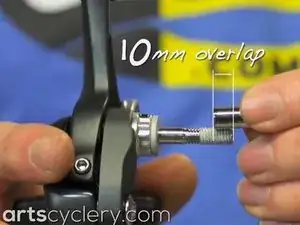
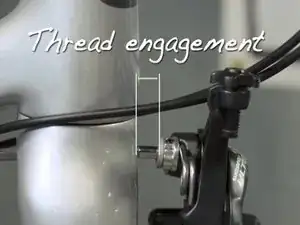
If you don’t have the stock nut, you need to make sure that you have enough thread engagement between the nut and the brake anchor post. You should have at least 10mm of thread engagement or “overlap” between the nut and the brake anchor post to ensure that your brake is safe.
-
-
-
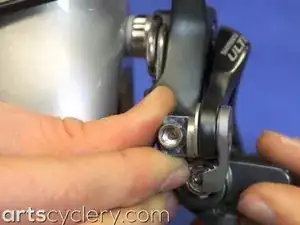
Insert the anchor nut into the backside of the fork’s brake mount bore until it bottoms out. Hold it in place with a 5mm Allen wrench.
-
Make sure that you have any washers required for the install in place on the brake anchor post before you start.
-
Then insert the brake anchor post from the front until it bottoms out and makes contact with the nut.
-
The distance between the brake body or washer, if you are using one, and the fork will tell you how much thread engagement you will have when the brake is installed. Make sure this distance is at least 10mm. If it is less than 10mm, you will need a longer nut.
-
-
-
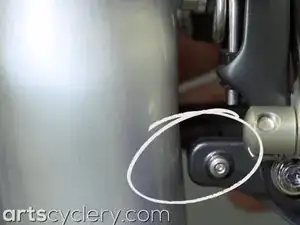
Remove the brake anchor nut and push the brake into the fork until it bottoms out. Make sure that the brake pads clear the fork blades.
-
If the brake is too close, you will need to add washers to the anchor post and check it again. Be sure to recheck your brake anchor nut thread engagement if you added any washers.
-
-
-
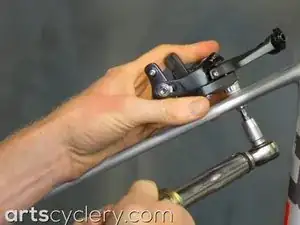
Torque the nut down to the manufacturer’s specifications using a torque wrench with a 5mm Allen socket.
-
-
-
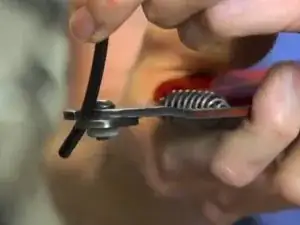
With new brakes, you should use new cables and housing, or at least a new cable. Using cable cutters, cut your housing to a length that avoids any tight bends but still allows for component movement.
-
-
-
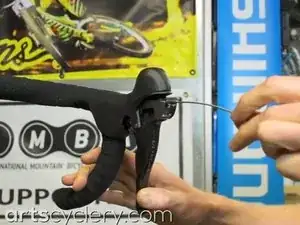
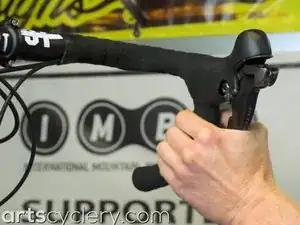
Remove any covers on the brake lever that may be covering the cable port.
-
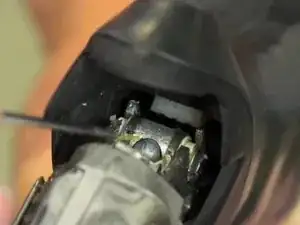
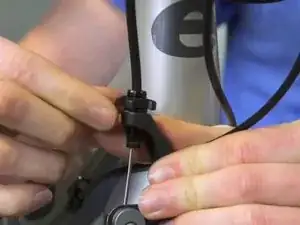
Install the brake cable by sliding the wire through the lever’s cable anchor seat and into the cable exit port.
-
Be careful to avoid popping any anchor assemblies or pivots out of the brake lever. This is a concern primarily on older Shimano brake levers.
-
-
-
With the inner brake wire fully seated in the lever and ran through the brake housing, it is time to anchor the cable at the brake.
-
Make sure that the brake quick release switch is in the closed position.
-
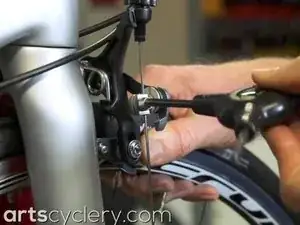
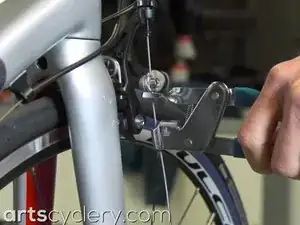
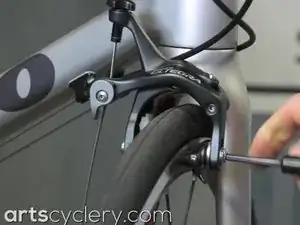
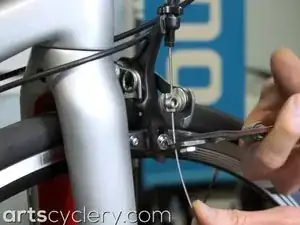
Hold the brake shut with one hand and anchor the cable with the other, using a 5mm Allen wrench.
-
A 4th hand tool can help with this part of the job.
-
-
-
Center the brake roughly by loosening the brake anchor nut and tightening it back in the correct position.
-
Don’t forget to check your torque with a torque wrench.
-
-
-
Now set up your brake pads.
-
Pull the lever tight and hold it there.
-
Loosen the brake pad anchor bolt, align the pad with the brake track of the rim; pull the brake lever tight again to hold the pad in place, and then tighten the brake pad down again.
-
Repeat this on the other pad.
-
You may need to repeat the entire pad alignment process again if either of the pads was way off.
-
-
-
Dial in the feel of your brakes with the brake barrel adjuster. Turn it counterclockwise to tighten the cable and turn it clockwise to loosen the cable.
-
-
-
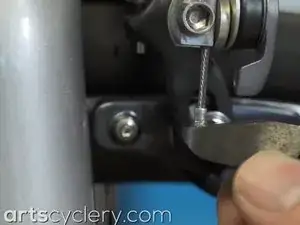
Cut the cable to length roughly 3/4" past the cable anchor.
-
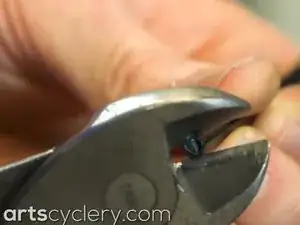
Apply a cable crimp to the end of the cable with a pair of diagonal cutters. Be careful not to squeeze too hard and cut through the cable crimp.
-
To reassemble your device, follow these instructions in reverse order.
