Einleitung
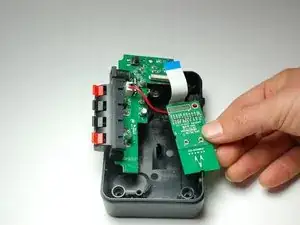
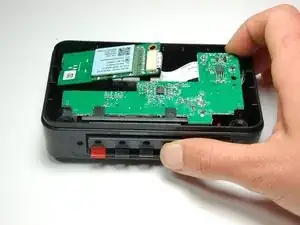
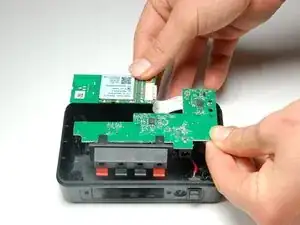
The sender and receiver each contain an audio module chip that connect wirelessly for proper functioning of the Rocketfish RF-WHTIB-A system. An unresponsive sender during connection mode on the does not necessarily mean the device is entirely broken. It could indicate a problem with the wireless audio module chip. This guide will direct users step by step to replacing a faulty wireless audio module chip.
Werkzeuge
-
-
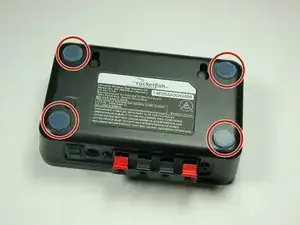
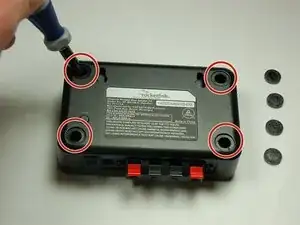
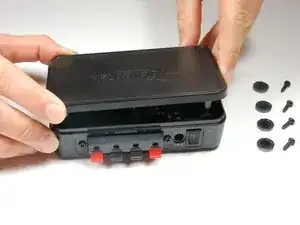
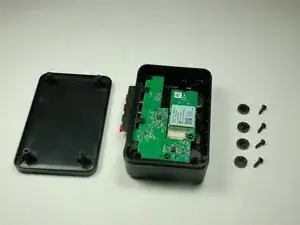
Use a Phillips #1 screwdriver to unscrew the four 12 mm screws on the bottom of the device.
-
-
-
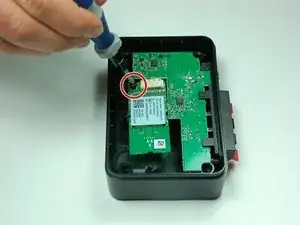
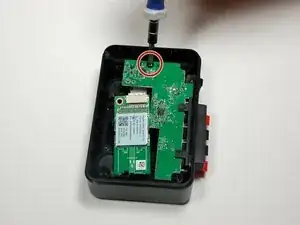
Use a Phillips #1 screwdriver to unscrew the 10 mm screw, securing the wireless audio module chip.
-
-
-
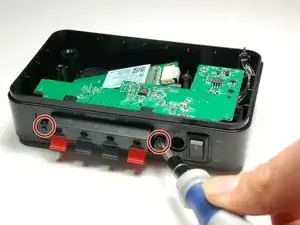
Use a Phillips #1 screwdriver to unscrew the two 10 mm screws located on either side of the speakers.
-
Secure the front speaker input terminal to release the motherboard.
-
-
-
Using both thumbs, push the front speaker input terminal back towards the inside part of the device.
-
-
-
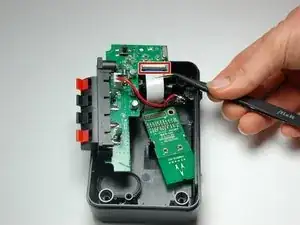
Gently slide the black retaining flap back, securing the ribbon wire gently away from the white bar.
-
-
-
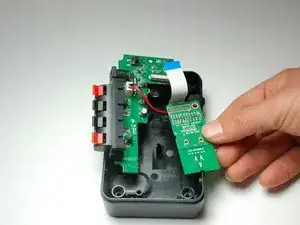
Using your fingers, pull the ribbon wire out from the black retaining flap in order to completely disconnect the wireless audio module chip.
-
To install the new wireless module chip, follow these instructions in reverse order.
Once the sender has been put back together, plug in the device and initiate the connection mode between the sender and receiver to ensure the new wireless module chip has been properly assembled.
2 Kommentare
Does Rocketfish offer a replacement board?
“No Parts Required” is a joke . Where are the replacement boards available from?
