Einleitung
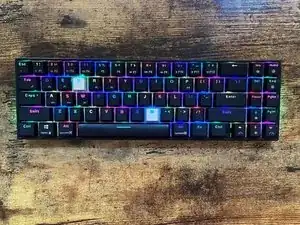
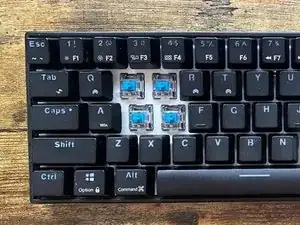
The Royal Kludge RK-71 keyboard is a mechanical gaming keyboard that was built with hot-swappable switches; this means that when it comes to repairing and changing switches, it is easy for the user to pull out the switch using a switch puller.
As the RK-71 has two product lines, it is important to be sure that your keyboard is hot-swappable before following this guide. The purpose of hot-swappable keyboard is to make it easier to repair and replace the switch, the process of which can be moderately difficult, so I would advise some experience with disassembly and repair of products before attempting this fix. Nonetheless, this guide will take you through the step by step of how to clean the keyboard and replace a switch.
Werkzeuge
-
-
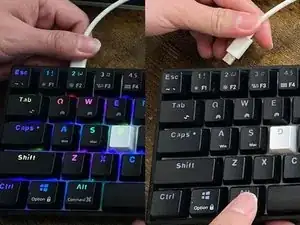
Disconnect the keyboard from any connections by removing the wire.
-
The RK 71 offers two dual-connection, which means that it is able to connect both with wire and Bluetooth.
-
Make sure to turn off the back switch to completely disconnect.
-
-
-
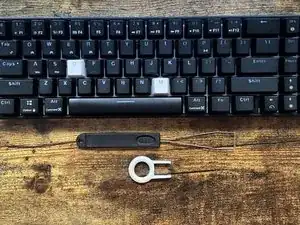
Use a wired keycap remover (shown on the image) to easily remove the caps.
-
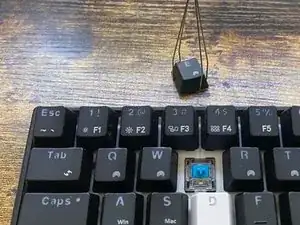
Hook underneath the opposite corners of the keycaps, which will enable a swift pulling, upwards motion to proceed with the removal.
-
-
-
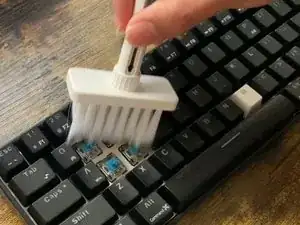
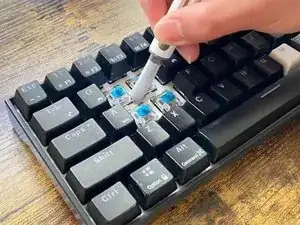
Before removing the switch, clean the inside of the keyboard.
-
Use a brush to get rid of the potential dust that could be trapped while installing new switches (which might affect the connection and function of the key).
-
-
-
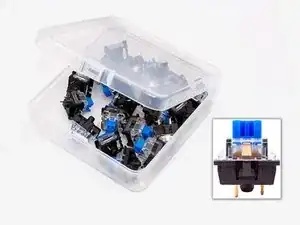
Get the new switches that will replace the existing switches.
-
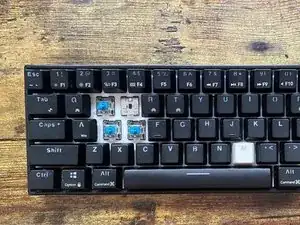
For this guide, I will replace an old blue switch with a new blue switch.
-
-
-
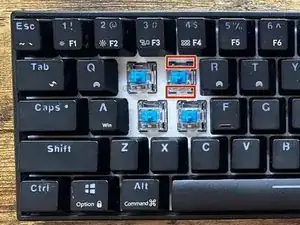
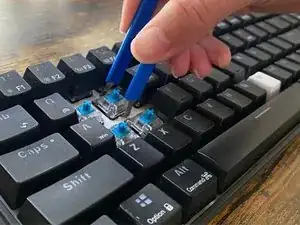
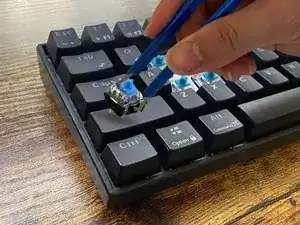
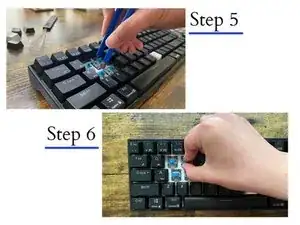
Hook the switch puller to the top and bottom of the switch (indicated by the red squares).
-
Pull the switch straight upwards.
-
Once removed, check whether it is a 3-pin or 5-pin switch.
-
-
-
Look at the bottom of the switches and locate the two metal pins connectors. These connectors will correspond to the two holes at the position where you will place the switches on the keyboard plates.
-
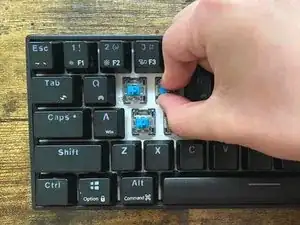
Align the switch to the receptacle and gently push the bottom of the switch so that the two pins are in position (do not force it in or else the pins might break),
-
-
-
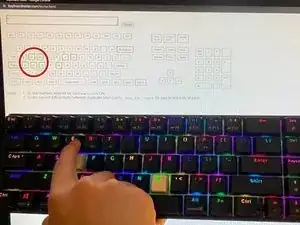
Once the switch is replaced, connect to the computer to test it out.
-
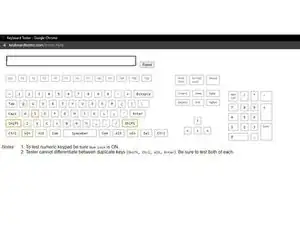
When the switch is correctly connected, the signals will be passed to the Keyboard tester and the key will turn green on the screen.
-
-
-
If you desire to change any more switches, disconnect the keyboard and repeat step 5 and 6 with all the switches that desire to be changed.
-
Once completed, reconnect the keyboard to a device to check again.
-
