Einleitung

This guide will help you replace the buttons in your Sega Genesis Flashback controller. You’ll need a Phillips #000 screwdriver to complete this guide.

  1. OdgpTeYy3wuACEmR
    OdgpTeYy3wuACEmR
    og5ITjXdL5JubPyS
    Ai6QCgIgWaREOKGy
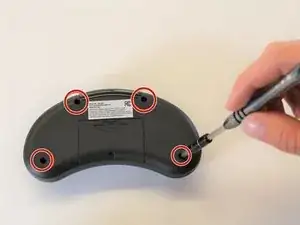
    • Remove the screws on the back of the controller with the Phillips #000 screwdriver.

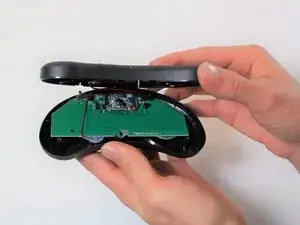
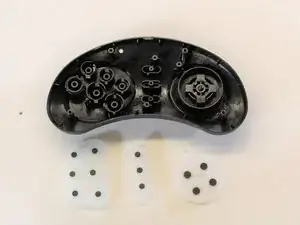
    • Hold the controller with the bottom plate facing up, gently remove the top plate that is connected to the motherboard of the controller. Set the top plate aside.

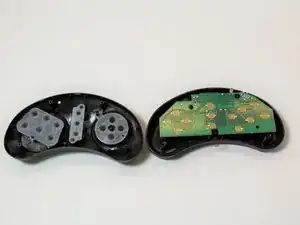
    • Be sure to separate the two plates with the bottom facing up, to keep the buttons from falling out.

    • Place screws on magnetic project mat to avoid losing any screws.

  2. uMbQc2mSbH44qMsZ
    uMbQc2mSbH44qMsZ
    I6esookjtDMoM5xw
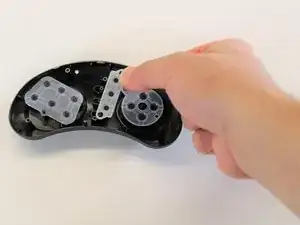
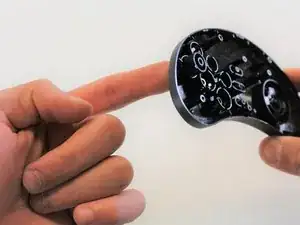
    • CAUTION: Pull gently on the rubber membranes to avoid tearing .

    • Use two fingers to remove each rubber membrane that rests on top of the buttons.

  3. WulOApGURfEPclUv
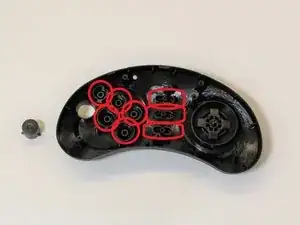
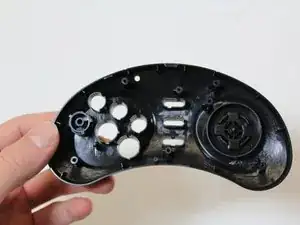
    • Pop the button out from the front side of the controller.

    • Pull the button out from the backside using the other hand.

    • Note: All removable buttons can only be placed in their respective holes due to unique groove patterns on the buttons. Keep in mind where each button belongs to make re-assembly easier.

    • Note: All buttons can be removed except for the D-Pad.

  4. troULMxugNQP16VQ
    • Repeat Step 5 for the remaining buttons.

Abschluss

To reassemble your device, follow these instructions in reverse order.
Viet Nguyen

Mitglied seit: 17/04/18

220 Reputation

0 Kommentare