Einleitung
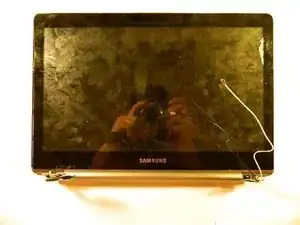
The graphics screen is nested behind the capacitive touchscreen. Therefore, in order to replace the graphics-screen it is mandatory to remove the capacitive touch screen first. This guide will show the user the proper way remove the graphics-screen.
Werkzeuge
-
-
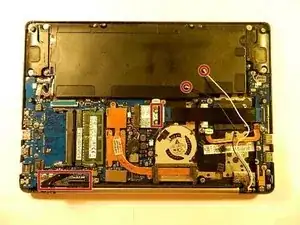
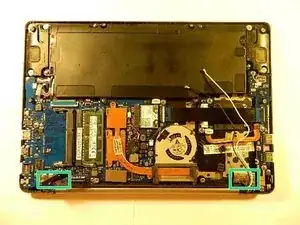
Disconnect the databus from the motherboard as seen in the lower left of the picture
-
Disconnect the white and black wire from the graphics card as seen in the middle of the photo. (Note: These two wires are connected to the motherboard by means of snap-in male-female copper connectors, meaning they can be disconnected by un-snapping the connectors.
-
-
-
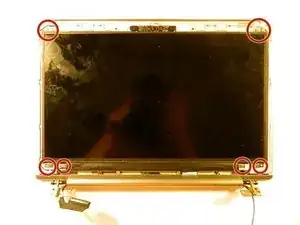
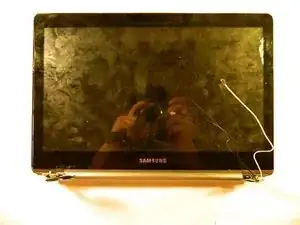
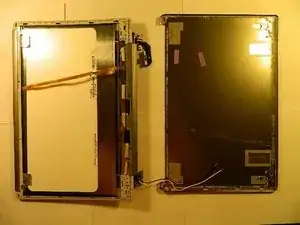
Now that the six 5mm screws were removed, remove and separate the screen assembly as seen in the image.
-
-
-
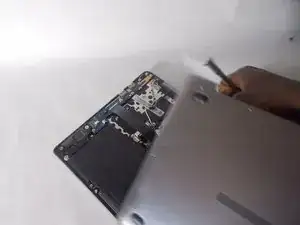
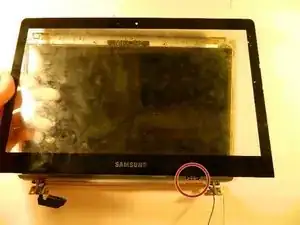
Now that backplate has been removed, flip the laptop over on the front. Remove the capacitive touch screen.
-
-
-
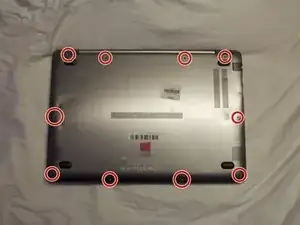
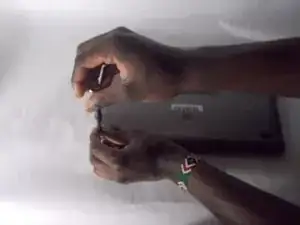
Remove the six 3 mm screws using the Phillips #000 screwdriver.
-
Unhook the ribbon connection.
-
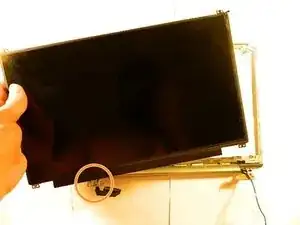
Remove the screen.
-
To reassemble your device, follow these instructions in reverse order.
Important Note: When re-assembling the screen assembly, additional adhesive glue may be needed to adhere the graphic-screen, capacitive touch-screen and screen cover back onto the original assembly.
