Einleitung
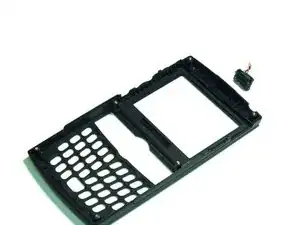
Use this guide to remove the speaker.
Werkzeuge
-
-
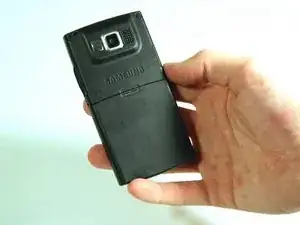
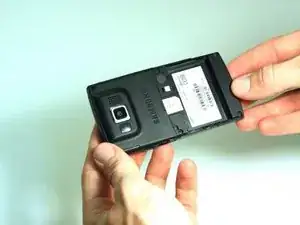
Hold the device with the screen facing away from you and the camera towards you.
-
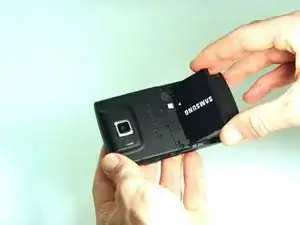
Place your thumb on the bottom half of the phone and slide the cover off while gently pushing down on the cover.
-
-
-
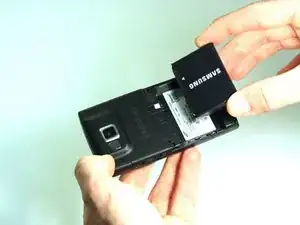
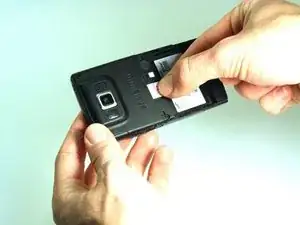
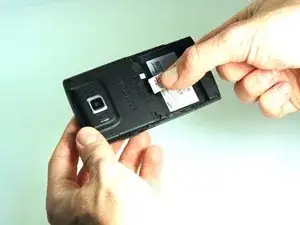
Place your fingers on both sides of the bottom of the battery and lift upwards.
-
Pull the battery away from the phone.
-
-
-
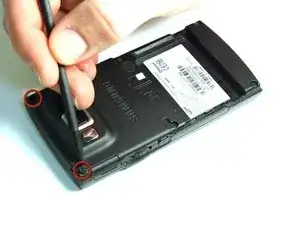
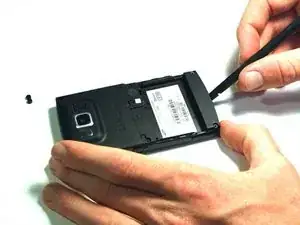
Use the spudger to remove the rubber stoppers from the top of the cover.
-
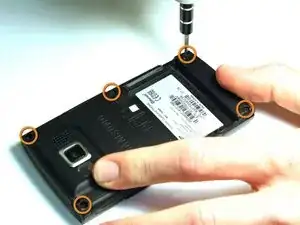
Use the Phillips 00 screw driver to remove the screws from each of the four corners and the two on sides (six total).
-
-
-
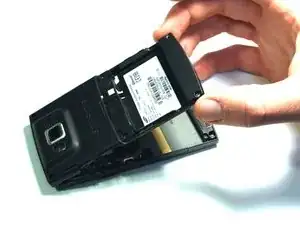
Use the spudger to loosen and separate the front and back covers.
-
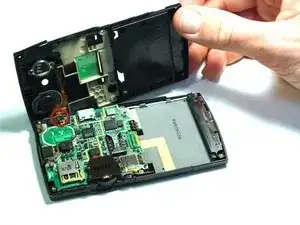
Pick up the back cover once loosened.
-
Remove the gold wire connecting the back cover to the motherboard to completely separate the covers.
-
-
-
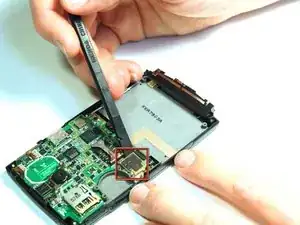
Use the spudger to unsnap the black rectangular connection from the motherboard.
-
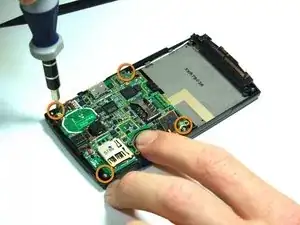
Use the Phillips 00 screwdriver to remove all of the screws that hold the motherboard in place.
-
-
-
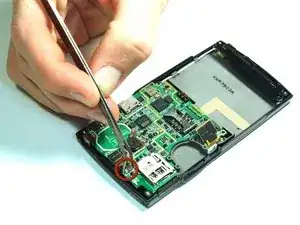
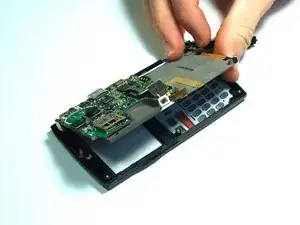
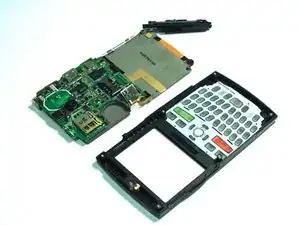
Use the tweezers to unsnap the connection between the motherboard and the speaker. The speaker is attached to the front casing.
-
-
-
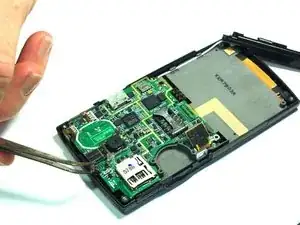
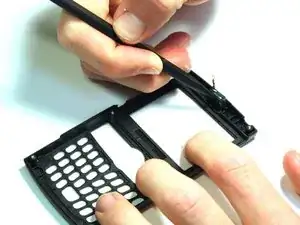
Use the spudger to wedge between the speaker and the speaker's casing.
-
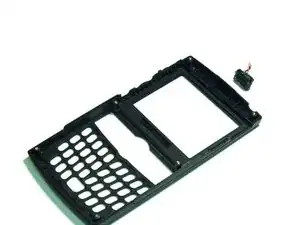
Use the spudger to pry on the speaker until it comes free from the casing.
-
To reassemble your device, follow these instructions in reverse order.
