Einleitung
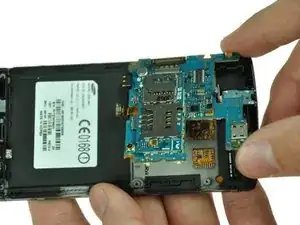
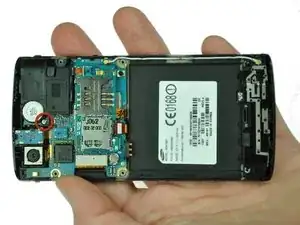
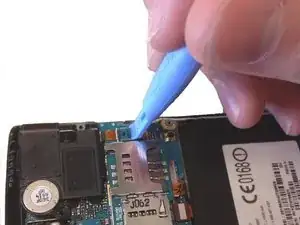
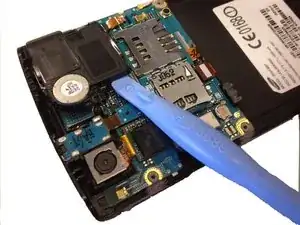
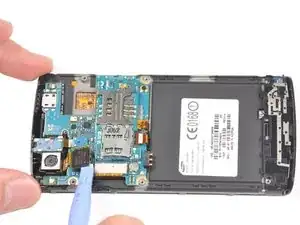
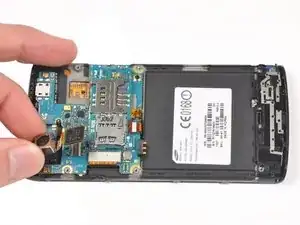
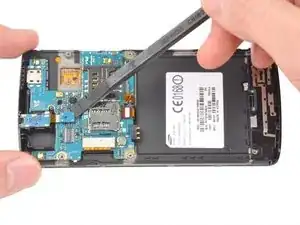
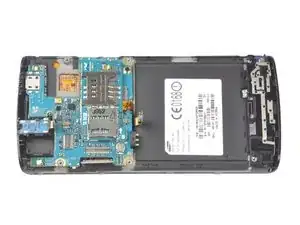
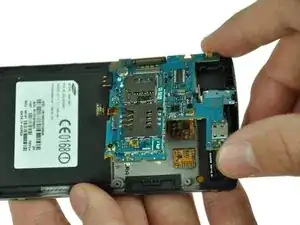
Use this guide to replace your Captivate's motherboard.
Werkzeuge
-
-
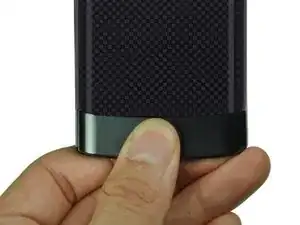
Remove the back cover by pressing on the bottom section of the phone and sliding the bottom piece downward.
-
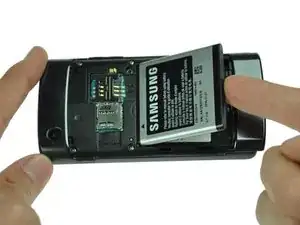
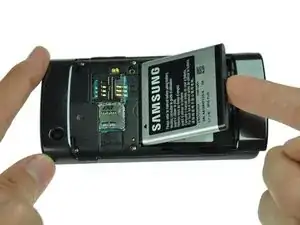
Lift up the back cover.
-
-
-
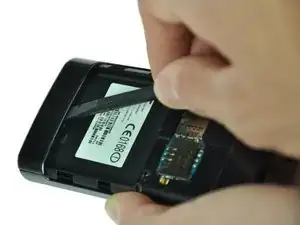
Insert the spudger underneath the bottom section of the phone.
-
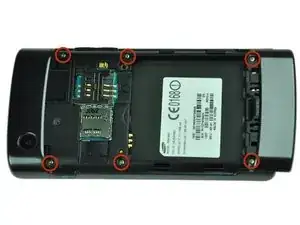
Gently lift and push the spudger to slide the bottom section down to reveal two hidden screws.
-
-
-
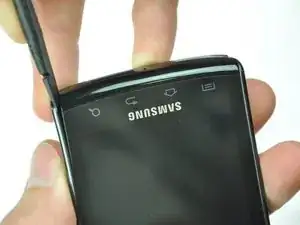
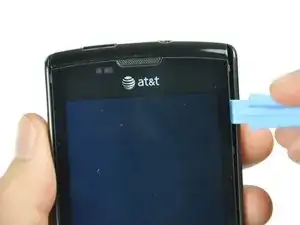
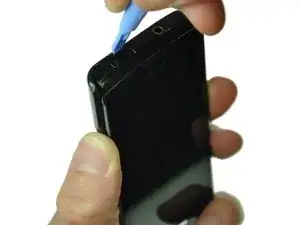
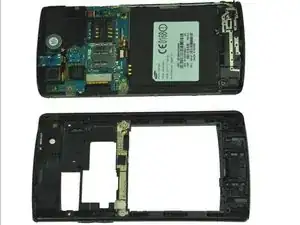
Starting at a bottom corner, use the spudger to separate the rear case from the front display.
-
Move the spudger towards the top on both sides. The plastic opening tool is easier to use for this step.
-
-
-
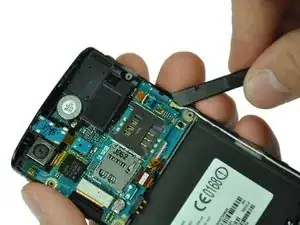
Use a spudger tool to pry up the antenna cable from the connector on the motherboard.
-
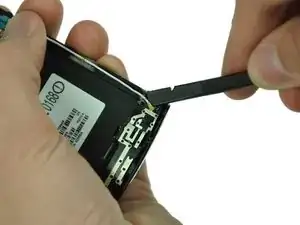
Pry up the other end of the cable from the connector on the antenna array.
-
-
-
Use the Phillips 00 screwdriver to remove the single screw holding the speaker assembly to the LCD.
-
-
-
Pull out the ribbon cable.
-
Use a spudger or plastic opening tool to lift up the speaker, and use your hands to remove it.
-
-
-
Lift up the black NEC chip with attached ribbon cable using either a spudger or plastic opening tool.
-
Gently lift the camera assembly out of the plastic housing.
-
-
-
Use a spudger to disconnect the three highlighted connectors.
-
Pry straight up and be careful to pry against the connector, not the socket on the motherboard itself.
-
To reassemble your device, follow these instructions in reverse order.
