Einleitung

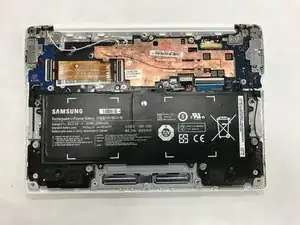
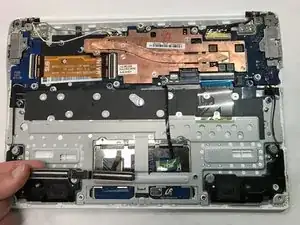
This guide will show you step by step how to replace your trackpad for your Samsung Chromebook 2 XE503c12. This guide will also be useful for trackpads that are only slightly malfunctioning, as accessing the trackpad and cleaning it of dust or debris may restore functionality.

  1. S6ioadFRZ6cIUFOP
    S6ioadFRZ6cIUFOP
    NOG6JsVQLbp6GIHt
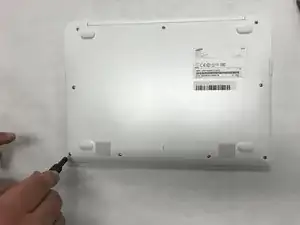
    • Turn the power off before beginning this step.

    • Most Chromebooks contain rubber circle pads on each of the four corners to cover the screws. In order to remove the rubber pads, simply use any opening tool.

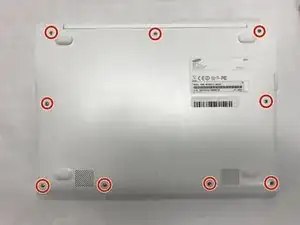
    • Lay the Chromebook down so that the bottom cover is facing upward.

    • Using a Phillips #00 screwdriver, remove all nine 5.5 mm screws from the back cover.

  2. Bt2SOBYpDuIHZDgr
    Bt2SOBYpDuIHZDgr
    aRVbOYfCHLHPJCVe
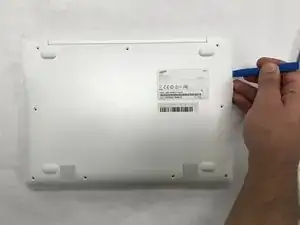
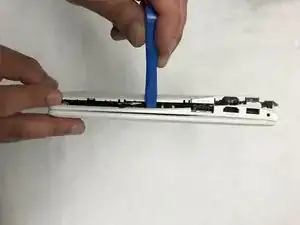
    • Place the opening tool in the divot between the spine of the Chromebook and the back cover.

    • Slowly glide and push down the end of the opening tool along all sides of the Chromebook to detach the brackets. You will hear the brackets detach.

  3. NengCTAosdZaNIRZ
    NengCTAosdZaNIRZ
    KEvGObLi3yIr2JKs
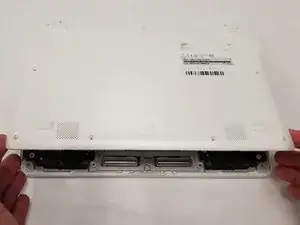
    • Slowly pry off the back cover of the Chromebook.

    • Be gentle while prying to avoid breaking the back cover.

  4. KHNfqg5KWxDQTL6U
    KHNfqg5KWxDQTL6U
    YjwRj2gAyFvYnBBF
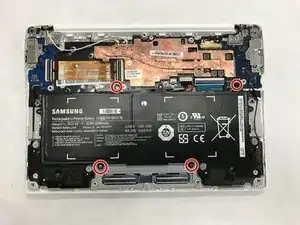
    • Remove the four 3 mm screws using a Phillips #000 screwdriver.

  5. oMYKcENevaKMABZV
    oMYKcENevaKMABZV
    IROc16UVhfkRpjmW
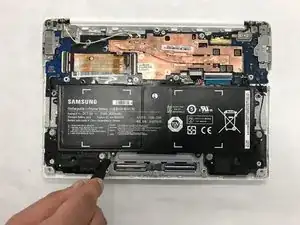
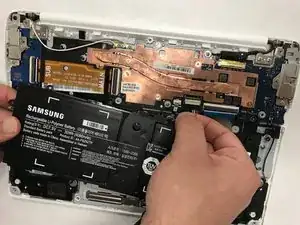
    • Carefully lift the top of the battery then pull it away from you to remove it.

    • Some batteries may be attached via a battery connector. Disconnect the battery connector by simply pulling straight up at its base.

  6. NBjl24hLMm4tZIEw
    NBjl24hLMm4tZIEw
    fILneRpia6DCMmot
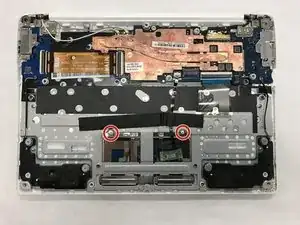
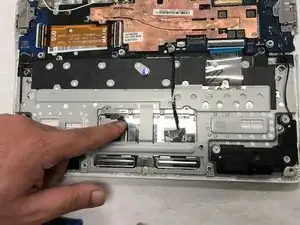
    • Using a Phillips #00 screwdriver, remove all of the two screws keeping the trackpad in place.

  7. eCUDiSOBpuGTECIr
    eCUDiSOBpuGTECIr
    siMYkDAFaGC4QhbA
    IPSSNWDG3DVRFOgB
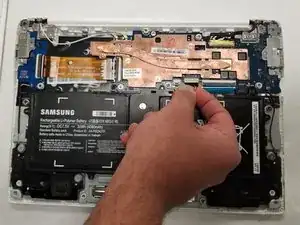
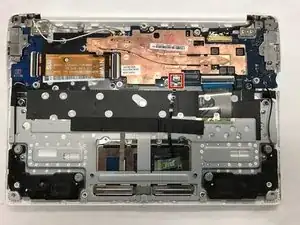
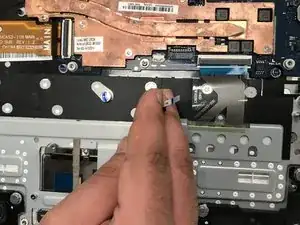
    • Gently remove the connector between the trackpad and the motherboard by pulling upward on it at the port.

  8. UHIwS4WKPM6ZKiU3
    UHIwS4WKPM6ZKiU3
    wlYQDXX3PpIibDGB
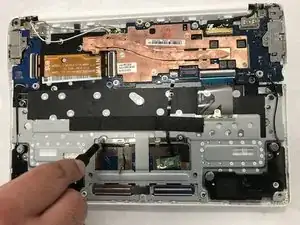
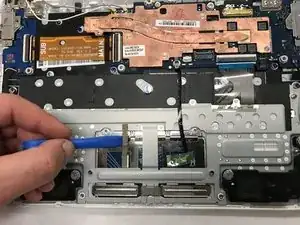
    • Using an opening tool, gently peel back the adhesive strip holding the trackpad in place.

  9. yOPbIYJJUvDZRj4A
    yOPbIYJJUvDZRj4A
    lUdJCVirWIQUIu1j
    LsnsD1LfEwrvsRPT
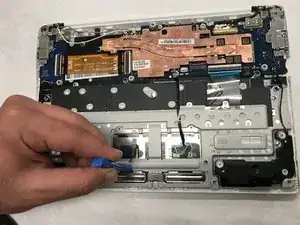
    • Using the opening tool, disconnect the metal trackpad support brackets.

    • Don't be afraid to use a moderate amount of force when prying the support brackets loose.

  10. ePWPAFTAadKtAnQO
    ePWPAFTAadKtAnQO
    5nkT1hPGHnvimQNW
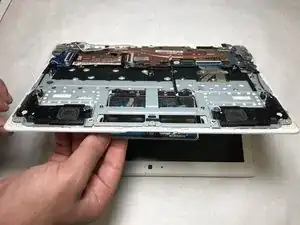
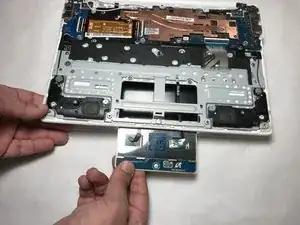
    • With the laptop slightly open, push the trackpad upwards at the rear, and pull it out from the bottom.

Abschluss

To reassemble your device, follow these instructions in reverse order.
Shane Solomon

Mitglied seit: 22/05/19

181 Reputation

0 Kommentare