Einleitung
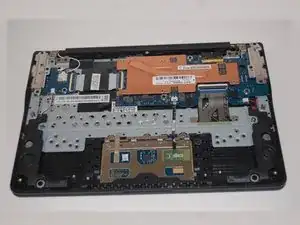
This guide is a step-by-step guide of how to replace the Samsung Chromebook 3 XE500C13-K02US laptop motherboard.
Werkzeuge
-
-
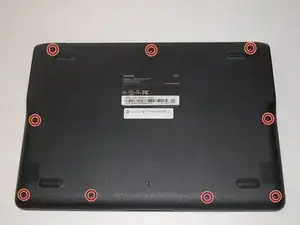
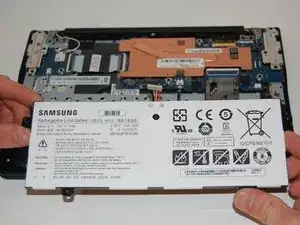
Place the laptop back cover facing up to expose the screws.
-
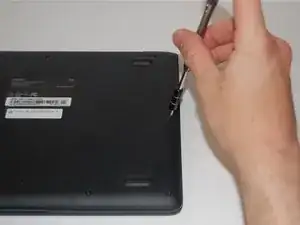
Using a Phillips #00 screwdriver, remove nine 4.6mm screws from the back casing.
-
-
-
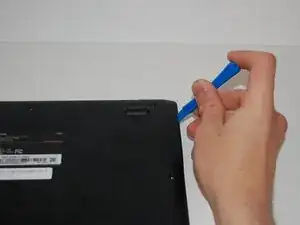
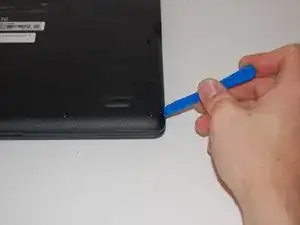
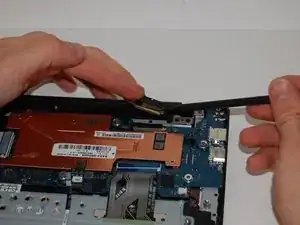
Use an iFixit opening tool to wedge in between the case and body of the laptop.
-
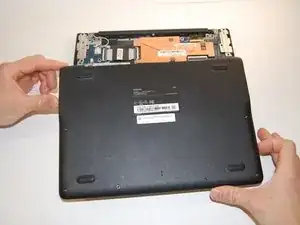
Once the tool is wedged in between the case and laptop, slide it around the entire laptop's edge to disengage the retaining clips.
-
-
-
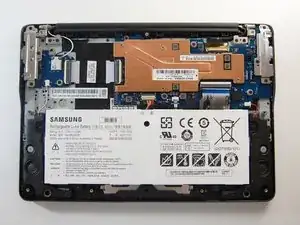
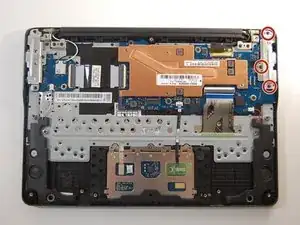
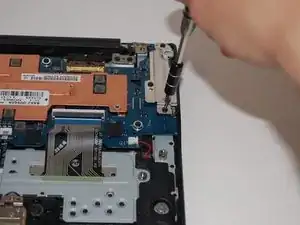
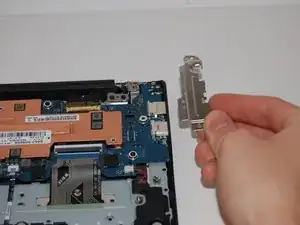
Remove the three 4.6mm screws from the silver port cover using a Phillips #00 screwdriver.
-
-
-
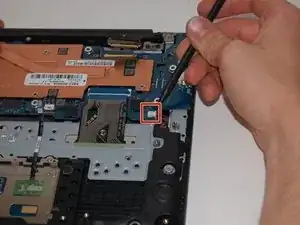
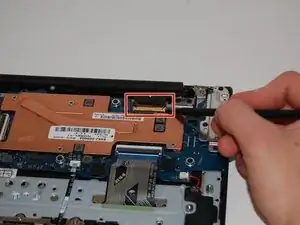
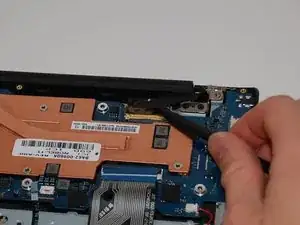
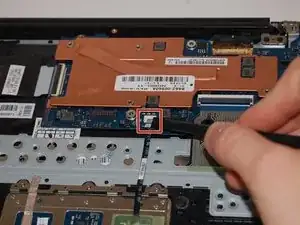
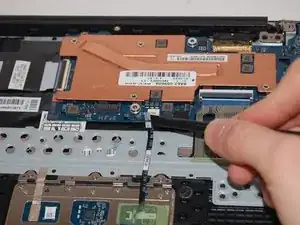
Use a spudger to lift the hinge locking the gold colored display cable in place.
-
Slide the hinge out to remove it from the motherboard.
-
-
-
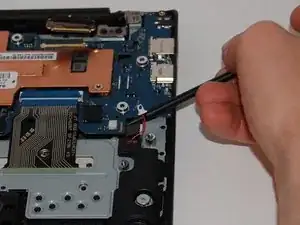
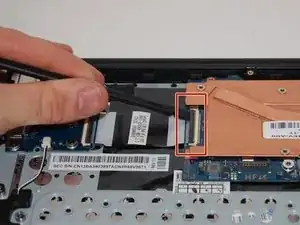
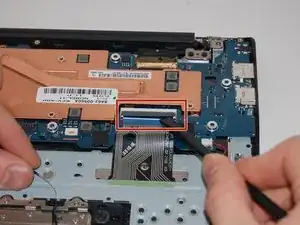
Use a spudger to flip up the ZIF connector holding in the ribbon cable.
-
Once the ZIF connector has been lifted, slide the ribbon cable out of the motherboard.
-
-
-
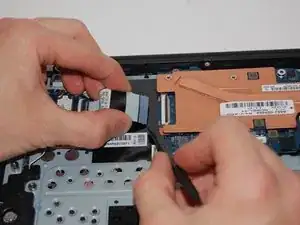
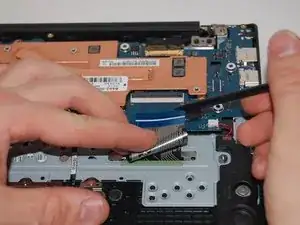
Lift the ZIF connector on the keyboard ribbon cable with a spudger.
-
Once the ZIF connector has been flipped, slide the ribbon cable out from the motherboard.
-
-
-
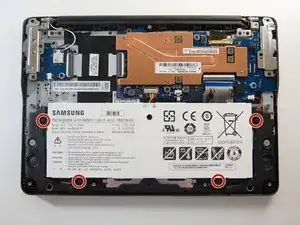
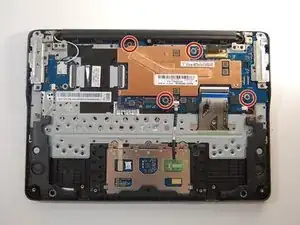
Use your Phillips #00 screwdriver to remove four 4.6mm screws from the motherboard.
-
Ensure there are no cables in the way and lift the motherboard up and out of the laptop.
-
To reassemble your device, follow these instructions in reverse order.
Ein Kommentar
Thanks for this. I was able to follow the steps and start up the Chromebook successfully. However, now my keyboard and mouse pad aren't working. I tried going back and reinserting the ribbon connectors a couple of times without success. If I plug in a separate mouse and keyboard, they both work. Anything else I should try?
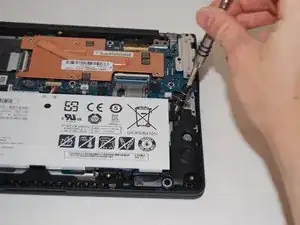
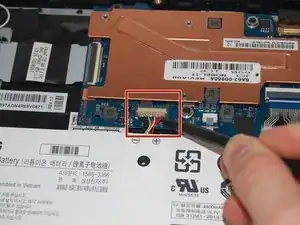
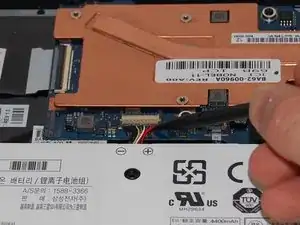
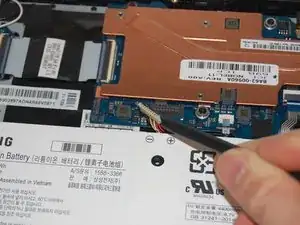
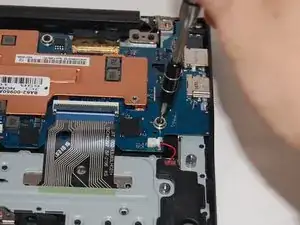
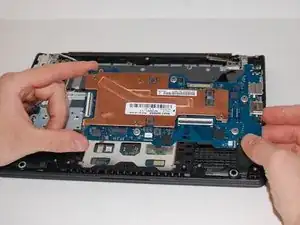
Mick: Did you have to run the blue tool around the edge? Or do corners? The first picture is at the upper righthand corner and the second pic is at the lower righthand corner. This suggests some kind of movement. Could you explain (briefly)?
lkmemphis -