Einleitung
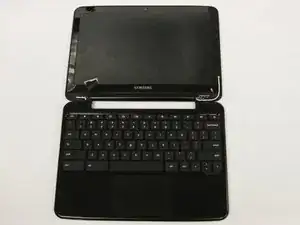
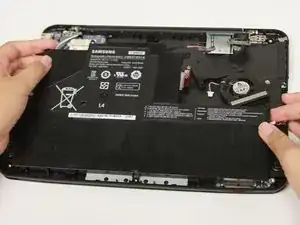
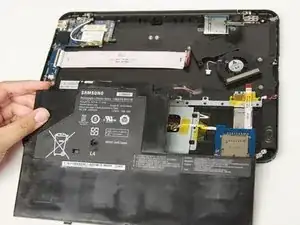
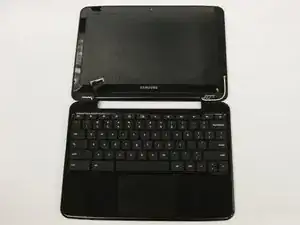
A fast and simple guide to replace the keyboard to your Chromebook.
Werkzeuge
-
-
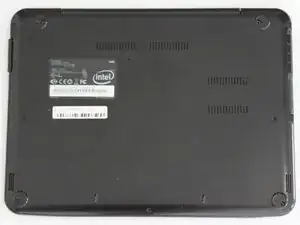
Lay the Chromebook down so that the bottom cover is facing upward.
-
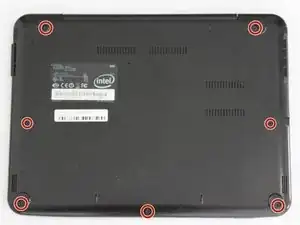
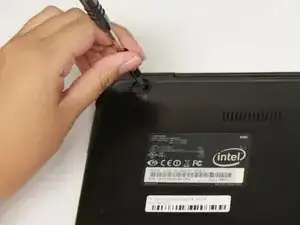
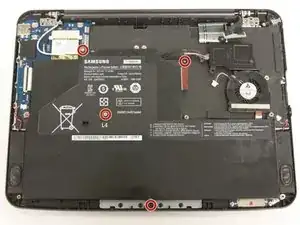
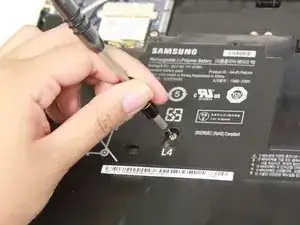
Using a Phillips #00 screwdriver, remove all seven 5.5 mm screws from the back cover.
-
-
-
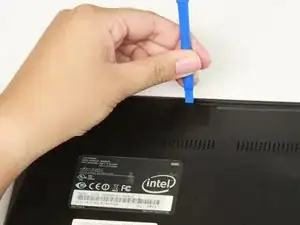
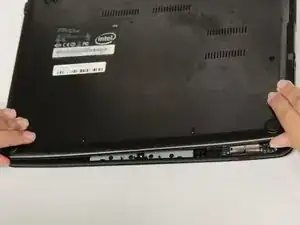
Place the opening tool in the divot between the spine of the Chromebook and the back cover.
-
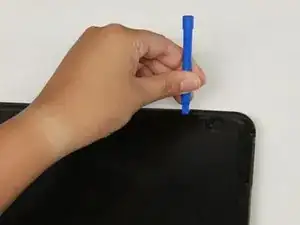
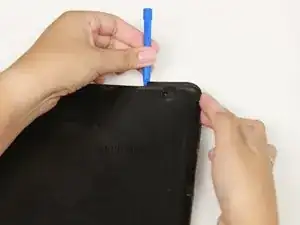
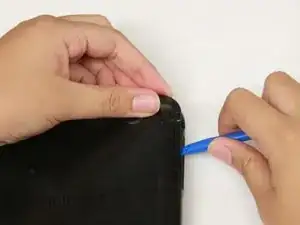
Slowly glide and push down the end of the opening tool along all sides of the Chromebook to detach the brackets. You will hear the brackets detach.
-
-
-
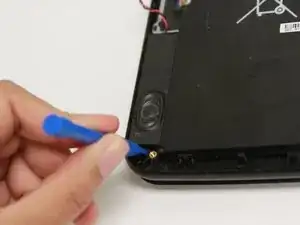
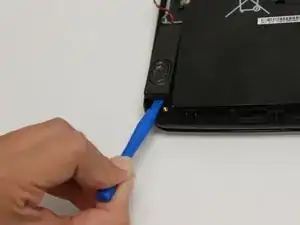
Use the prying tool to find the divot then slowly add pressure until the speaker pops out.
-
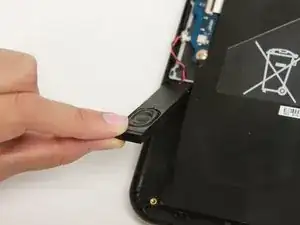
Gently lift and remove the speaker from the Chromebook.
-
-
-
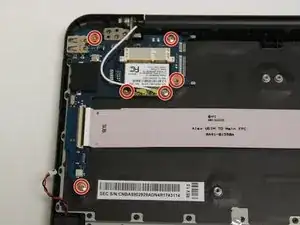
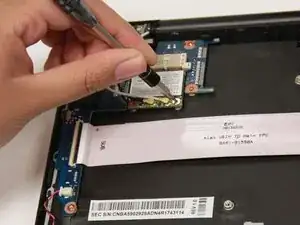
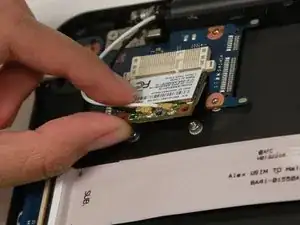
Gently lift the bottom of the wifi card then pull it towards you to disconnect it from the socket.
-
-
-
Gently lift the top left corner of the RAM and pull upward to remove it from the Chromebook.
-
-
-
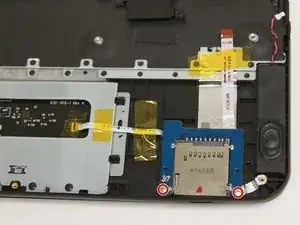
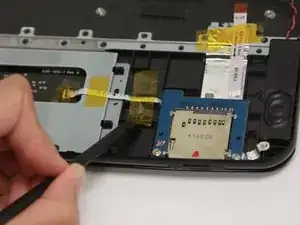
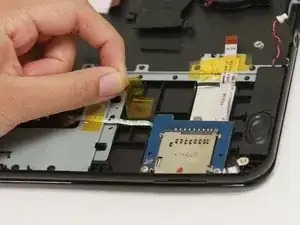
Remove the yellow tape on the left ribbon cable with a spudger.
-
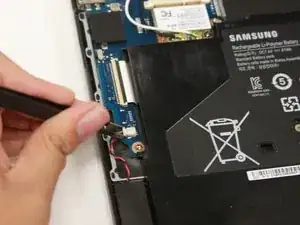
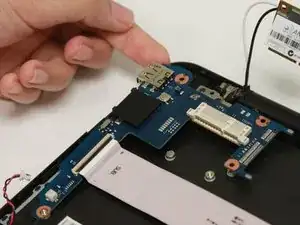
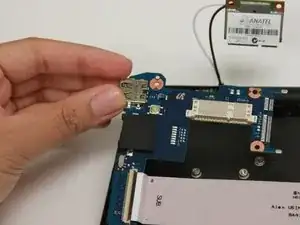
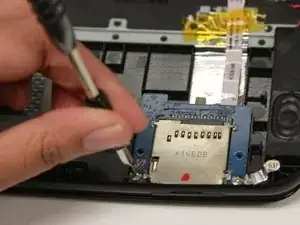
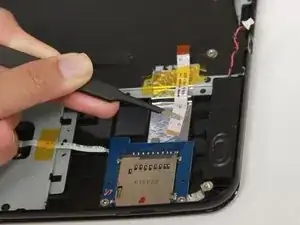
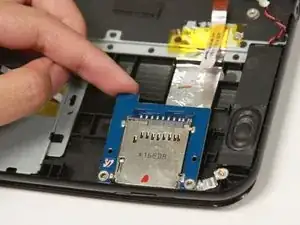
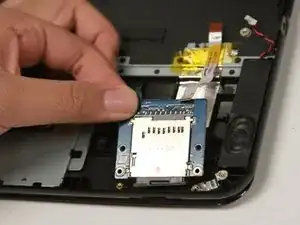
Use a blunt precision tweezer to remove both ribbon cables attached to the SD card reader.
-
-
-
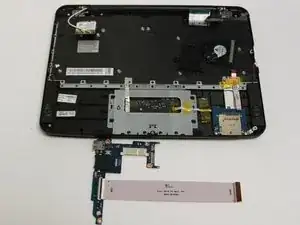
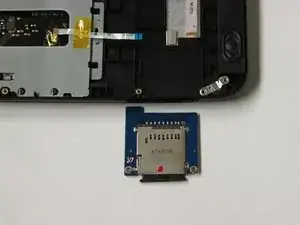
Gently lift the top portion of the SD card reader and pull it away from you to remove it.
-
-
-
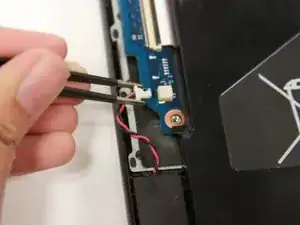
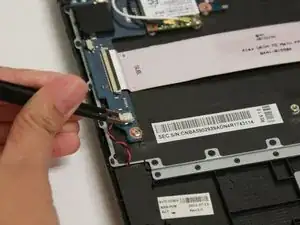
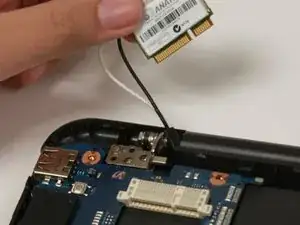
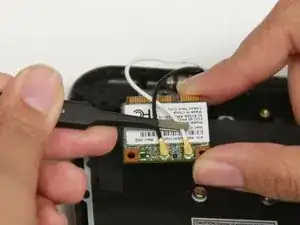
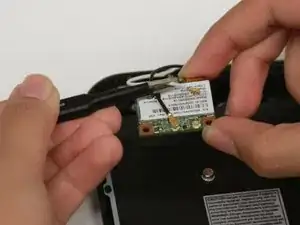
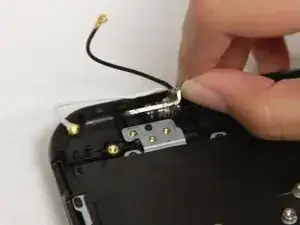
Using a blunt precision tweezer, pull the white wire off the wificard.
-
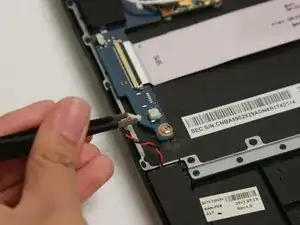
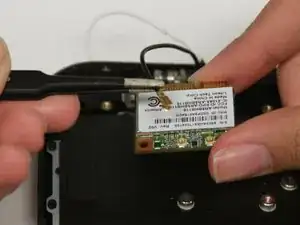
Repeat step to remove the black wire to detach the wificard.
-
-
-
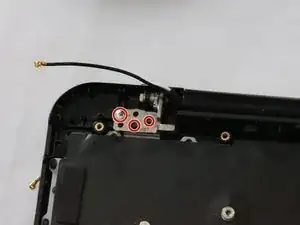
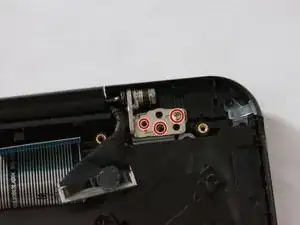
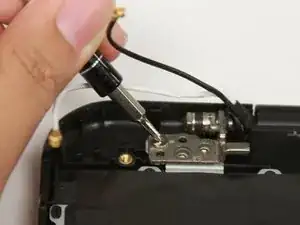
Using the Phillips #00 screwdriver, remove all six 3.5 mm screws to detach the hinges from the keyboard.
-
-
-
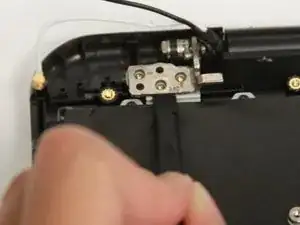
Using the plastic spudger, place it under the hinge and pry it open.
-
Use your hand to lift the hinge.
-
Repeat on other side.
-
-
-
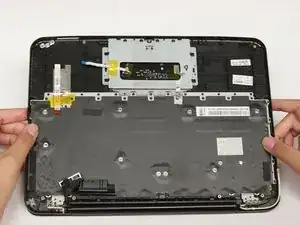
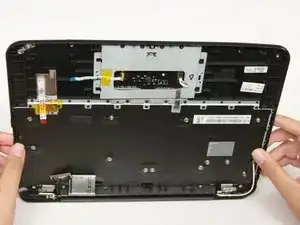
Rotate the Chromebook 180 degrees so that the spine and hinges are facing you.
-
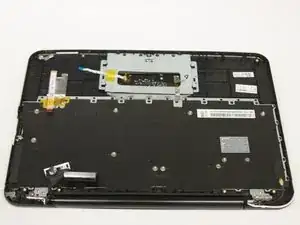
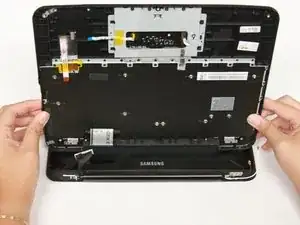
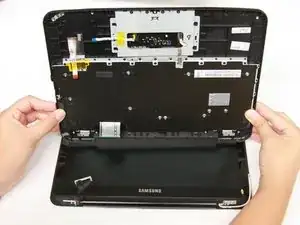
Lift the keyboard and trackpad upward.
-
-
-
Pull the keyboard and trackpad away from you to detach them from the spine of the Chromebook.
-
To reassemble your device, follow these instructions in reverse order.
