Einleitung
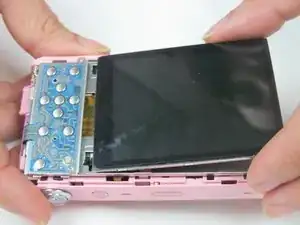
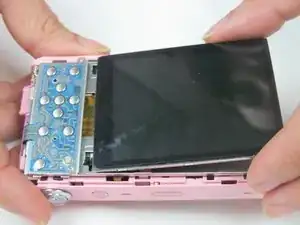
This will consist of taking apart the camera by using the Phillips 000 bit and the smallest opening tool available in order to replace the back facing LED screen. In order to take out the screen you will have to unclamp areas lifting up the outer layer protecting the motherboard. This will lead to the release of digital ribbons connected from the to the motherboard.
Werkzeuge
-
-
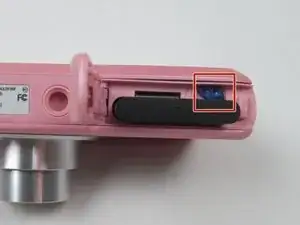
Use a pry tool to push the highlighted blue latch away from the battery in the direction of the arrow. Remove the battery.
-
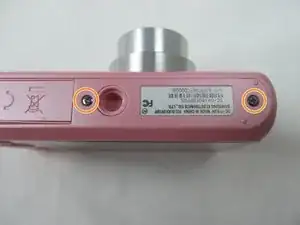
Use the Phillips 000 Bit to remove all screws from the perimeter of the device. Set aside.
-
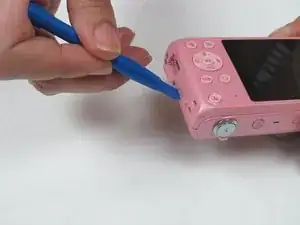
Use a small Plastic Opening Tool at the seam by the Micro USB plug. Separate the plastic case from the device.
-
-
-
Remove the outer casing holding the back part of the camera together. Leave on the front casing.
-
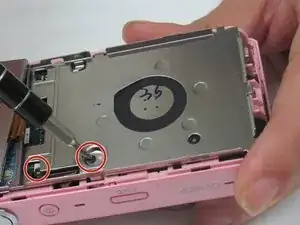
Use a Phillips screwdriver to remove the two small screws holding the outer casing to the mother board.
-
Use the prying tool to unhook the casing from the plate covering the motherboard
-
-
-
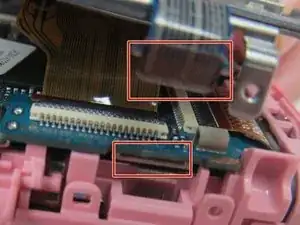
Release the ribbon from the button casing connected to the motherboard.
-
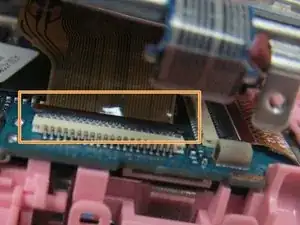
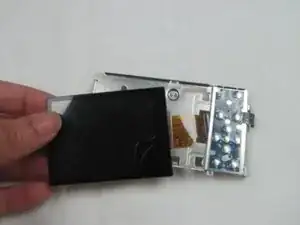
Hold the metal casing out of the way and snap the ribbon connector back. Remove the display screen ribbon attached.
-
Replace the screen then repeat all of these steps in reverse order to reassemble.
-
To reassemble your device, follow these instructions in reverse order.
2 Kommentare
I got it open in the hope of finding a screen ID. I can not find a replacement screen for the DV180F. do you know if the DV150 screen will work?
im looking for a screen as well were you able to find a replacement?
