Einleitung
Werkzeuge
-
-
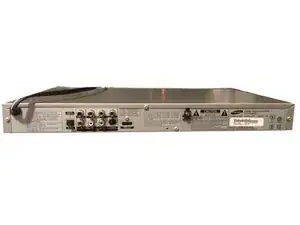
with the front of the device facing you, turn the device 180 degrees so the back panel of the device is facing you
-
-
-
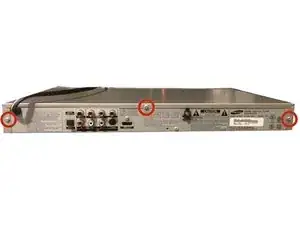
locate the three (3) screws on the back panel of the device that are implanted in the device
-
to remove the screws, use the tool(s) listed above (right underneath the introduction) and twist the screws counter-clockwise to remove them from the device
-
-
-
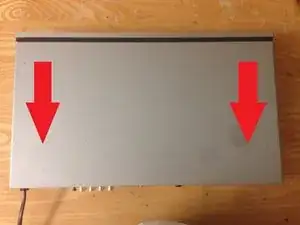
to remove the cover of the device, pull the cover towards the back of the device until it is completely removed so you can see the insides of the device
-
-
-
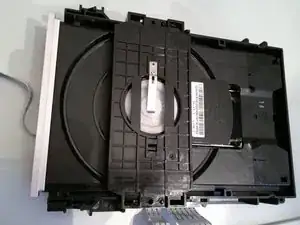
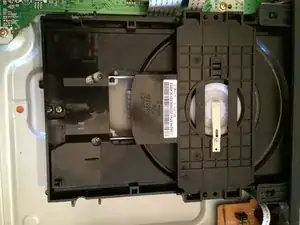
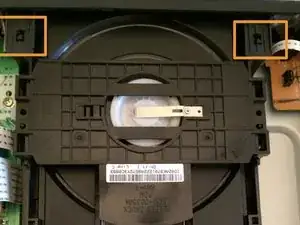
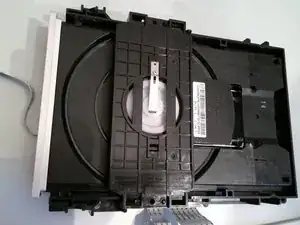
Find and locate the disk tray it is located top right hand side of the component when the back of the device ( dvd player ) is facing you.
-
-
-
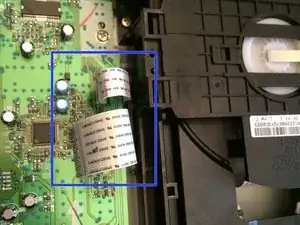
Locate and gently remove the data strips on the tray. There are three in total, two on the left hand side and one on the right.
-
-
-
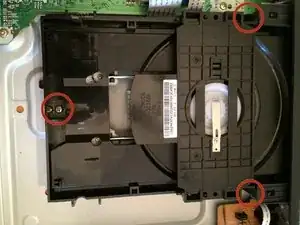
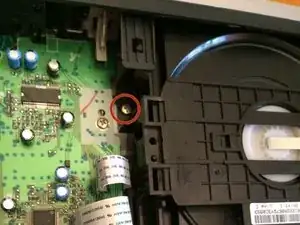
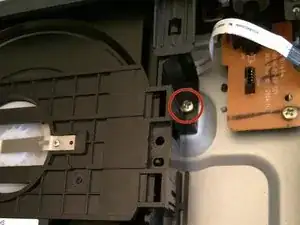
After removing the clips slowly incline the disk drive towards you and unclip it from the two (2) brackets located on the top
-
-
-
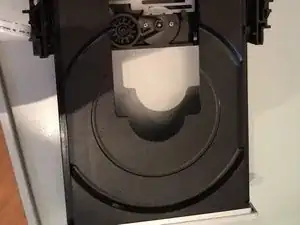
Locate the small white spindle on the face of the tray (the face is where the DVD name is edged on the front) and turn the spindle counterclockwise (with the screw driver listed under "tools" or something similar) until the tray begins to open
-
-
-
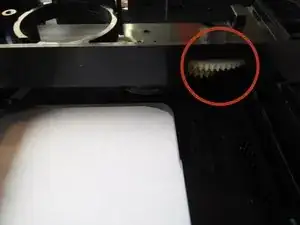
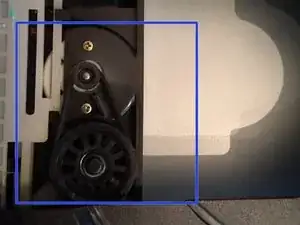
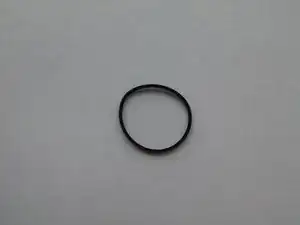
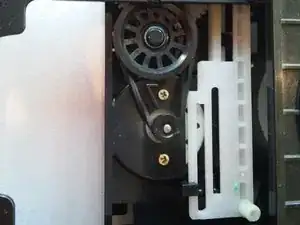
Once the tray is opened, locate the rubber band, as noted by the blue box, and remove and replace it by pulling it out of the mechanism
-
-
-
Once removed, replace the band with one you have bought, or have on-hand and and insert it into its rightful place
-
To reassemble your device, follow these instructions in reverse order.
