Einleitung

Use this guide to replace a cracked Touch Screen / Digitizer or LCD.

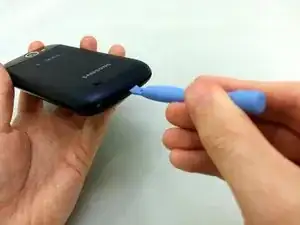
  1. OEkY5WJitYct5LVl
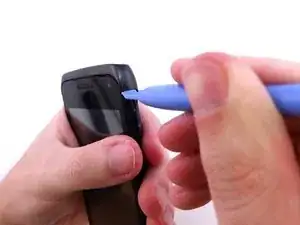
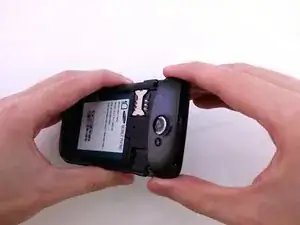
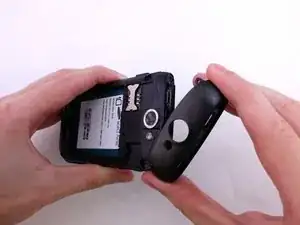
    • Insert plastic opening tool under back cover.

    • Apply pressure on tool while using a downward motion to pop off back cover.

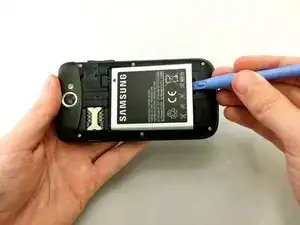
  2. BU3VdXXvJhiAwfvA
    • Insert plastic opening tool under battery.

    • Pry battery out.

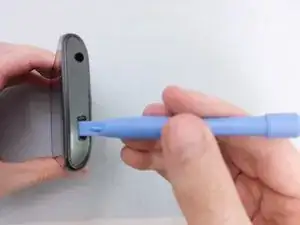
  3. KPCUytEe4OQKAOYm
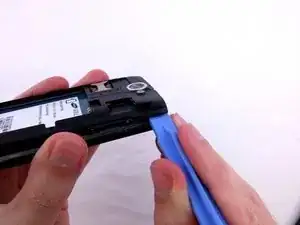
    • Insert plastic opening tool under back cover.

    • Pry the top cover upward to remove it from the phone.

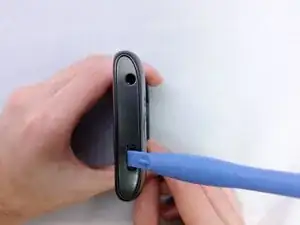
  4. AG2mksjLDsaP3gMu
    • Remove the top cover.

  5. tjHFsSmEFHaUdTqK
    tjHFsSmEFHaUdTqK
    okgWJFWJYjRdL2DT
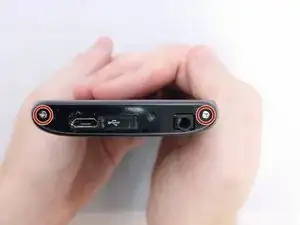
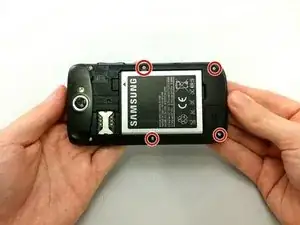
    • Remove the four 3.8mm Phillips #000 screws securing the top cover to the back assembly.

    • Two screws from top and two screws from back.

  6. kBmeDjPkG6d14Z6Q
    kBmeDjPkG6d14Z6Q
    WjKQVynKIcCMYEjU
    BonkngaYWRRLrTOo
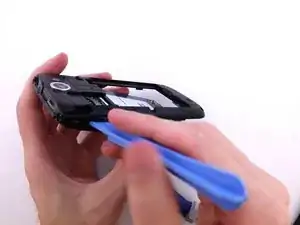
    • Insert plastic opening tool under top cover.

    • Using hand slide top cover away from phone.

  7. rWPFHPKDONTiWWkC
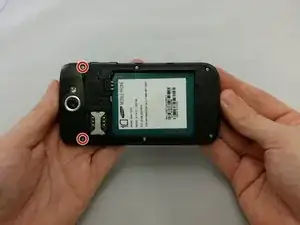
    • Remove the four 3.8mm Phillips #000 screws securing the back assembly to the phone.

  8. p1jYnUJXTMxH1Awj
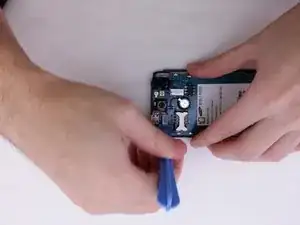
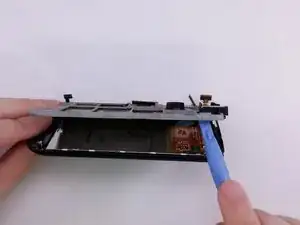
    • Insert plastic opening tool between back assembly and phone.

    • Pry the back assembly away from phone.

  9. KNPqH3WLf4r4AFZP
    • With plastic opening tool continue prying around the edge of the back assembly.

  10. 4ESoHY5QmBG63aDv
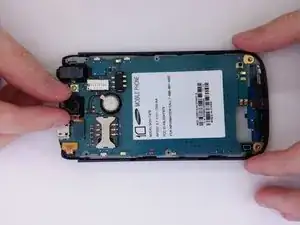
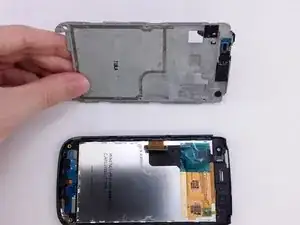
    • Pull back panel assembly away from main body.

  11. iSCOhx5hhIQDYVwO
    iSCOhx5hhIQDYVwO
    64rtYRDhdF4AendT
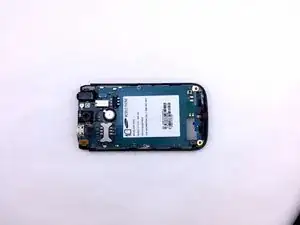
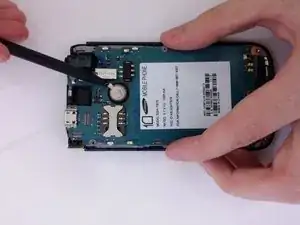
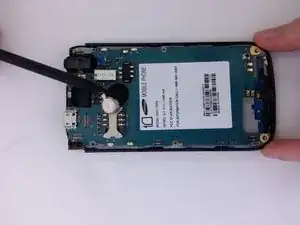
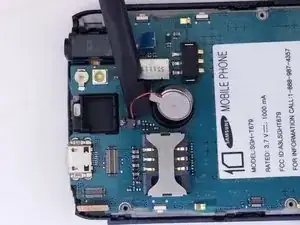
    • Insert the pointed end of a spudger into the gap in the round housing frame.

    • Using spudger to remove vibrator remove from the adhesive.

  12. mH53YmnVA2yDkDW1
    mH53YmnVA2yDkDW1
    PstHIbpU5YtOsFbL
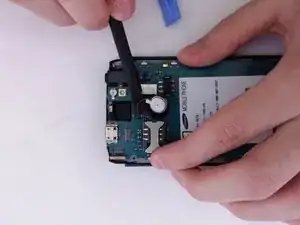
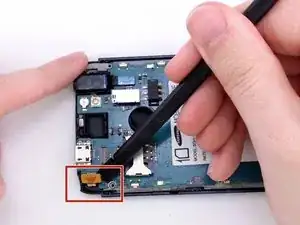
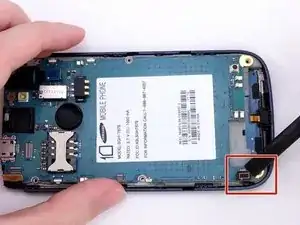
    • Use the flat end of a spudger to remove vibrator cable from motherboard.

  13. jTjwHHcJb3Sm5Zir
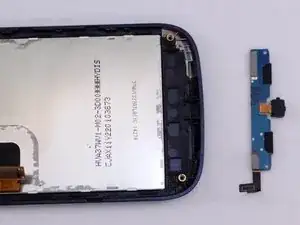
    • Use the flat end of a spudger to disconnect the camera assembly cable.

  14. PTK12CQhJBSAsRxD
    PTK12CQhJBSAsRxD
    xACKDUOsTpXYteep
    • Remove camera from square housing.

  15. eHBWIxYn5SBnJgT4
    eHBWIxYn5SBnJgT4
    ZsU2kMftWjUmOJKa
    tixKtDmLIn3BVjBA
    • Insert the spudger under each corner ribbon cable and lift them out of the way.

    • Use care when lifting the ribbon cables.

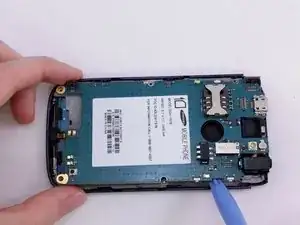
    • Insert a plastic pry tool into the gap between motherboard and base of phone

  16. 1FSDNPMCNpiRqd1h
    1FSDNPMCNpiRqd1h
    bGuDjf1okXvBBjXC
    5jPDZK1JqnGZViZe
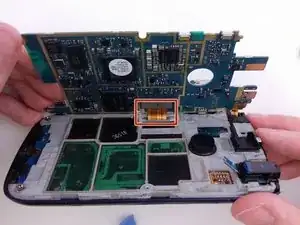
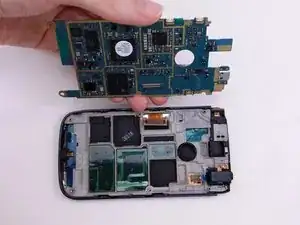
    • Tilt the motherboard up carefully.

    • Be sure not to damage the ribbon cable still connected at the bottom of the motherboard.

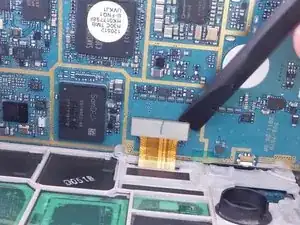
    • Use a spudger to pry the connector from the socket on the motherboard.

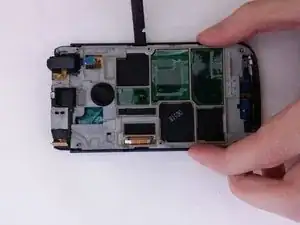
    • Lift motherboard from frame.

  17. Za43nBDmTSXUQg4c
    Za43nBDmTSXUQg4c
    AaldFwsHqTaPDaAI
    RBjYQma1TQx3FQJj
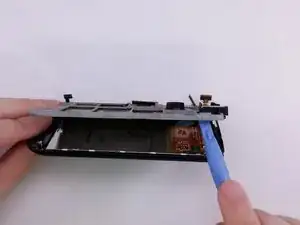
    • Insert flat end of spudger between support panel and front assembly.

    • Using a spudger pry up to create opening to insert plastic opening tool.

  18. 3cu2VXI1SjydksYs
    3cu2VXI1SjydksYs
    INP5Jmi26cHNBAKu
    • Insert a plactic opening tool in opening.

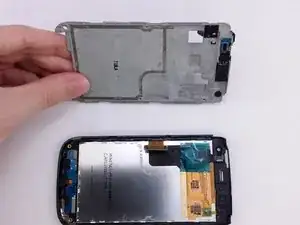
    • Use plastic opening tool to pry around the edge of support panel to free it from front assembly.

  19. RjJRBiKuswiZTEW5
    RjJRBiKuswiZTEW5
    MNWiQfbXdvoYAUhU
    EctUIMZrDOZHoDml
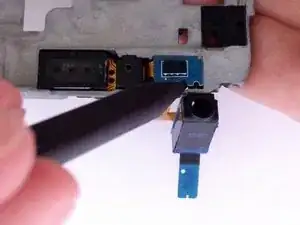
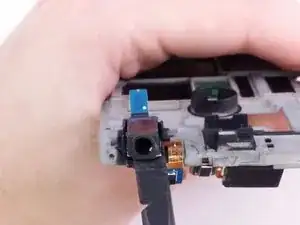
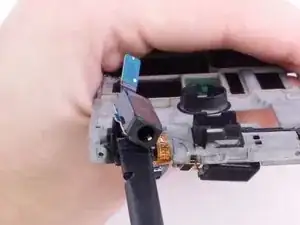
    • Insert the pointed end of a spudger into gap.

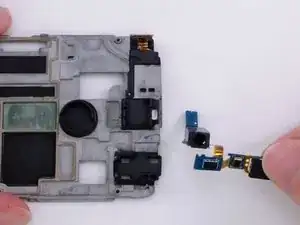
    • Lift spudger away from support plate to remove headphone component.

  20. IxGUnMDbAyjYSdap
    IxGUnMDbAyjYSdap
    WkpLqkOXdiWPYQxW
    A3ruCrbtwiUAVrgF
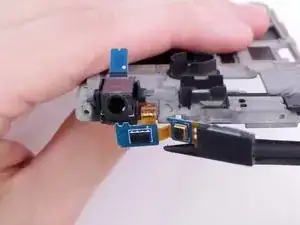
    • Use the flat end of the spudger to remove headphone jack component from rectangular housing.

  21. ockKTa6MEduSJV2N
    ockKTa6MEduSJV2N
    qZPYmhNSYODVvYYT
    x1TJSOTOMDnTQ2j5
    • The the flat end of a spudger between componet and frame.

    • Use the the spudger to lift the componet from the frame.

  22. UZFNj6PKpLDKG1hP
    UZFNj6PKpLDKG1hP
    FaGhkPRbHiXgGpfC
    6B1AFVPGmSuN5kgS
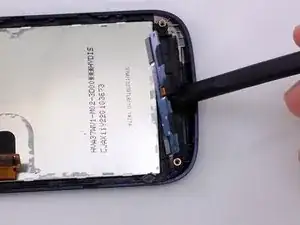
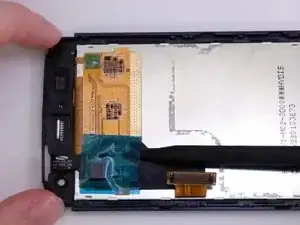
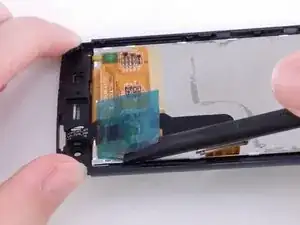
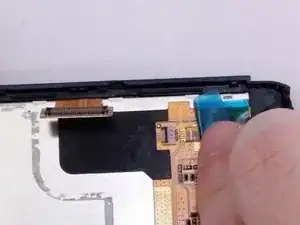
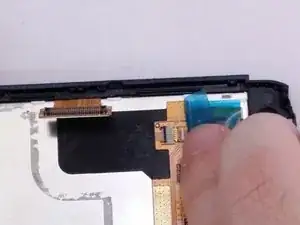
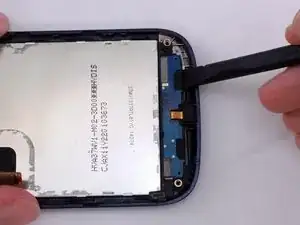
    • Insert the spudger between blue flim and the back of the LCD.

    • Using the spudger lift blue film away from LCD.

  23. XI3uMdIDtASj5JWI
    XI3uMdIDtASj5JWI
    HUEjW1Tqrt4jb1rk
    WOlpLgh2UCZlECiP
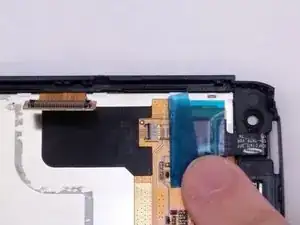
    • Notice ribbon cable slides under the tan square component.

  24. HXKORHZFrCAT51q1
    HXKORHZFrCAT51q1
    U5KI4FXlJKOI4iYp
    PF2MCmgirWPuYEBb
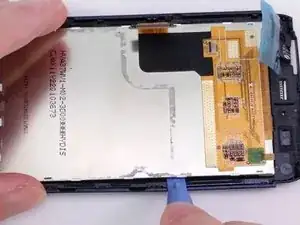
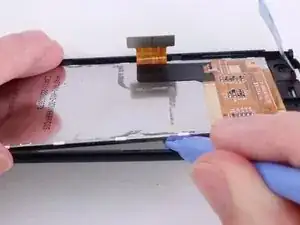
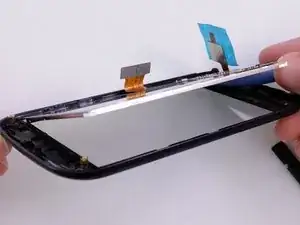
    • Insert a plastic opening tool between LCD and Digitizer screen.

    • Use plastic opening tool to pry and lift the LCD from the glass screen.

    • Adhesive material around edge of LCD.

  25. nPkuIFfAfXFsV43X
    nPkuIFfAfXFsV43X
    GSODs1Lr1hXktiVM
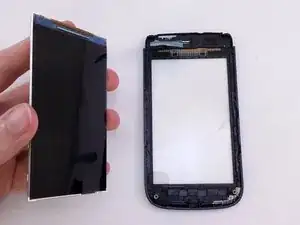
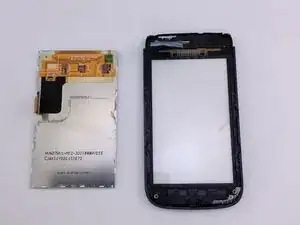
    • Lift LCD away from digitizer screen.

Abschluss

To reassemble your device, follow these instructions in reverse order.
David R

Mitglied seit: 20/07/15

1152 Reputation

0 Kommentare