Einleitung
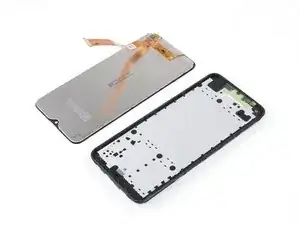
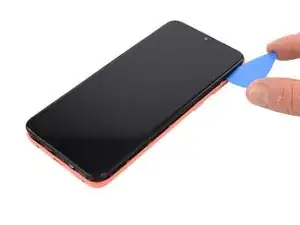
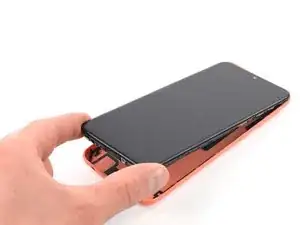
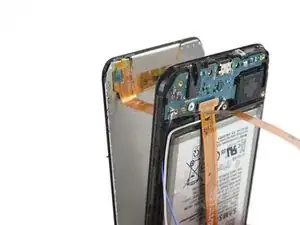
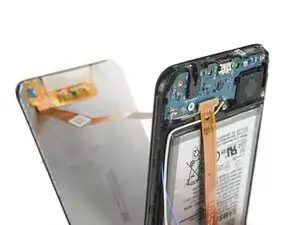
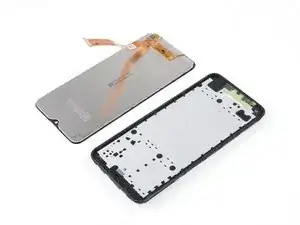
Use this guide to replace a cracked or broken screen on your Samsung Galaxy A20e.
If the frame is deformed, it's important to replace it to make sure the new screen will mount correctly and won’t suffer damage from uneven pressure.
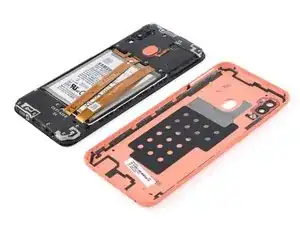
Due to the phone’s design, you must remove the lithium-ion battery to access the display cables. If the battery was deformed during removal replace it with a new one—reusing a deformed battery is a potential safety hazard.
Note: This guide instructs you to replace only the screen while leaving the original frame and motherboard in place. However, some replacement screens for this phone come pre-installed in a new frame (a.k.a. chassis), which requires a very different procedure. Make sure you have the correct part before starting this guide.
You’ll need replacement adhesive to reattach components when reassembling the device.
Werkzeuge
Ersatzteile
-
-
Before starting repairs, take your Galaxy A20e off the charger and power it down.
-
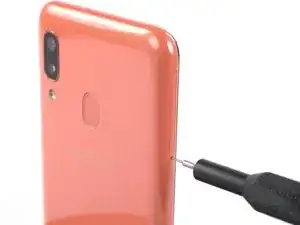
Insert a SIM card eject tool, a SIM eject bit or a straightened paper clip into the hole on the SIM tray located on the left side of the phone.
-
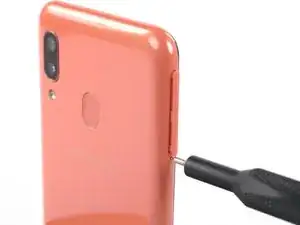
Press your SIM card eject tool firmly into the hole in order to eject the SIM card tray.
-
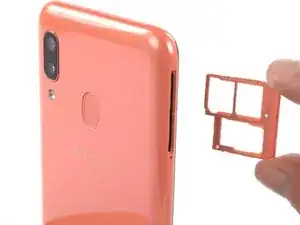
Remove the SIM card tray.
-
-
-
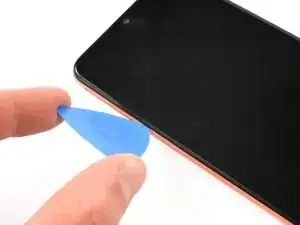
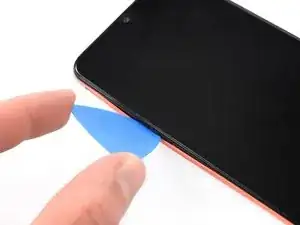
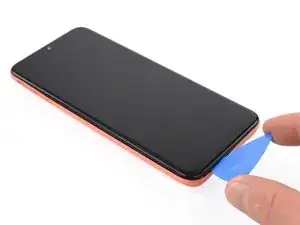
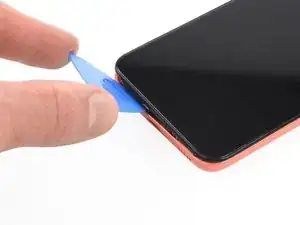
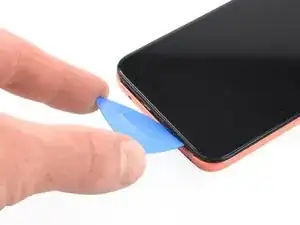
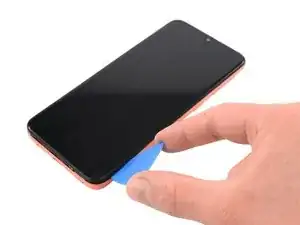
Insert an opening pick between the screen and the back cover on the left edge next to the hole for the SIM-eject tool.
-
-
-
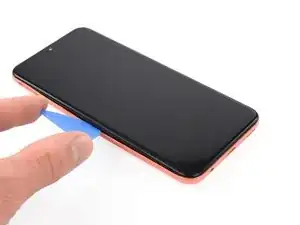
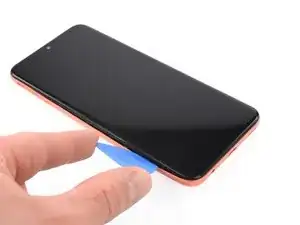
Slide the opening pick along the right edge to the top right corner to unclip the plastic clips.
-
-
-
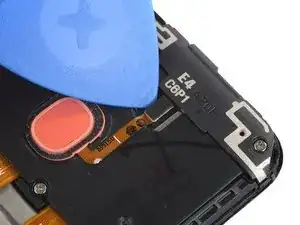
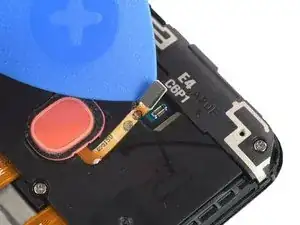
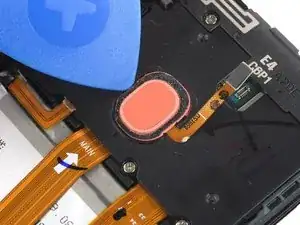
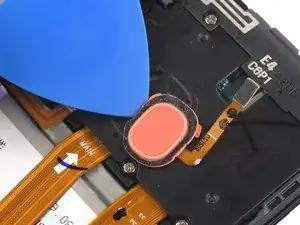
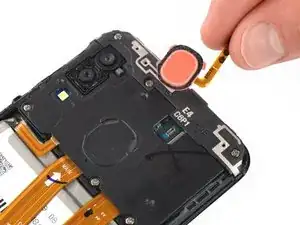
Push against the left edge of the fingerprint sensor with an opening pick to slide the sensor to the right and separate it from the motherboard cover.
-
-
-
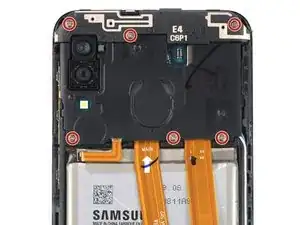
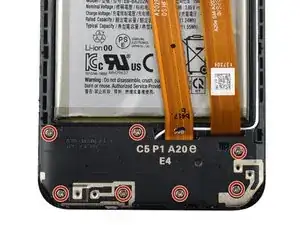
Use a Phillips screwdriver to remove the six 3.5 mm-long screws securing the motherboard covers.
-
-
-
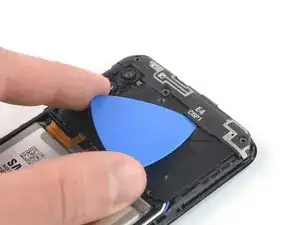
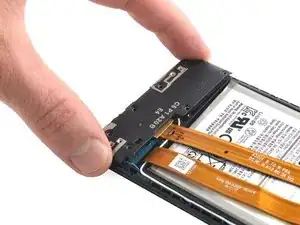
Slide an opening pick under the upper motherboard cover.
-
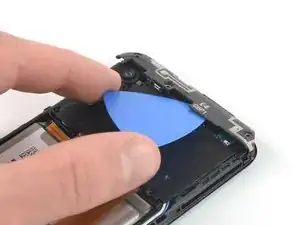
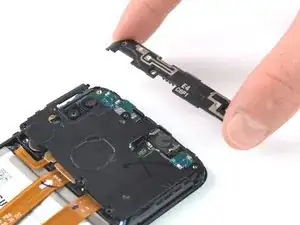
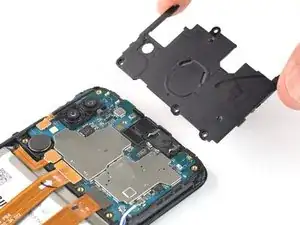
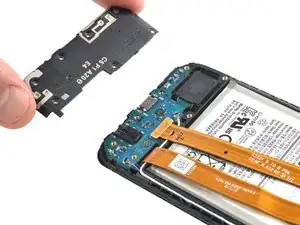
Use the opening pick to unclip the plastic clips, which are holding the upper motherboard cover in its place.
-
-
-
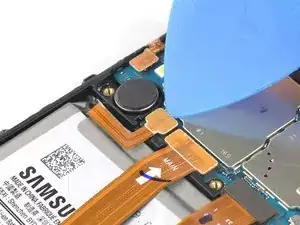
Use an opening pick to disconnect the battery by prying the connector straight up from its socket.
-
-
-
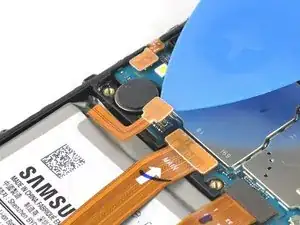
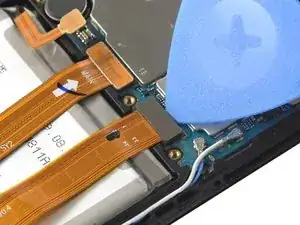
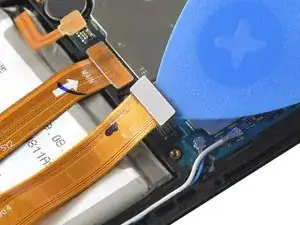
Use the opening pick to disconnect the interconnect and display flex cables by prying the connectors straight up from their sockets.
-
-
-
Use a Phillips screwdriver to remove the seven 3.5 mm-long screws securing the daughterboard cover.
-
-
-
Apply a heated iOpener to the screen to loosen the adhesive underneath. Apply the iOpener for at least two minutes.
-
-
-
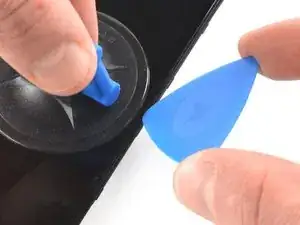
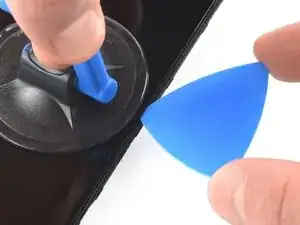
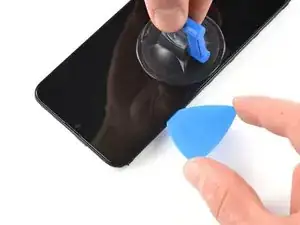
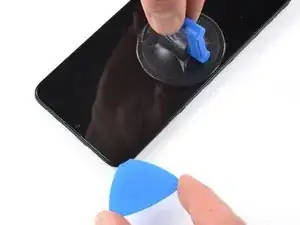
Once the screen is warm to the touch, apply a suction handle to the left edge of the phone.
-
Lift the screen with the suction handle to create a small gap between the screen and the frame.
-
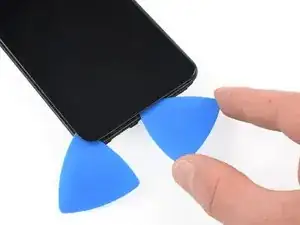
Insert the tip of an opening pick into the gap between the screen and the midframe.
-
-
-
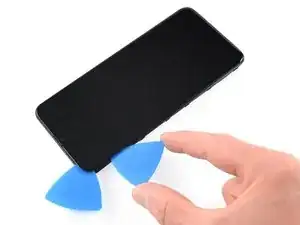
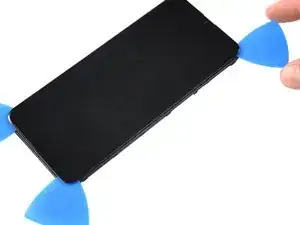
Slide the opening pick along the left edge to the top left corner to cut the adhesive.
-
Leave the pick in its place to prevent the adhesive from resealing.
-
-
-
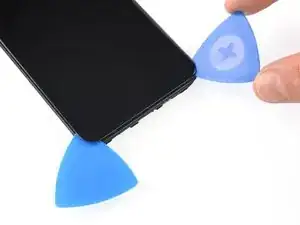
Insert a second opening pick under the top left corner.
-
Slide it along the left edge to the bottom left corner to cut the adhesive.
-
Leave the picks in their place to prevent the adhesive from resealing.
-
-
-
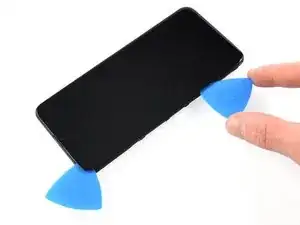
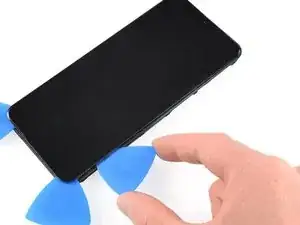
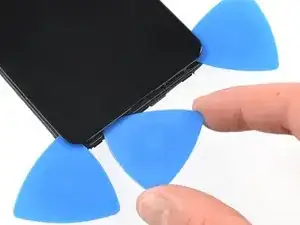
Insert a third opening pick under the bottom left corner of the phone.
-
Slide it along the bottom edge to the bottom right corner.
-
Leave the pick there to prevent the adhesive from resealing.
-
-
-
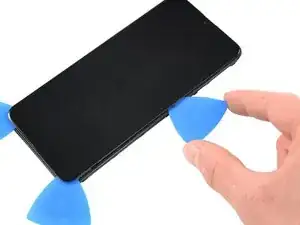
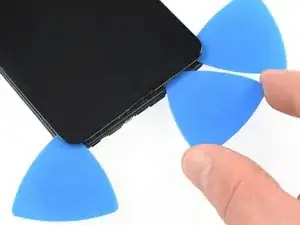
Insert a fourth opening pick at the bottom right corner.
-
Slide the pick along the right edge to the top right corner and leave it in its place to prevent the adhesive from resealing.
-
-
-
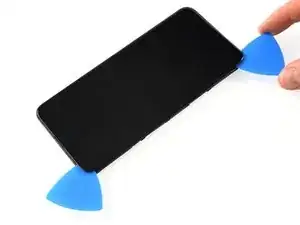
Insert a fifth opening pick under the top right corner.
-
Slide it along the top edge of the phone to cut the remaining adhesive.
-
If possible, turn on your device and test your repair before installing new adhesive and resealing.
Compare your new replacement part to the original part—you may need to transfer remaining components or remove adhesive backings from the new part before installing.
To reassemble your device, follow these instructions in reverse order. Apply new adhesive where necessary after cleaning the relevant areas with isopropyl alcohol (>90%).
The best way to secure the new screen is to apply a sheet of custom-cut double-sided tape to the back of the screen.
Take your e-waste to an R2 or e-Stewards certified recycler.
Repair didn’t go as planned? Try some basic troubleshooting, or ask our Answers community for help.
Ein Kommentar
Ik denk dat het iets duurder is met kapot scherm om al die benodigdheden te kopen en als iets mis gaat een reparatie van je hele telefoon dan hem even naar de reparateur te laten
