Einleitung
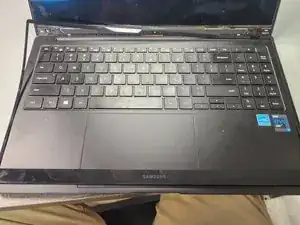
Simple Screen replacement on Samsung Galaxy Book Pro
Werkzeuge
-
-
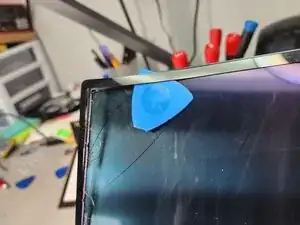
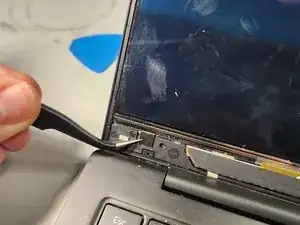
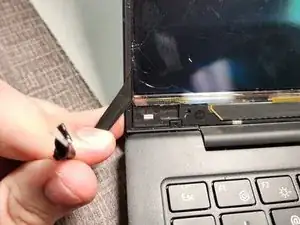
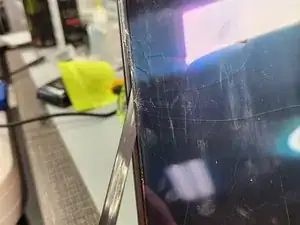
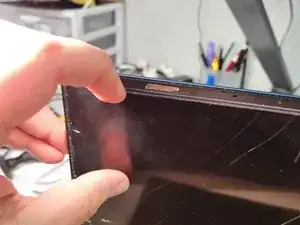
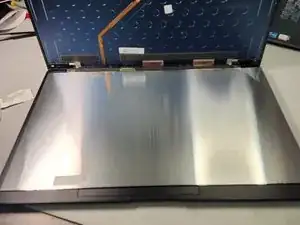
This repair is similar to most other laptops in that you have to remove the bezel around the screen. Unlike most laptops however, it's easier to go under the bezel from the screen side. If you're doing this on a screen that is not broken use more care than I did here
-
-
-
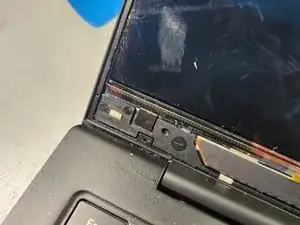
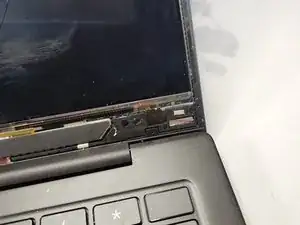
Be very careful pulling this bezel off, it is metal and will bend. As long as it doesn't bend too much some new adhesive will hold it down fine once the repair is finished.
-
-
-
Take note of the small black squares, they are small soft foam pads. These attach to the adhesive strips that hold the screen in.
-
-
-
Grab the adhesive strip with tweezers, and slowly pull. Pull from below, working out to the side if you need to. This process is the same on both sides.
-
-
-
Now that the screen is no longer held to the housing, it's time to separate the two. You can use a black stick or a pick here, I just used my finger nail. You may not even need to pull on it, it should just fall forward.
-
-
-
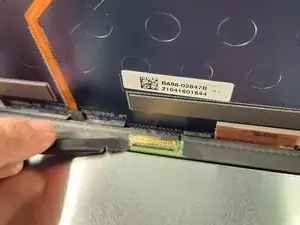
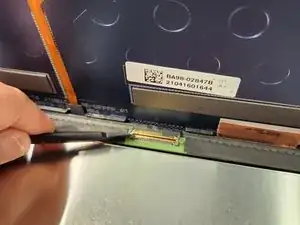
The screen is now lowered, we're almost done! Get a black stick below the bar that holds the LCD connector. Pry it up gently, then it is released. Gently pull the LCD connector free
-
-
-
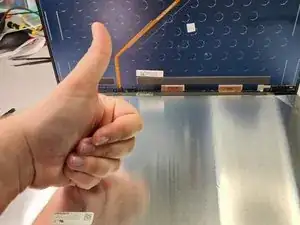
You're done! Now just do the process in reverse for the new screen. Make sure to use new adhesives on the back of the screen and on the bezel.
-
To reassemble your device, follow these instructions in reverse order.

