Einleitung

  1. QMHRceMfwNox51Jb
    QMHRceMfwNox51Jb
    Elpeo4md15jPLfkv
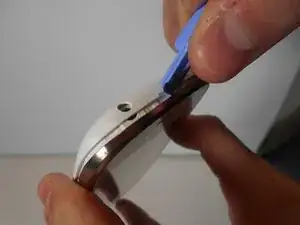
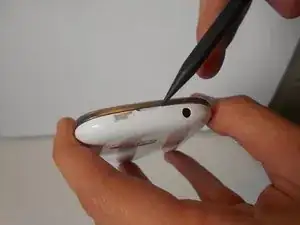
    • Locate the small indent in the top of the device and use your nails or the plastic opening tool to separate the cover from the mid-frame.

  2. SPoWQtxIACjJbGCQ
    SPoWQtxIACjJbGCQ
    KRjlWRtYpWHITWBP
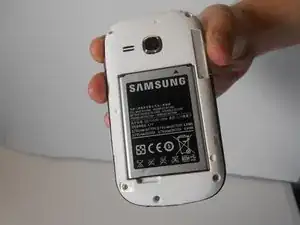
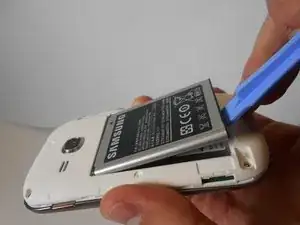
    • Locate the indent on the bottom left corner of the battery compartment. Use your fingers or the plastic opening tool to lift the battery from the device.

  3. ZMrGsTAQVNbSMOtp
    ZMrGsTAQVNbSMOtp
    AmOZTQTFbH2BrmpK
    kJLyXCFcvjtNw4rX
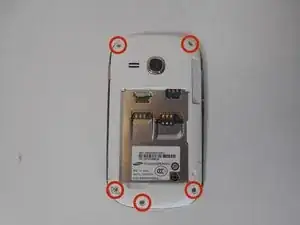
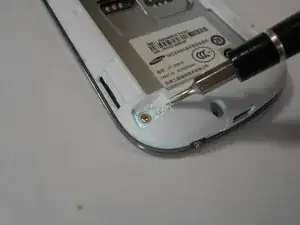
    • Remove the five 3mm screws along the top and bottom edges of the device with the Philips #00 screwdriver.

    • One of these will be hidden under a piece of reflective foil. Breaking this will void the warranty.

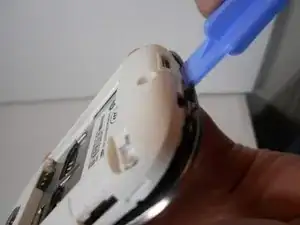
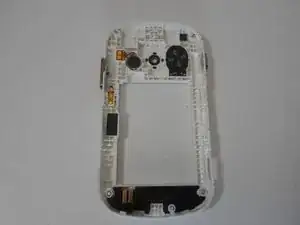
    • Use the plastic removal tool to work pry the mid-frame from the device.

    • This may take some effort, so try working around the edges slowly as to not break anything.

  4. LKAhjlpgRJqNkdWl
    LKAhjlpgRJqNkdWl
    kPcNvP4Xh6lrmbEA
    SOgU5rq6bvUqiq1P
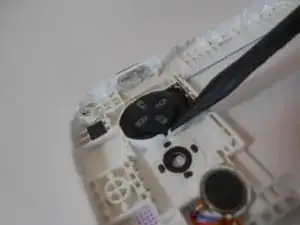
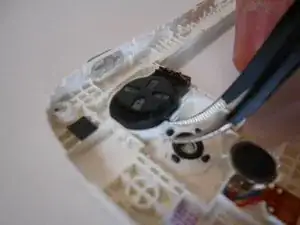
    • Lift the speaker from the phone using your fingers or tweezers.

Abschluss

To reassemble your device, follow these instructions in reverse order.
Taylor

Mitglied seit: 30/01/15

1165 Reputation

0 Kommentare